Lately I’ve been tinkering with a server on my home network — basically a NAS used as a playground.
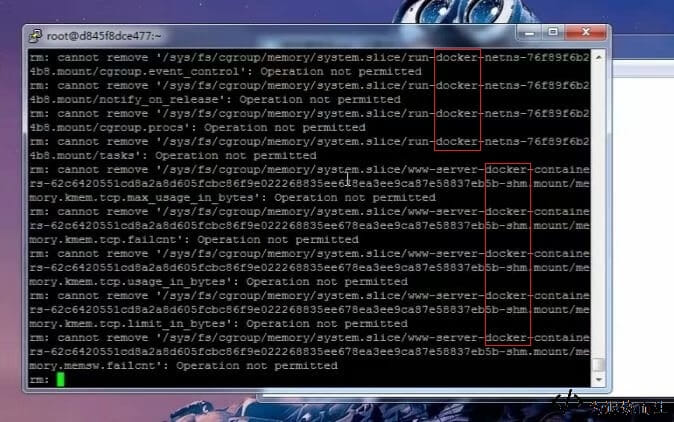
If you noticed that the machine I used for that earlier rm -rf stunt was actually running on Docker, you were right.
So how do you create a Docker container? It’s actually pretty straightforward, as long as you’re willing to dive in.
The setup here uses the BT panel first, then installs Docker from there. Of course, you can also install Docker manually with yum; that part isn’t difficult. Using the panel is just the lazier route, and a pure command-line Docker setup can always wait for another day.
1. Install Docker
On CentOS 7, you can install it with Yum:
yum install docker
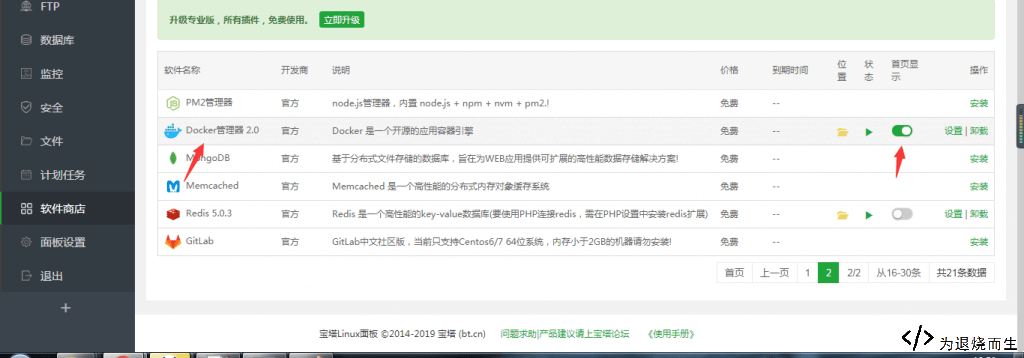
If you’re using the BT panel, just click the install button.
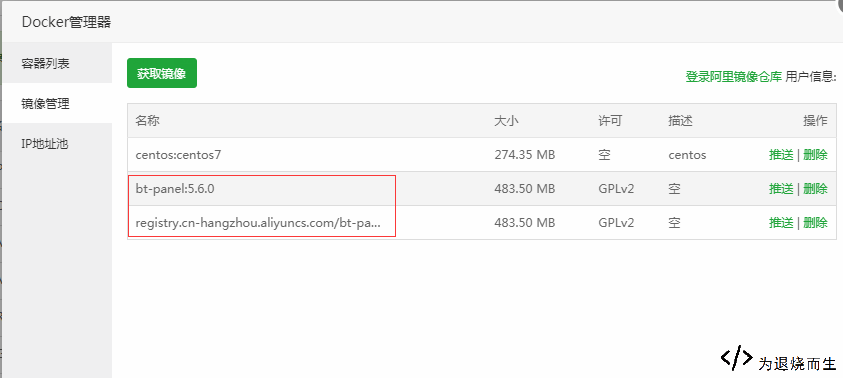
2. Get an image
After installation, open the management section. By default, there are two images available there.
You can build your own image, or use a clean CentOS 7 image with only SSH enabled and install anything else yourself via yum.
The previously shared clean CentOS 7 Docker image is no longer available, but the import and export commands are still useful.
To import an image:
docker load –input 你的镜像途径 ##导入完成后,你会发现BT中没有该镜像怎么办呢? docker images ##获取镜像ID docker tag IMAGEID(镜像id) REPOSITORY:TAG
If the image doesn’t immediately show up in BT after import, list your images, grab the image ID, and tag it manually.
To export an image:
docker images ##查看镜像获取镜像ID docker save 镜像ID号 > /root/myimage.tar
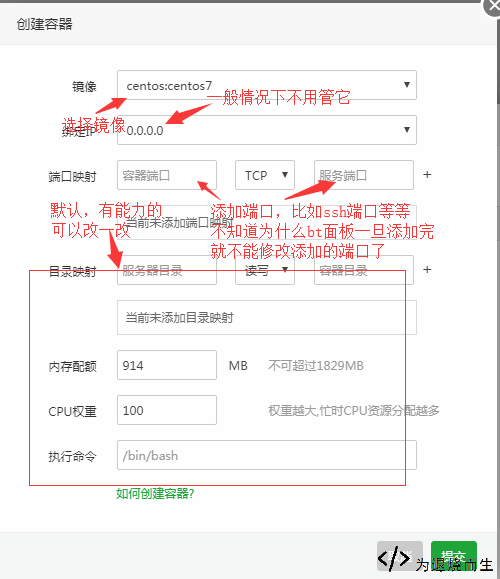
3. Create a container in BT
Once the image is ready, you can create a container directly from the BT interface.
That’s the basic flow: install Docker, prepare an image, then create the container from the panel. The whole process is simple enough for quick experiments on a home server.