SonarQube is an open-source platform for code quality inspection. It supports more than 25 languages, including Java, Python, PHP, JavaScript, and CSS, and it can identify duplicated code, code vulnerabilities, style issues, and security risks.
It also integrates with common development tools such as Maven, Gradle, Git, and Jenkins. After a scan runs, the analysis results are sent back to SonarQube and displayed through its web UI.
Setting up SonarQube
Starting with version 7.9, SonarQube no longer supports MySQL. For production-style environments, PostgreSQL is the recommended database backend. The setup below uses the long-term support release 8.9.
Pull the required images
1 2
docker pull postgres docker pull sonarqube:8.9.3-community
Create docker-compose.yml
1 2 3 4 5 6 7 8 9 10 11 12 13 14 15 16 17 18 19 20 21 22 23 24 25 26 27 28
version: "3.1" services: db: image: postgres container_name: db ports: - 5432:5432 networks: - sonarnet environment: POSTGRES_USER: sonar POSTGRES_PASSWORD: sonar sonarqube: image: sonarqube:8.9.3-community container_name: sonarqube depends_on: - db ports: - "9000:9000" networks: - sonarnet environment: SONAR_JDBC_URL: jdbc:postgresql://db:5432/sonar SONAR_JDBC_USERNAME: sonar SONAR_JDBC_PASSWORD: sonar networks: sonarnet: driver: bridge
Start the containers
1
docker-compose up -d
Adjust system parameters
You also need to update sysctl.conf, specifically vm.max_map_count.
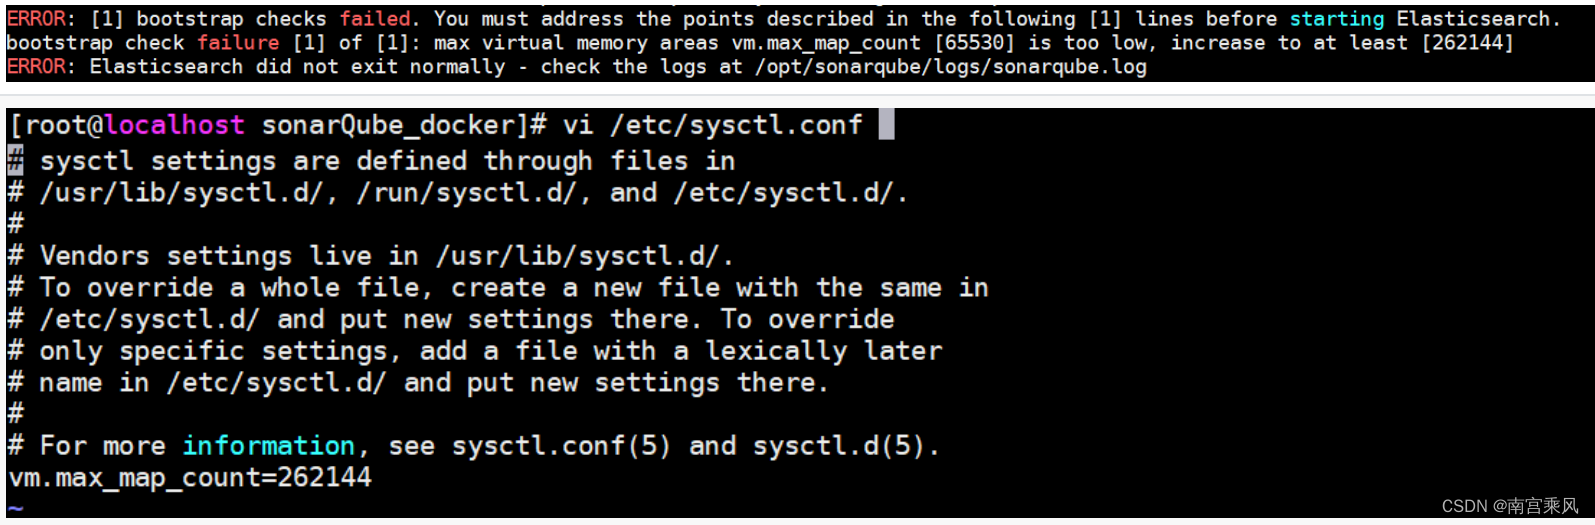
Apply the change with:
1
sysctl -p
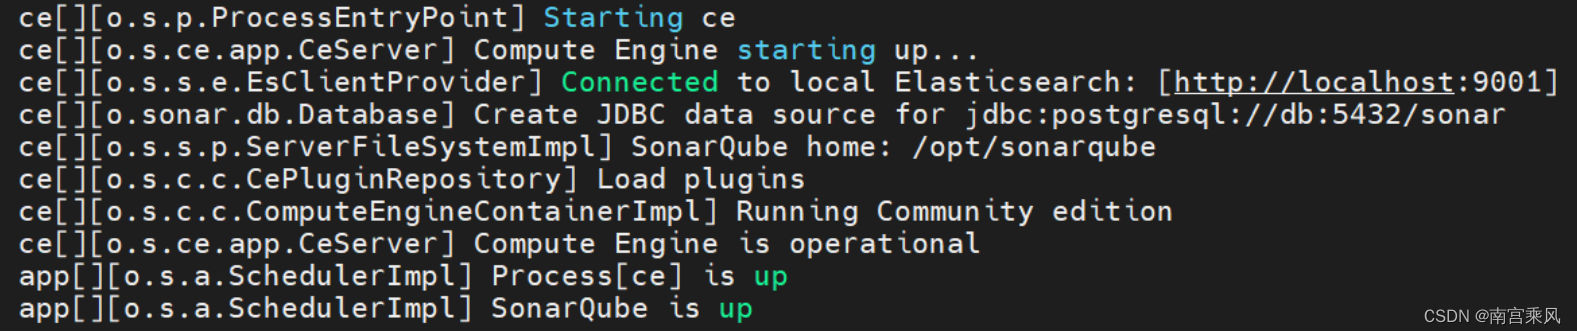
After restarting, SonarQube may take a little time to come up. You can watch the container logs, and when the expected startup messages appear, the service is ready.
Open the SonarQube home page in the browser:
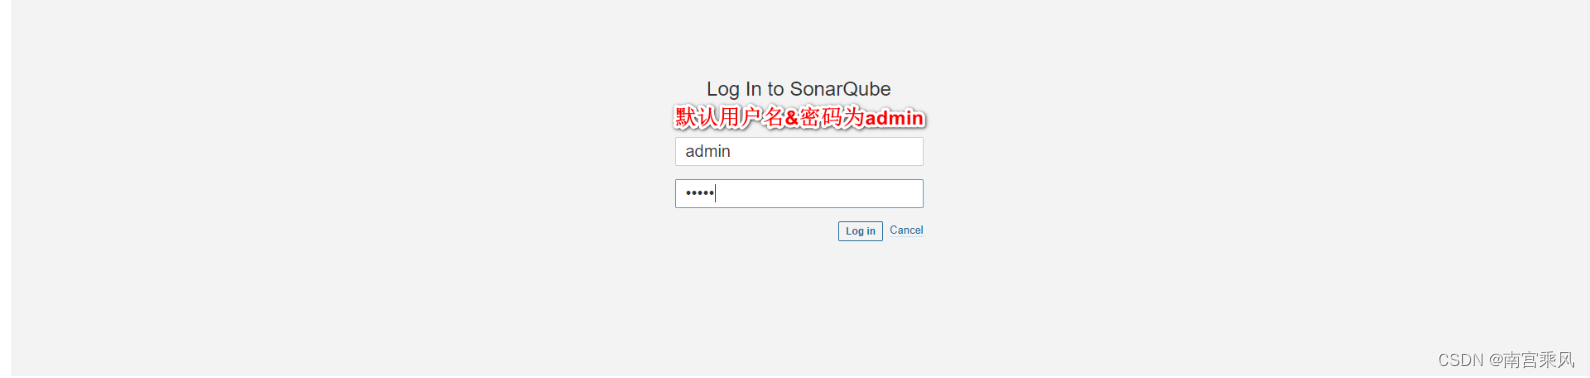
On first login, you will also be prompted to change the password.

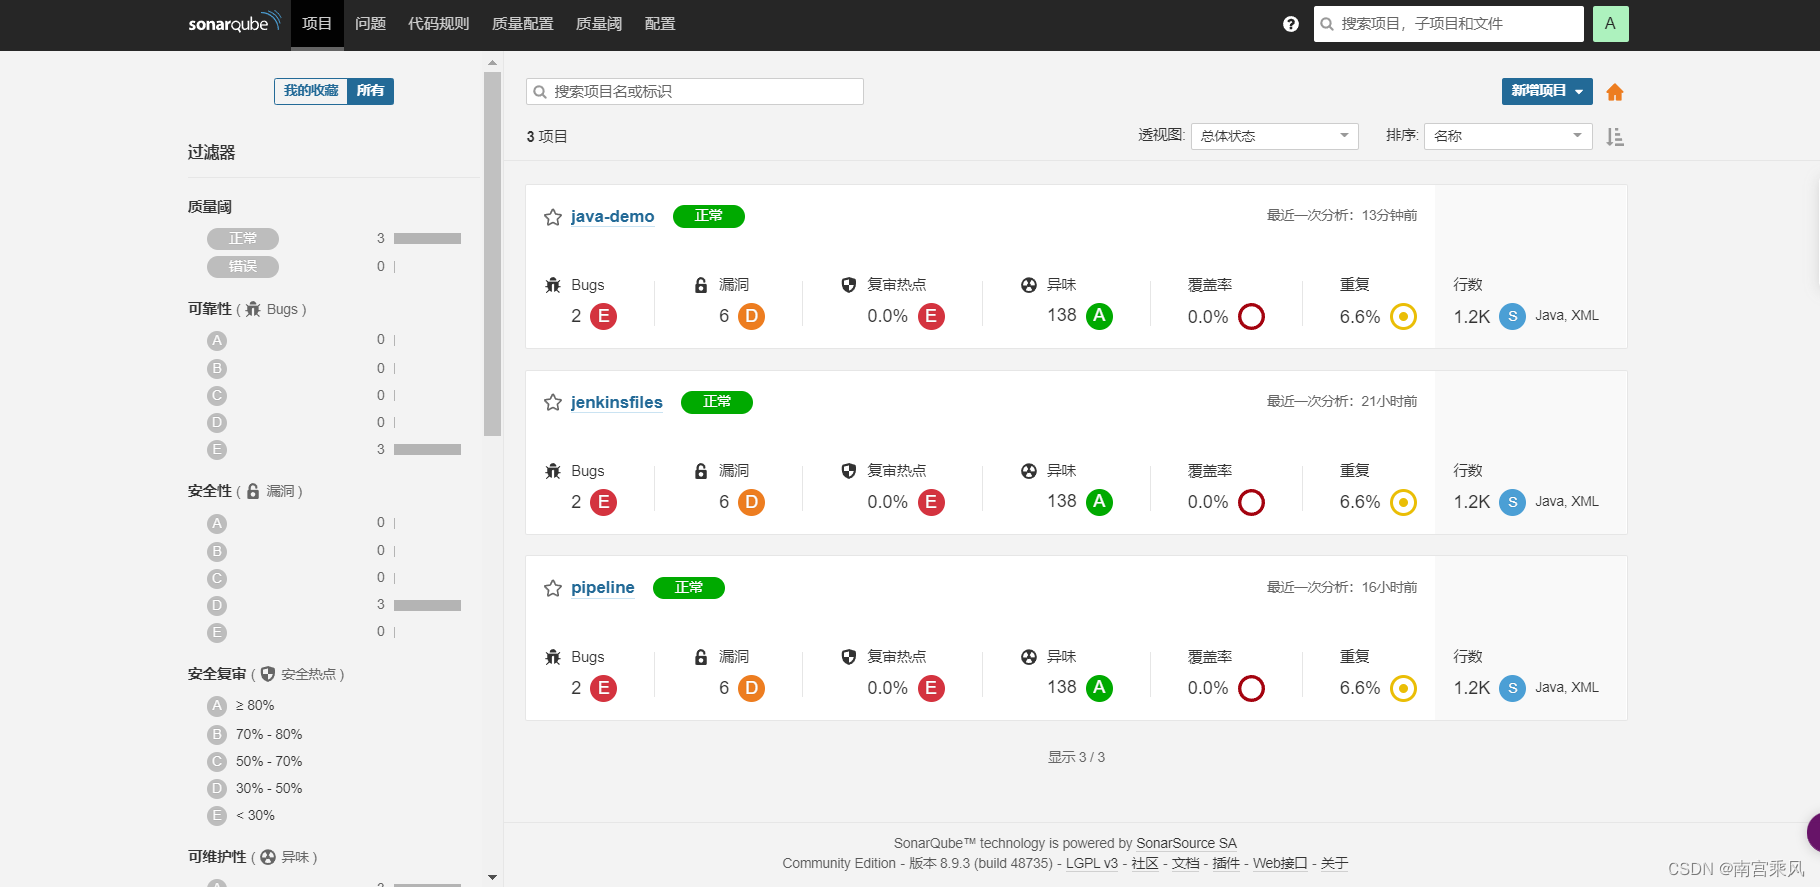
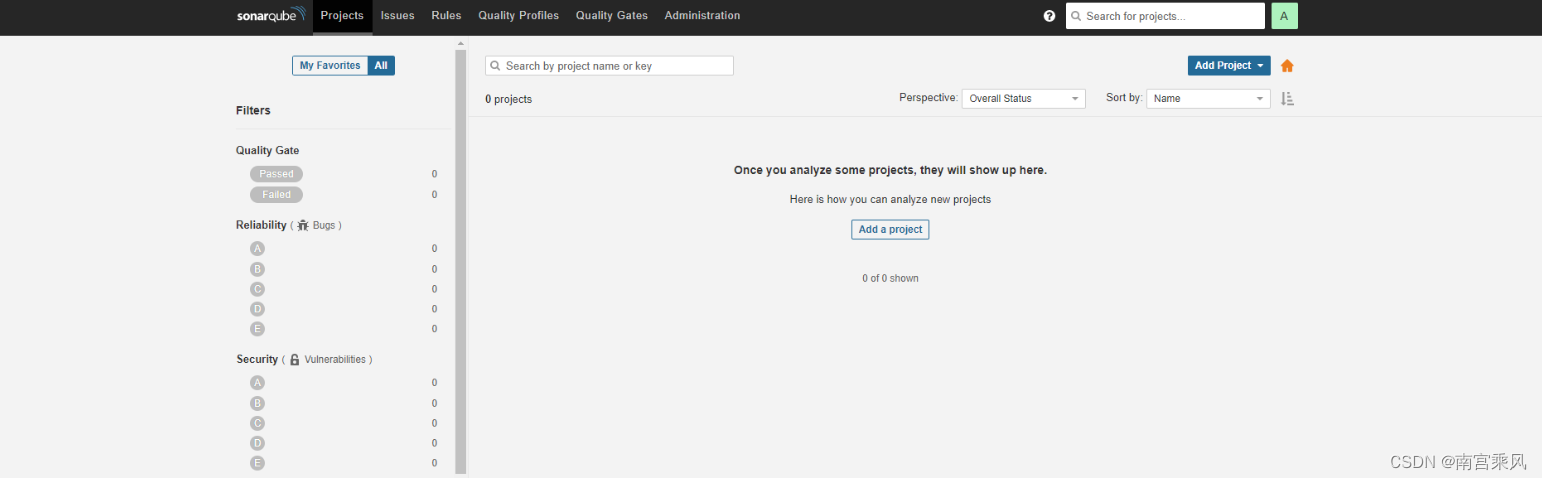
After that, you can access the main dashboard.
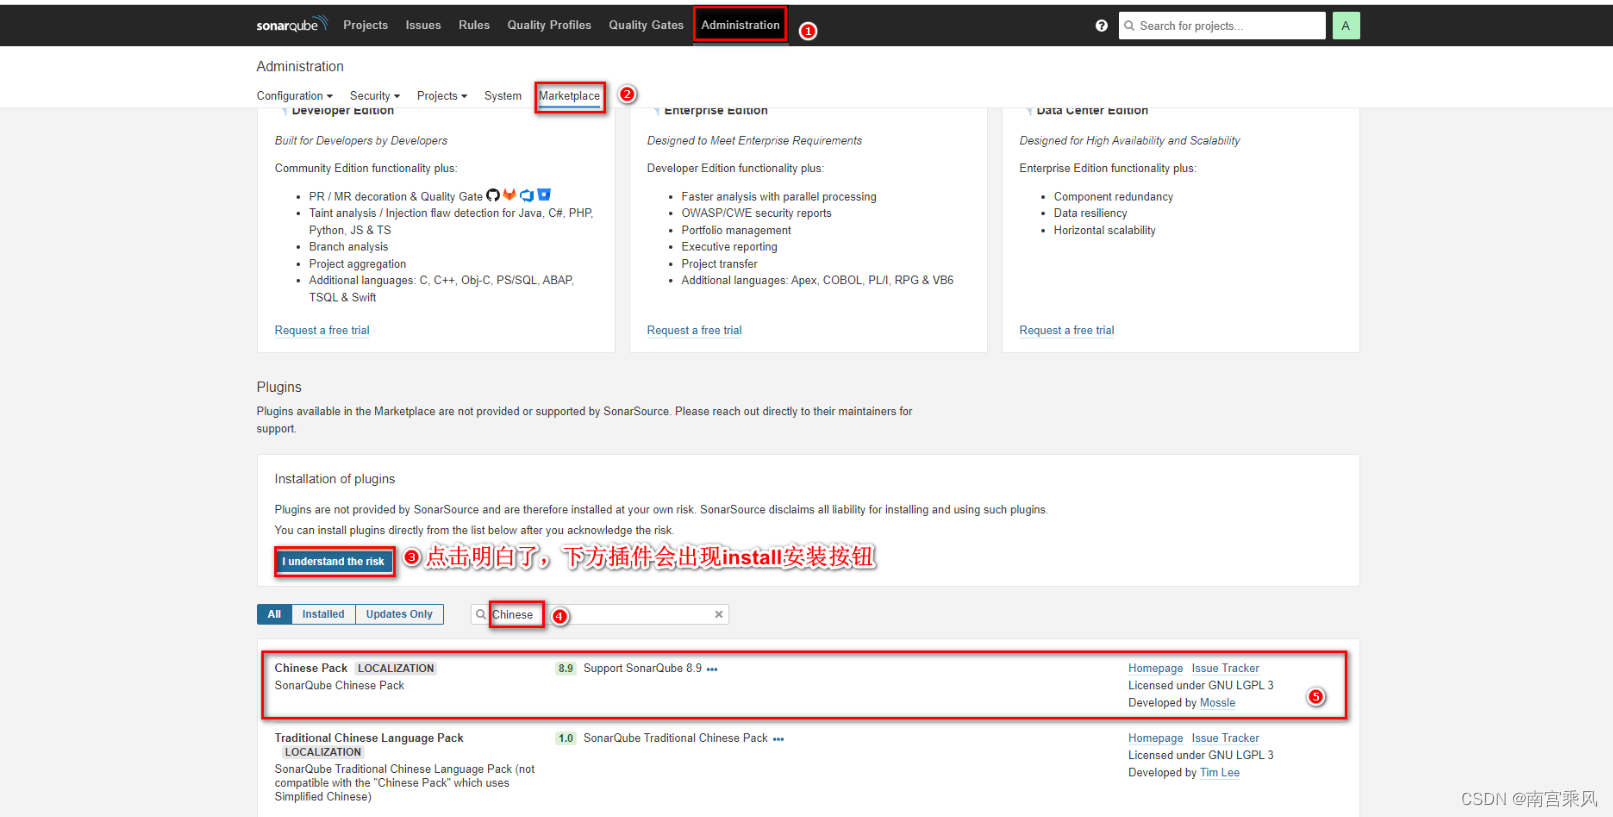
Install the Chinese language plugin
If needed, install the Chinese plugin from the plugin section.
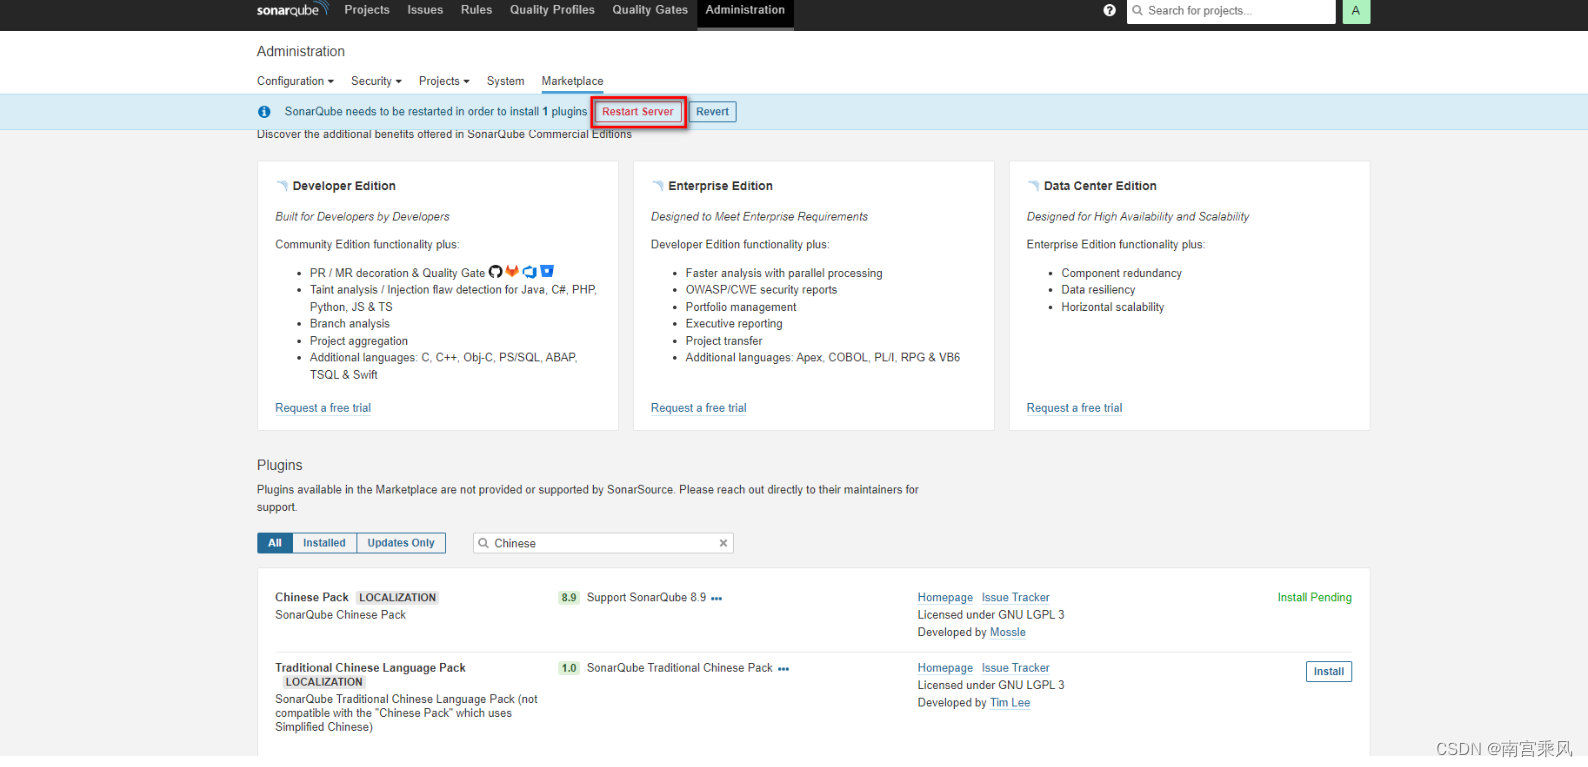
A restart is required after installation. If the installation fails, click install again and retry. Once it succeeds, a restart button will appear.
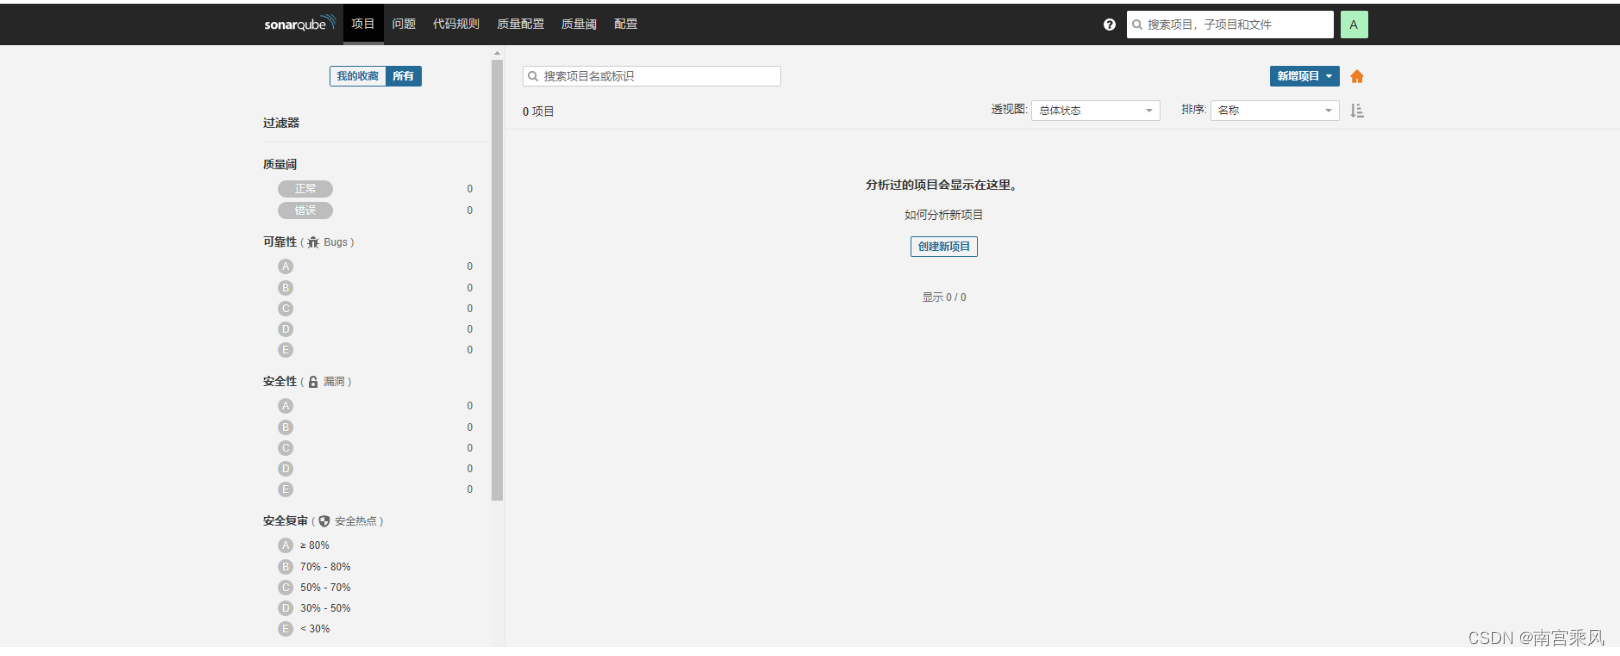
After restarting, you can verify the effect.
Basic ways to use SonarQube
There are several ways to submit code for analysis. Two common options are:
- integrating SonarQube through Maven
- using
sonar-scannerdirectly
Both approaches will send scan results to SonarQube so they can be viewed in the web interface.
Running code analysis with Maven
Update Maven's settings.xml to include SonarQube connection details:
1 2 3 4 5 6 7 8 9 10 11
<profile> <id>sonar</id> <activation> <activeByDefault>true</activeByDefault> </activation> <properties> <sonar.login>admin</sonar.login> <sonar.password>admin123456</sonar.password> <sonar.host.url>http://172.17.1.22:9000</sonar.host.url> </properties> </profile>
Then run the following command from the project directory:
mvn sonar:sonar
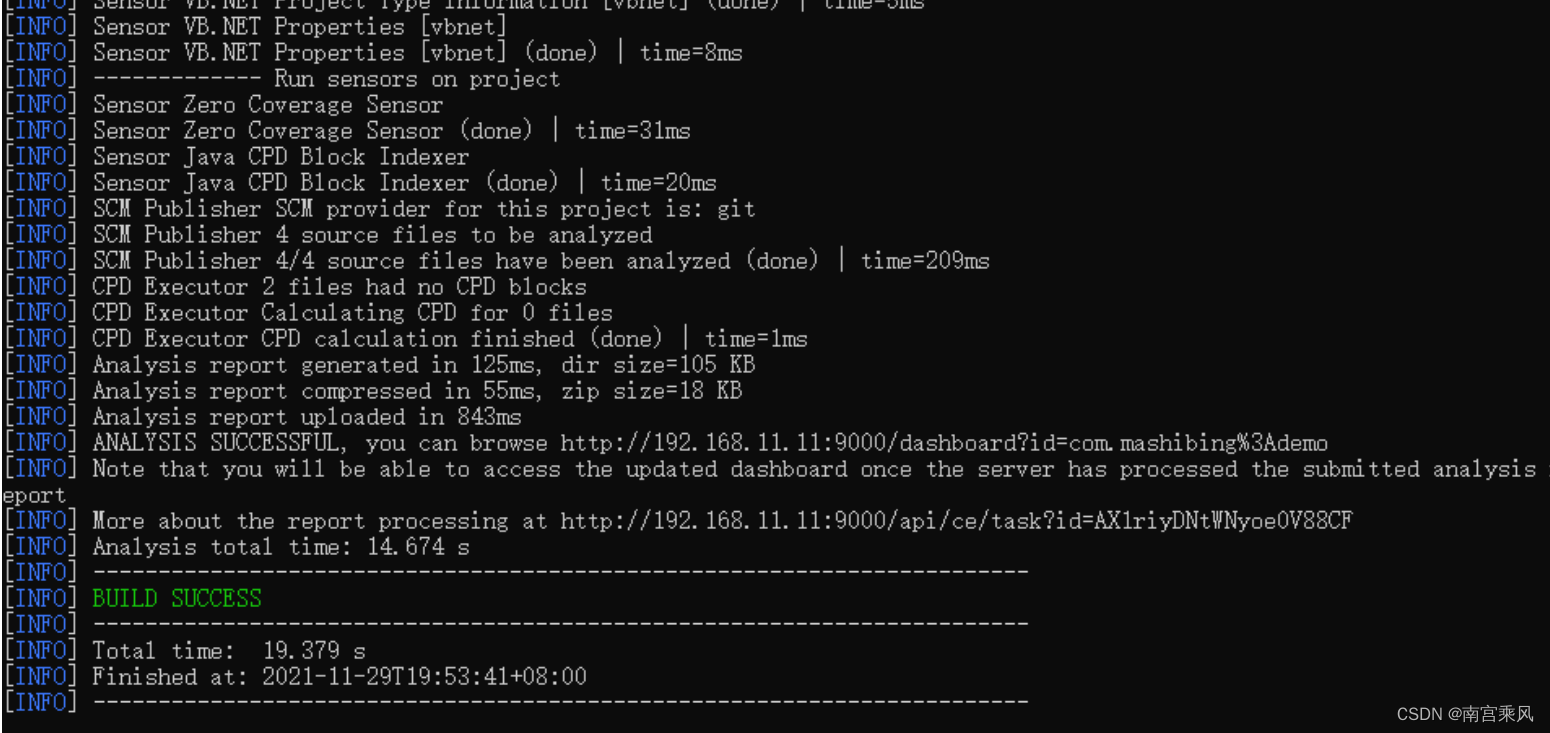
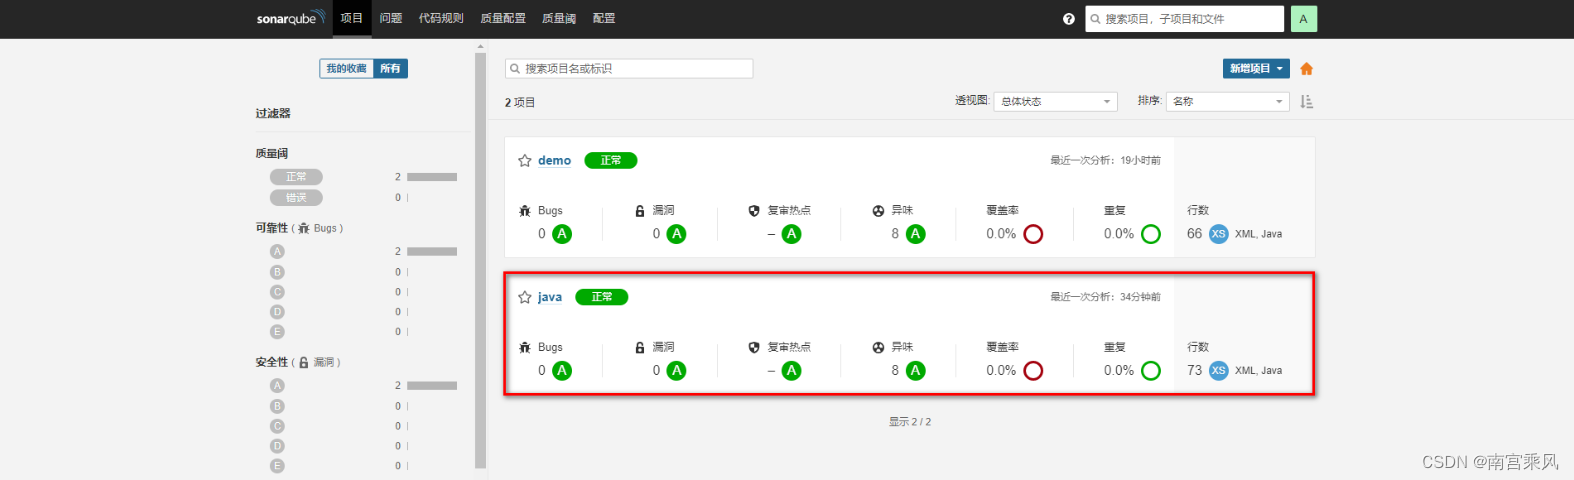
The scan results can then be viewed in SonarQube.

Running code analysis with SonarScanner
Download SonarScanner from:
https://binaries.sonarsource.com/Distribution/sonar-scanner-cli/
The 4.6.x release is sufficient here, and the Linux package is required.
Install unzip and extract the package
Because the download is a zip archive, install unzip first:
1
yum -y install unzip
Extract the archive:
1
unzip sonar-scanner-cli/sonar-scanner-cli-4.6.0.2311-linux.zip
Configure the SonarQube server address
Edit sonar-scanner.properties under the conf directory and set the server address there.

Scan the project
Run the following command inside the project directory:
1 2
# 在项目所在目录执行以下命令 ~/sonar-scanner/bin/sonar-scanner -Dsonar.sources=./ -Dsonar.projectname=demo -Dsonar.projectKey=java -Dsonar.java.binaries=target/
You can inspect the logs during execution:
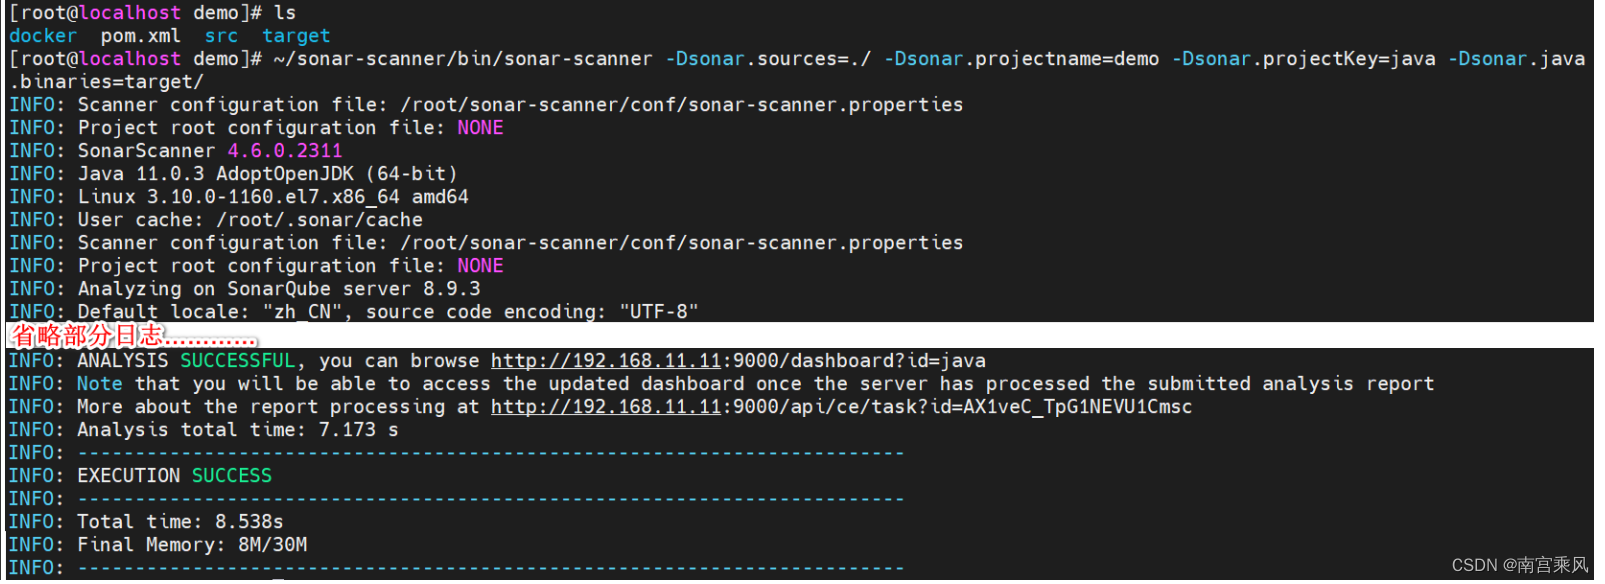
Once complete, the results will appear in SonarQube.
Integrating SonarQube with Jenkins
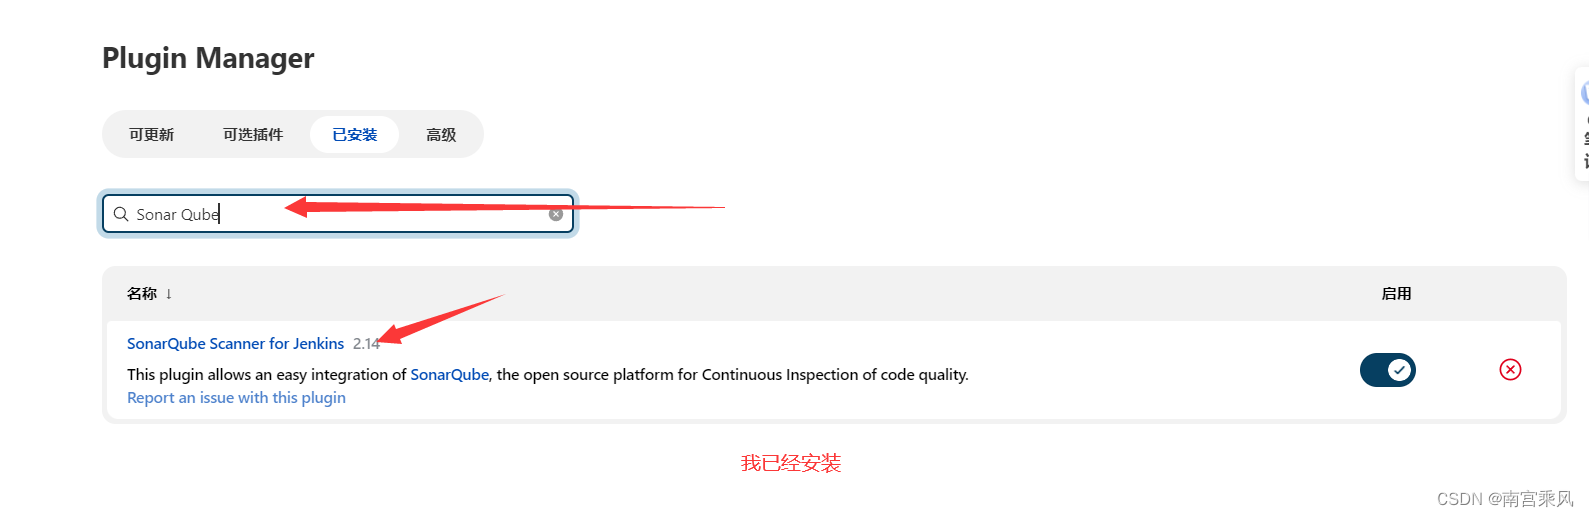
To let Jenkins run SonarQube scans as part of a build, the required integration plugin must be installed first.
Install the Jenkins plugin
Configure SonarQube in Jenkins
Before adding the server to Jenkins, enable authentication in SonarQube.
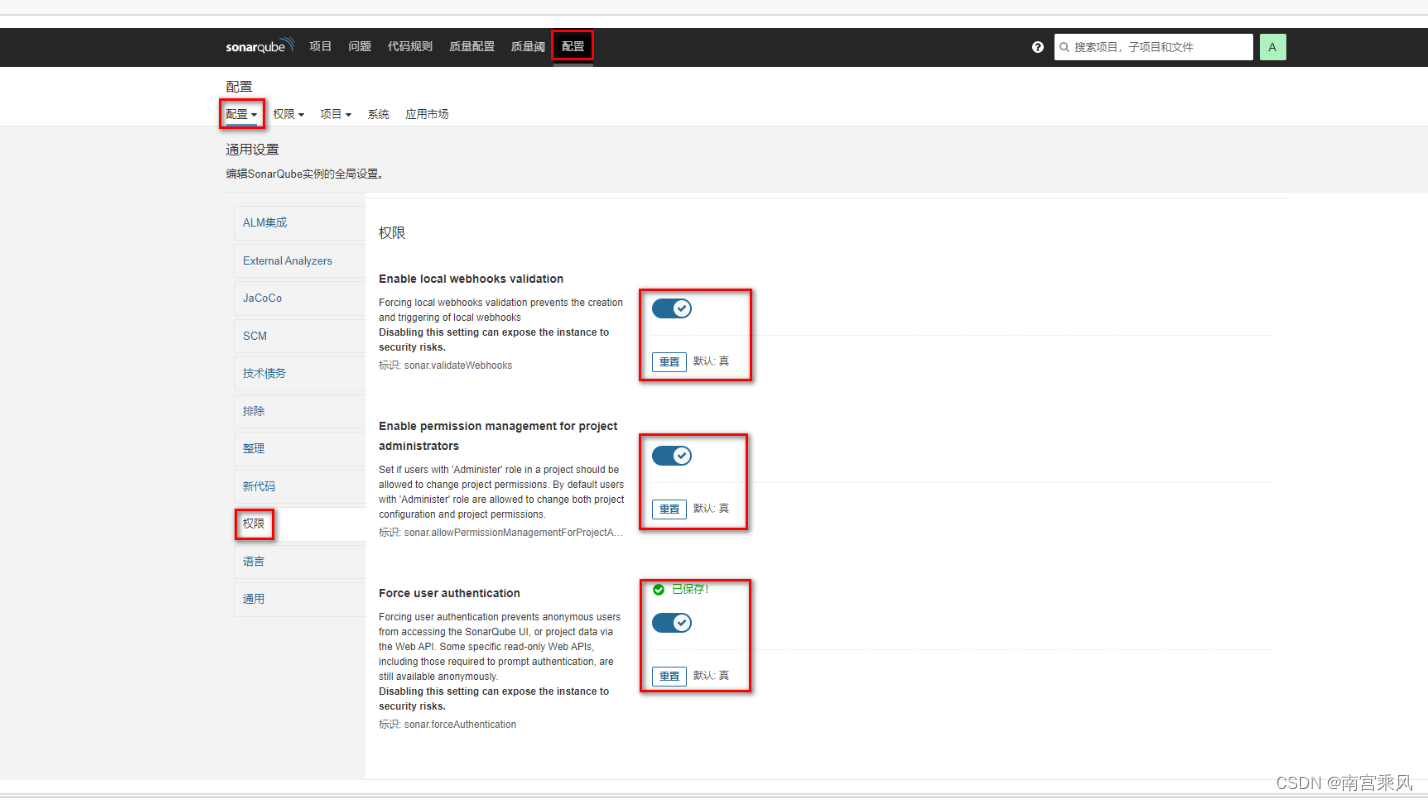
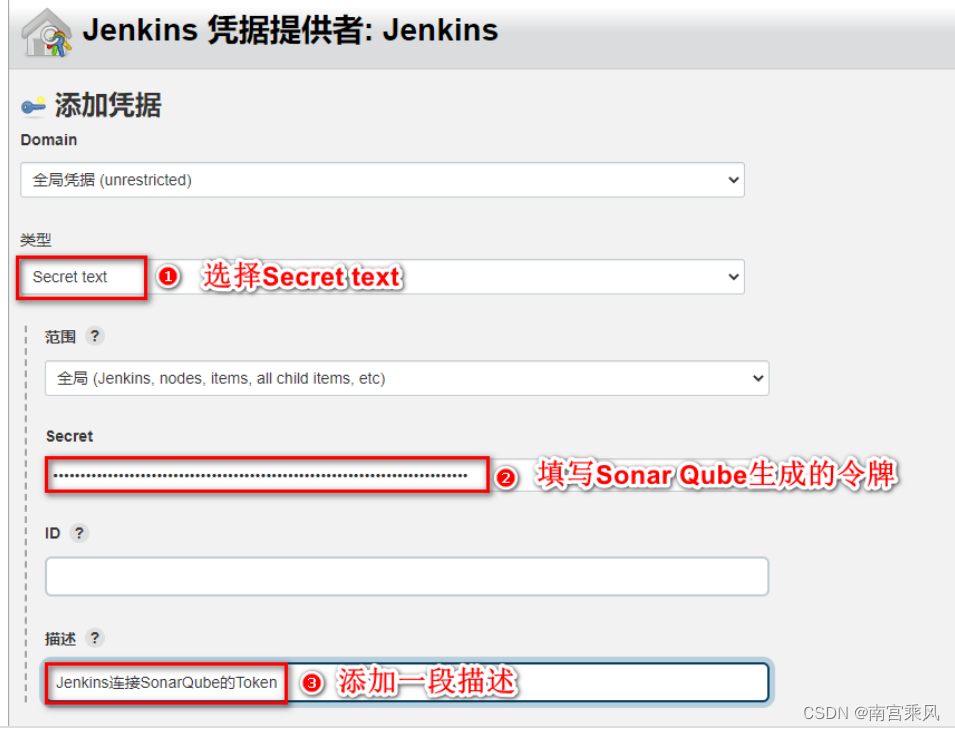
Then generate a token in SonarQube for Jenkins to use.

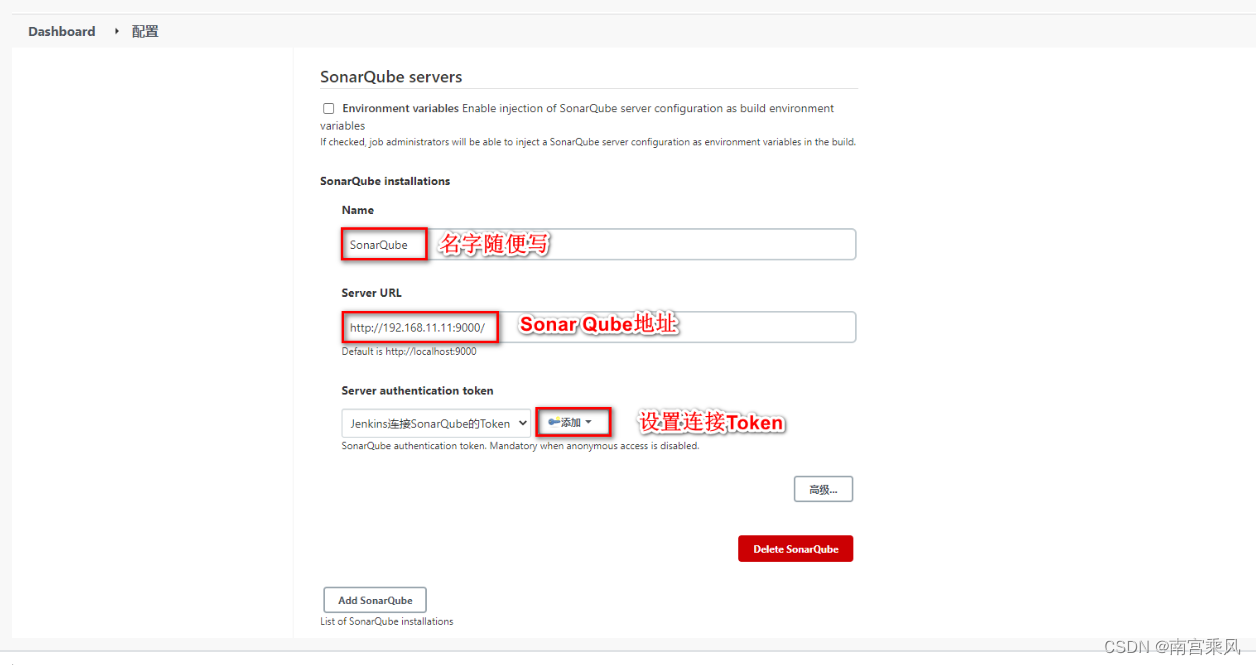
Add the SonarQube server information in Jenkins global configuration.

Configure SonarScanner in Jenkins
Add SonarScanner into the Jenkins data volume and register it in the global tool configuration.
For the Jenkins job itself, configure the SonarScanner step with parameters like these:
1 2 3 4 5 6 7 8
~/sonar-scanner/bin/sonar-scanner -Dsonar.sources=./ -Dsonar.projectname=demo -Dsonar.projectKey=java -Dsonar.java.binaries=target/ #主要下面这个 sonar.projectname=${JOB_NAME} sonar.projectKey=${JOB_NAME} sources=./ sonar.java.binaries=target/
A build can then be triggered from the job.
The image package has already been uploaded.
One point to note: the build process shown here does not include the branch-switching and compilation step. If that is required in your environment, it needs to be configured separately.