A few days ago, while moving comments to netlify, I noticed that hexo can also be deployed there. It supports one-click deployment for github, bitbucket, gitlab, and Azure DevOps. You just push your code, and netlify handles the rest automatically. The access speed is also pretty good.
My blog had previously been deployed to a server through git, and there was one annoying issue I never really solved: when I ran hexo deploy on my Mac, only the contents under public were pushed to the server. But when I ran hexo deploy on Windows 10 at home, the entire project got deployed instead. That meant nginx had to map the root path / to public, and now moving everything to netlify solves that problem nicely.
Create a new Git repository
I had been using gitee for the repository before, but Netlify’s one-click deployment doesn’t support it, so I created a new Bitbucket repository instead. If you’re wondering why not GitHub: pushing code there often timed out for me, and even with a VPN it still failed a lot. Of course, if GitHub works for you, you can skip this step.
I had already registered Bitbucket in SourceTree, but if you haven’t, just create an account on Bitbucket first.
- After registering on
bitbucket, create a newworkspace.
- Open the workspace you just created, then create a
Repository.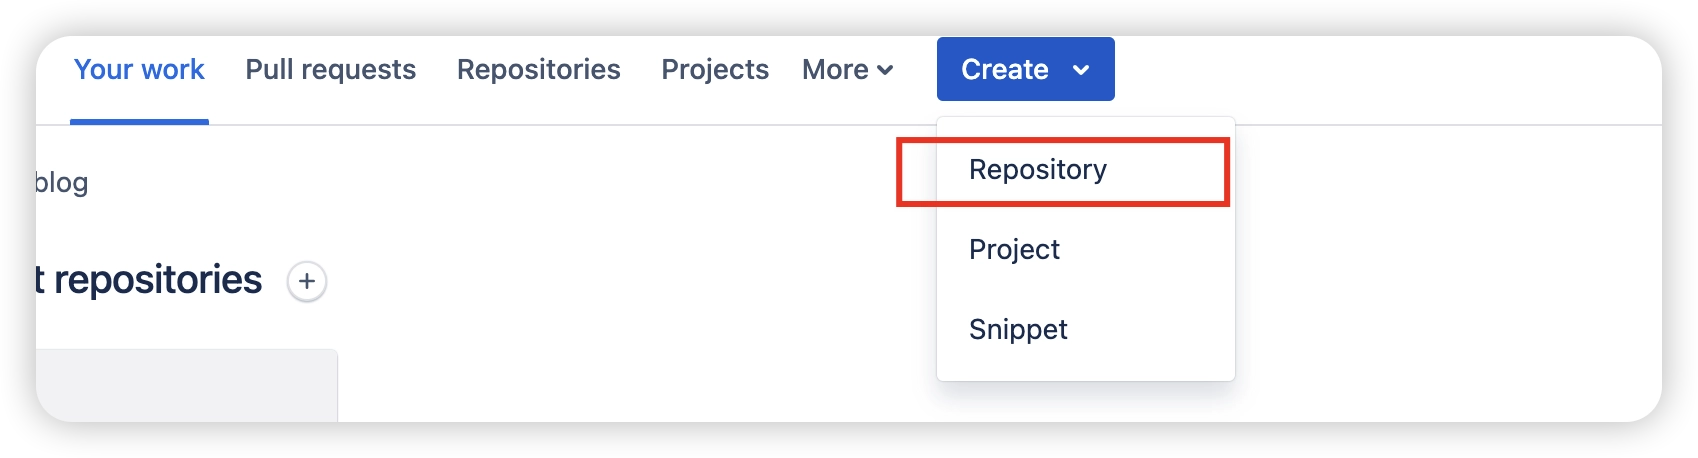
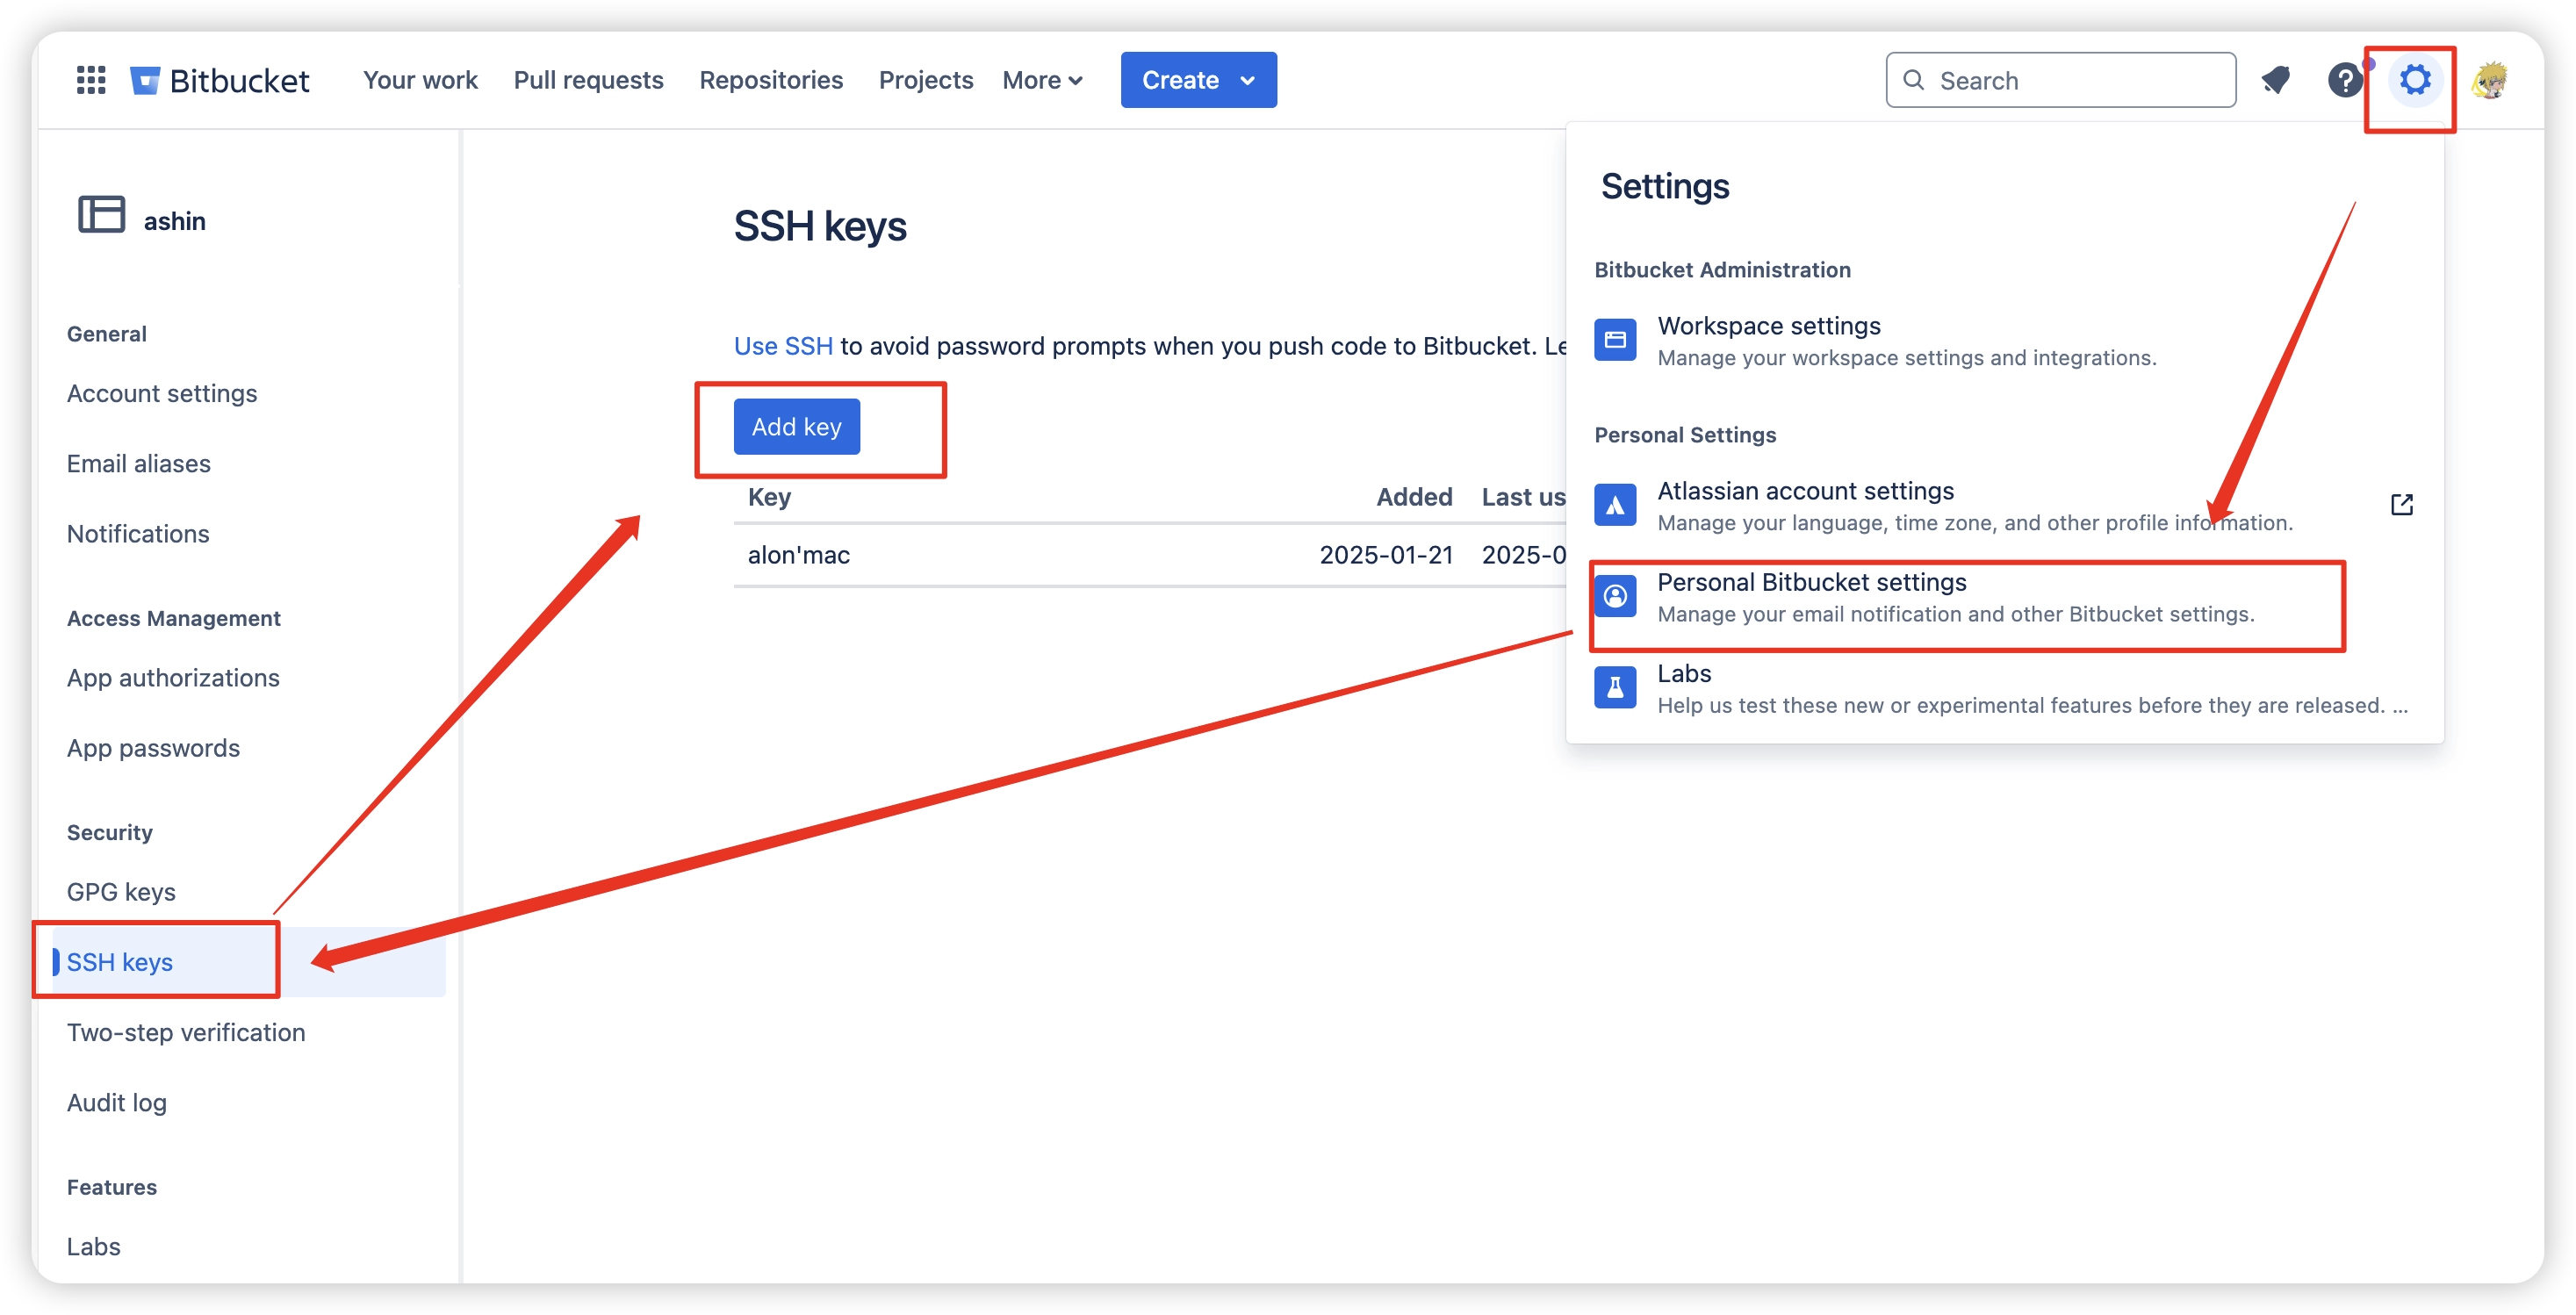
- Upload your local SSH public key to Bitbucket so you can pull and update code over SSH.
- Push your existing code to the Bitbucket repository.
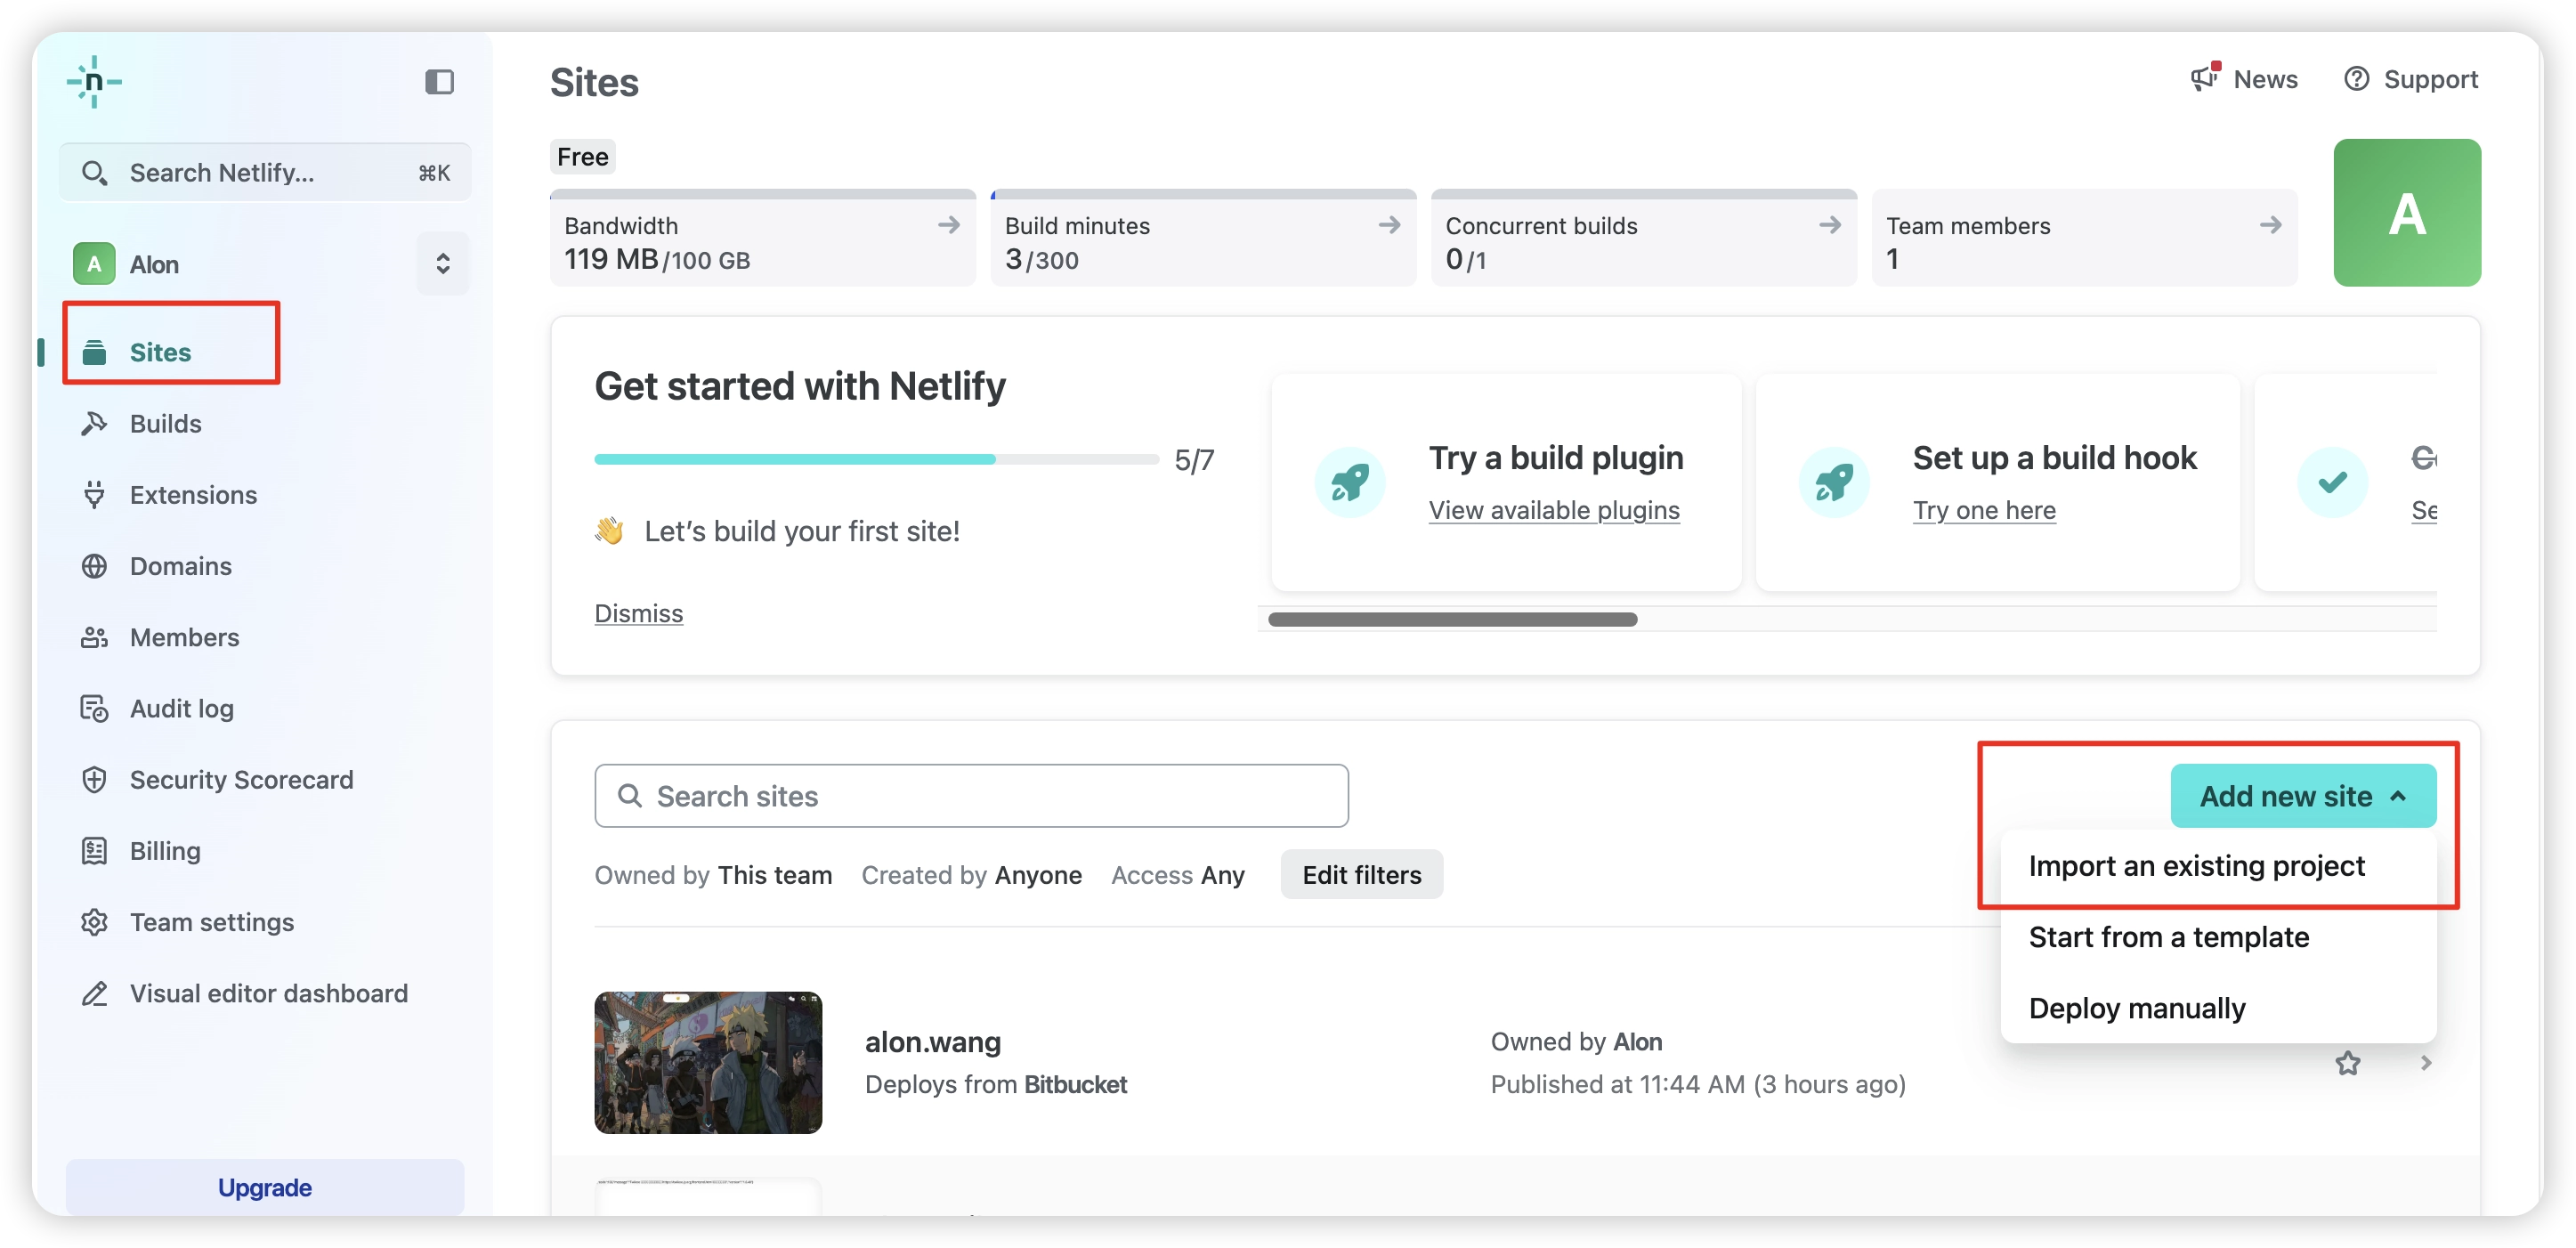
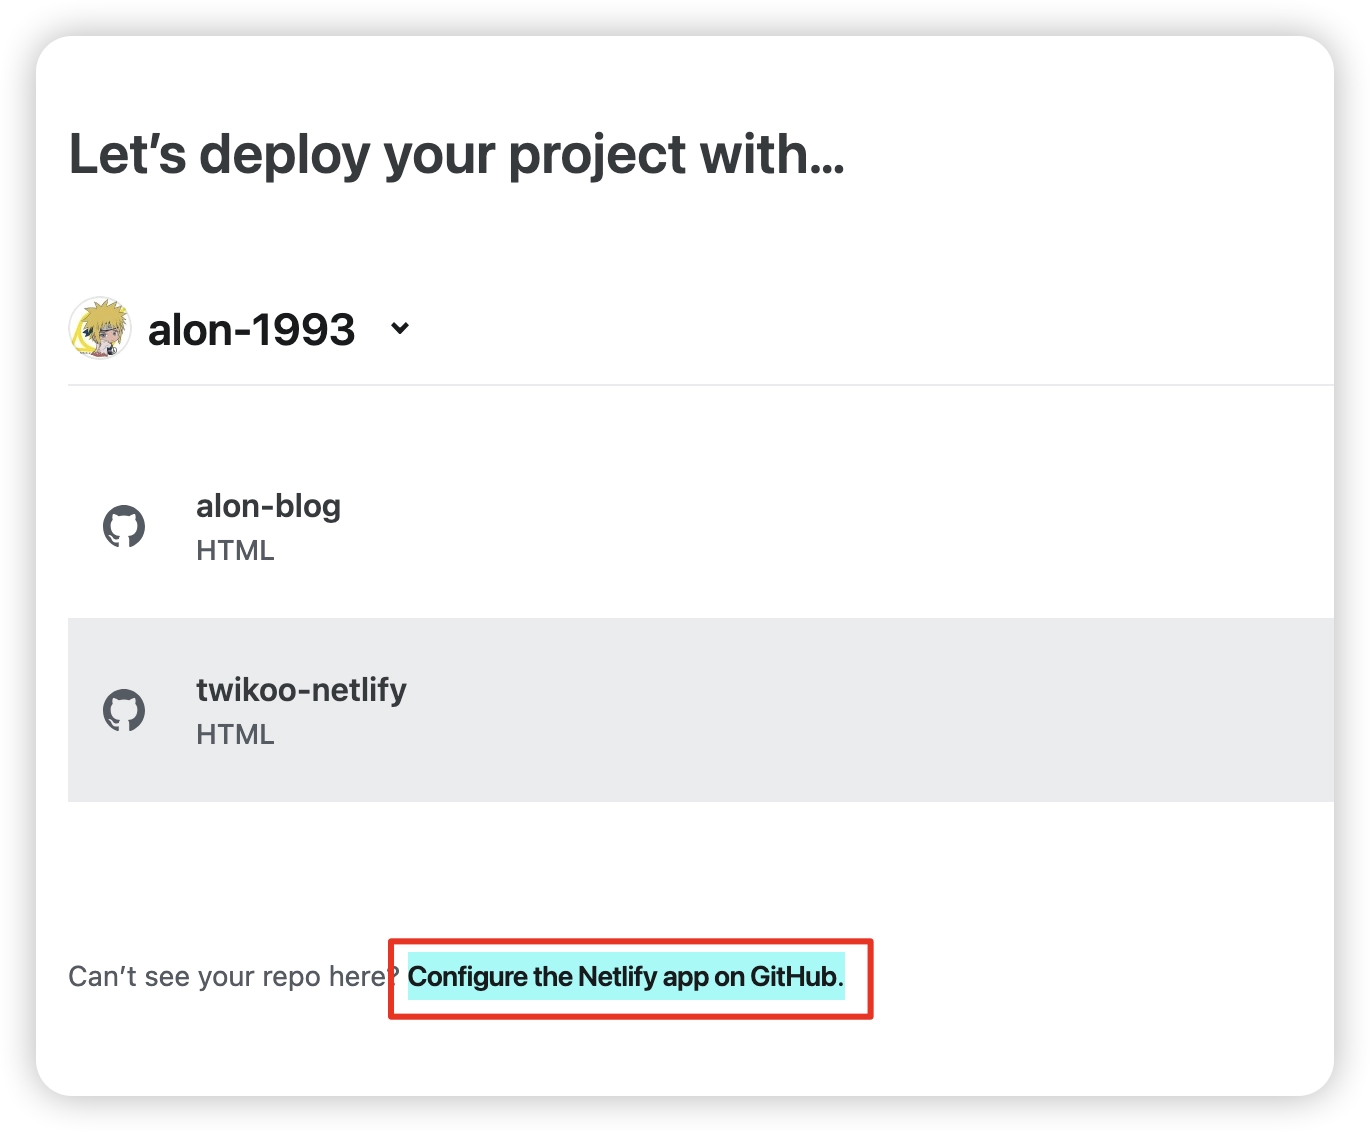
Create a new Netlify project
Connect the Git repository
Create a new site and choose the repository provider you want to connect. I used Bitbucket here. If you connect a GitHub repository, you also need to click Configure the Netlify app on GitHub. to authorize the repositories that can be linked. Then select the repository you want to use.
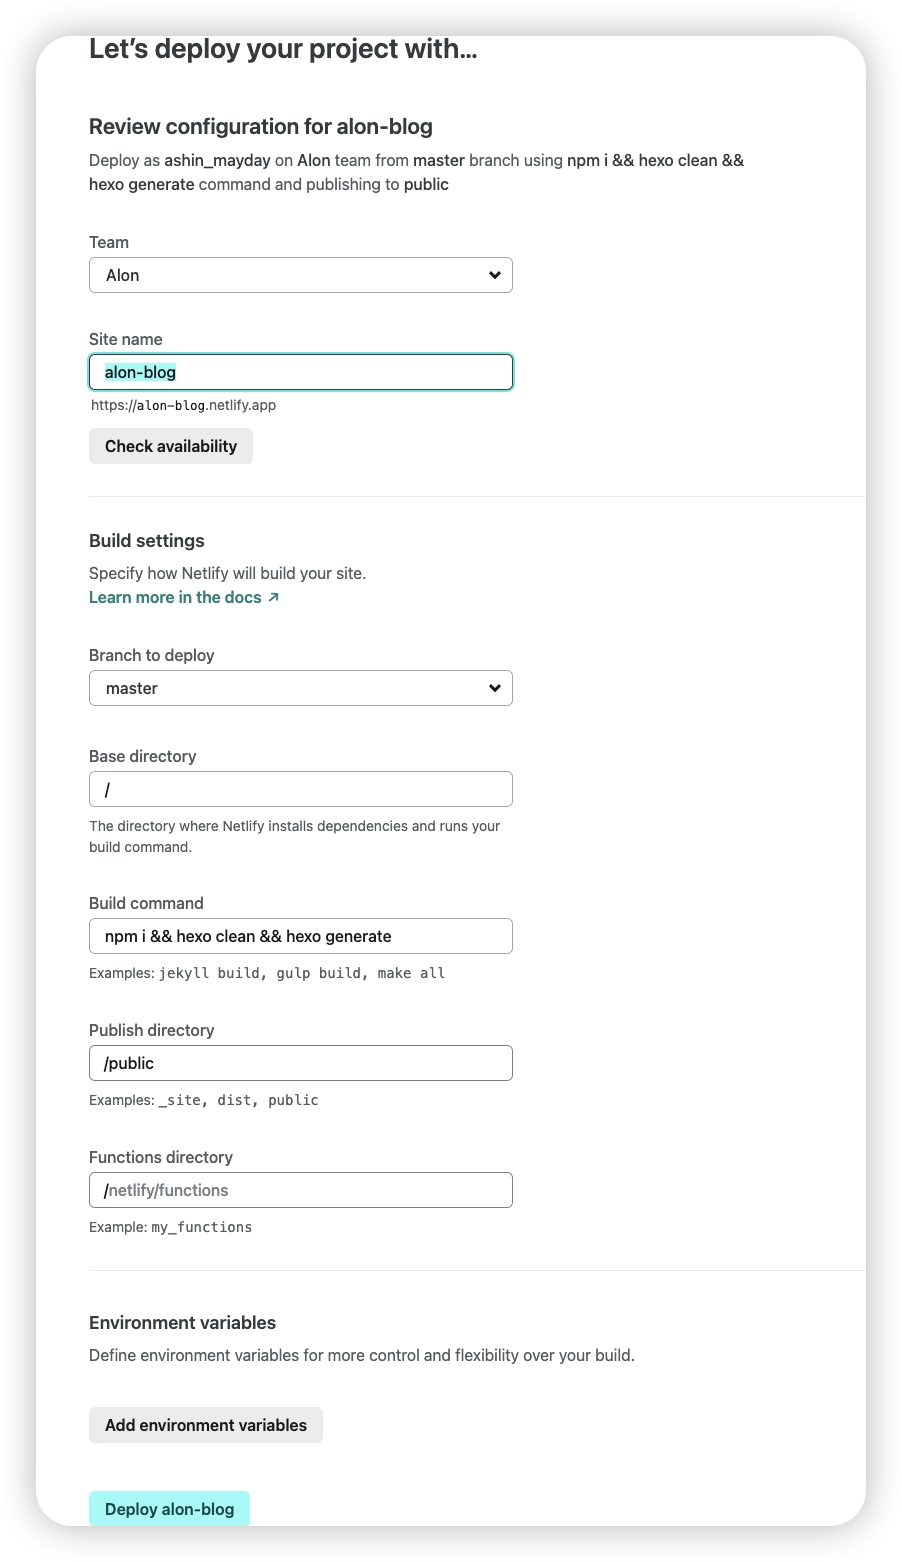
Configure the deployment command
Set your site name, choose the branch you want to deploy, set Base directory to /, set Build command to npm i && hexo clean && hexo generate, and set Publish directory to /public.
If your repository already contains compiled output, you can leave
Build commandempty.
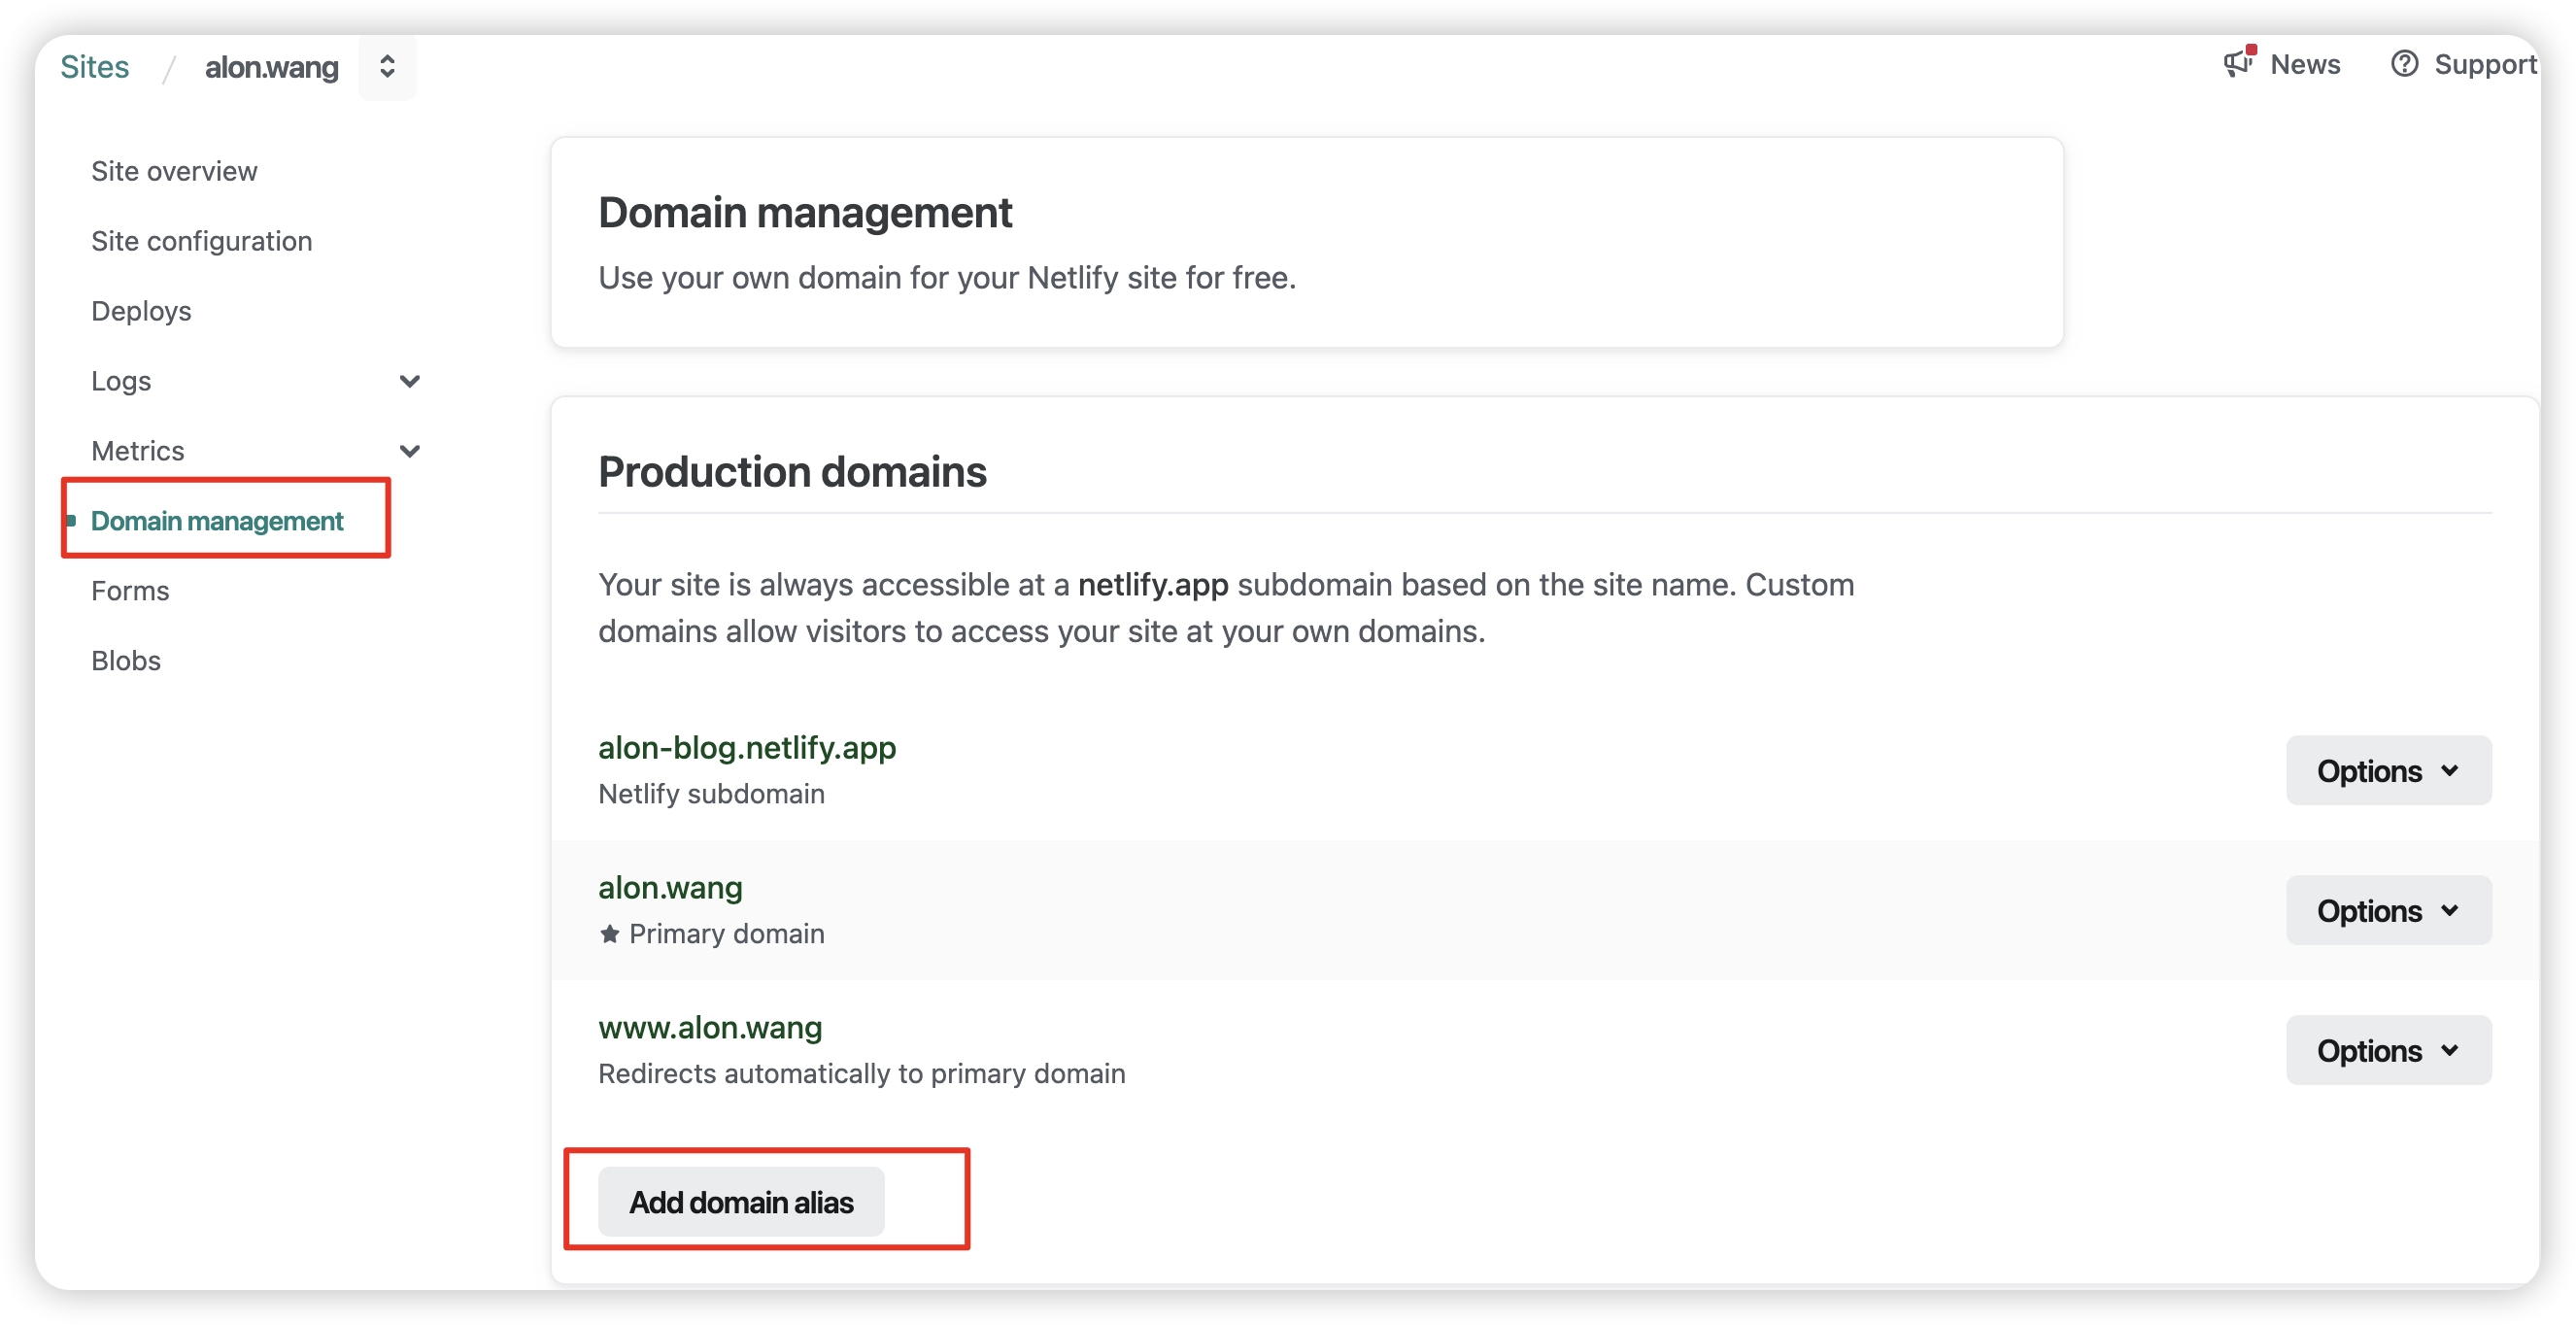
Add a custom domain
Go to Domain management and click Add domain alias to add a domain. In your domain registrar or DNS management platform, add a CNAME record pointing to your-netlify-site-name.netlify.app.. Make sure there is a . at the end.
That’s it. Deployment is complete, and from now on, every push to the Git repository will trigger an automatic deploy.