A practical workaround
In a previous post, I shared how I use Eagle and also mentioned one obvious drawback: it isn’t very friendly when you want to browse your library on a phone or tablet. This time I’m using PicHome as a workaround so the library can be accessed from mobile devices.
The project is designed for scenarios where a collection is managed by one person or a small team, but needs to be exposed to more people for viewing and downloading. It can serve as a portal for an existing image library, or even as a lightweight image search interface. That makes it a good fit when design assets need to be shared across departments or with partners in different locations.
Deployment with Docker
The easiest way is to use the docker-compose.yml provided by the project. First, clone the repository. If your Synology NAS can’t use git properly, you may need to install Git LFS manually first.
After logging into the SSH terminal, download the LFS package:
wget https://github.com/git-lfs/git-lfs/releases/download/v3.5.1/git-lfs-linux-amd64-v3.5.1.tar.gz
Unpack it and run the installer:
tar -zxvf git-lfs-linux-amd64-v3.5.1.tar.gz
cd git-lfs-3.5.1
sudo ./install.sh
Then enable Git LFS:
git lfs install
If everything is fine, you should see:
$ git lfs install
Git LFS initialized.
Now go to the folder where you want to keep PicHome and clone the project:
git clone https://github.com/zyx0814/Pichome-docker.git
Create two persistent directories next:
cd ./Pichome-docker/compose
mkdir data html
chmod -R 755 data html
Then adjust docker-compose.yml. You can also use the version below:
version: "3.5"

services:
  db:
    image: mariadb:10.7
    command: --transaction-isolation=READ-COMMITTED --binlog-format=ROW
    #ports:
    #  - ${port}:3306 #不暴露端口
    volumes:
      - "./data:/var/lib/mysql"
    environment:
      - "TZ=Asia/Shanghai"
      - "MYSQL_ROOT_PASSWORD=${password}" # 记得修改密码
      - "MYSQL_DATABASE_FILE=/run/secrets/mysql_db"
      - "MYSQL_USER_FILE=/run/secrets/mysql_user"
      - "MYSQL_PASSWORD_FILE=/run/secrets/mysql_password"
    restart: always
    secrets:
      - mysql_db
      - mysql_password
      - mysql_user

  app:
    image: oaooa/pichome
    ports:
      - ${port}:80
    links:
      - db
    volumes:
      - "./html:/var/www/html"
      - "/volume1/photo/eagle库:/photo" # 根据实际情况加入需要的库
    environment:
      - "MYSQL_SERVER=db"
      - "MYSQL_DATABASE_FILE=/run/secrets/mysql_db"
      - "MYSQL_USER_FILE=/run/secrets/mysql_user"
      - "MYSQL_PASSWORD_FILE=/run/secrets/mysql_password"
    restart: always
    secrets:
      - mysql_db
      - mysql_password
      - mysql_user

secrets:
  mysql_db:
    file: "./mysql_db.txt"
  mysql_password:
    file: "./mysql_password.txt"
  mysql_user:
    file: "./mysql_user.txt"
Make sure to change the password and port to match your own setup.
After that, run docker-compose up -d to start everything. The final directory structure should look something like this:
pichome-docker
├── .git
├── compose
│   ├── data
│   ├── html
│   ├── docker-compose.yml
│   ├── mysql_db.txt
│   ├── mysql_password.txt
│   └── mysql_user.txt
├── conf
├── Dockerfile
├── README.md
└── entrypoint.sh
Once Docker finishes starting up, open ip:port in a browser to initialize the database.
Installation

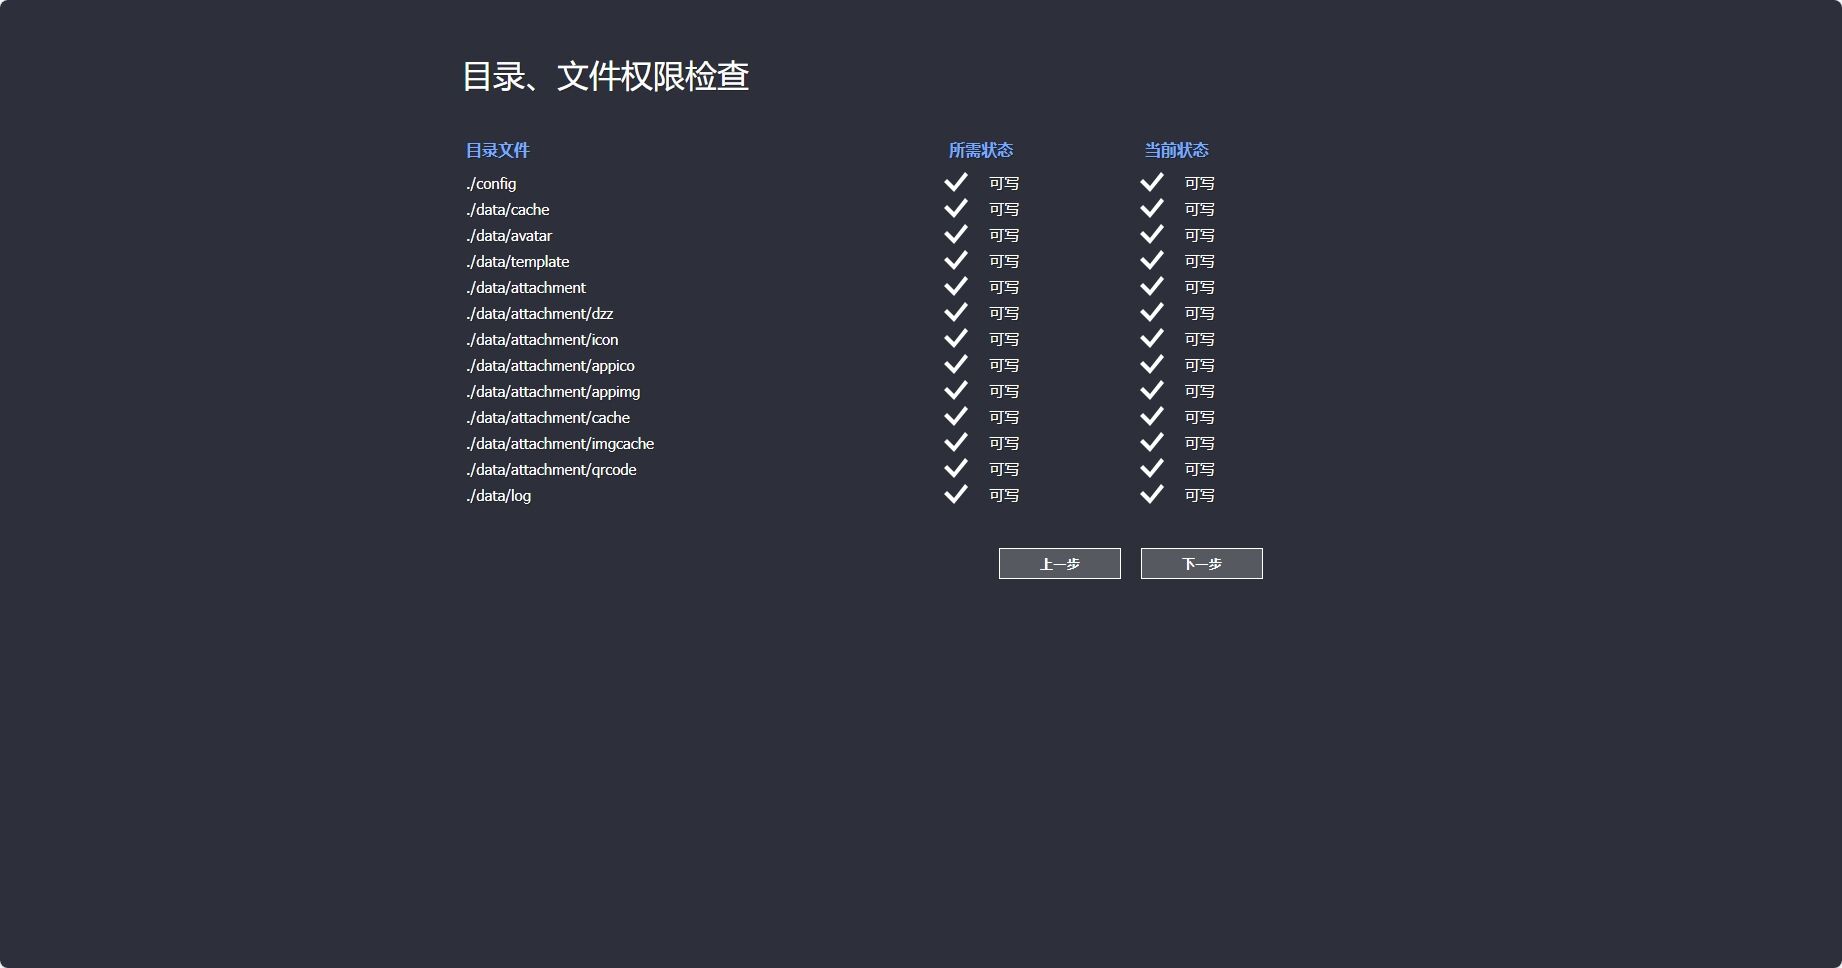
Installation 2
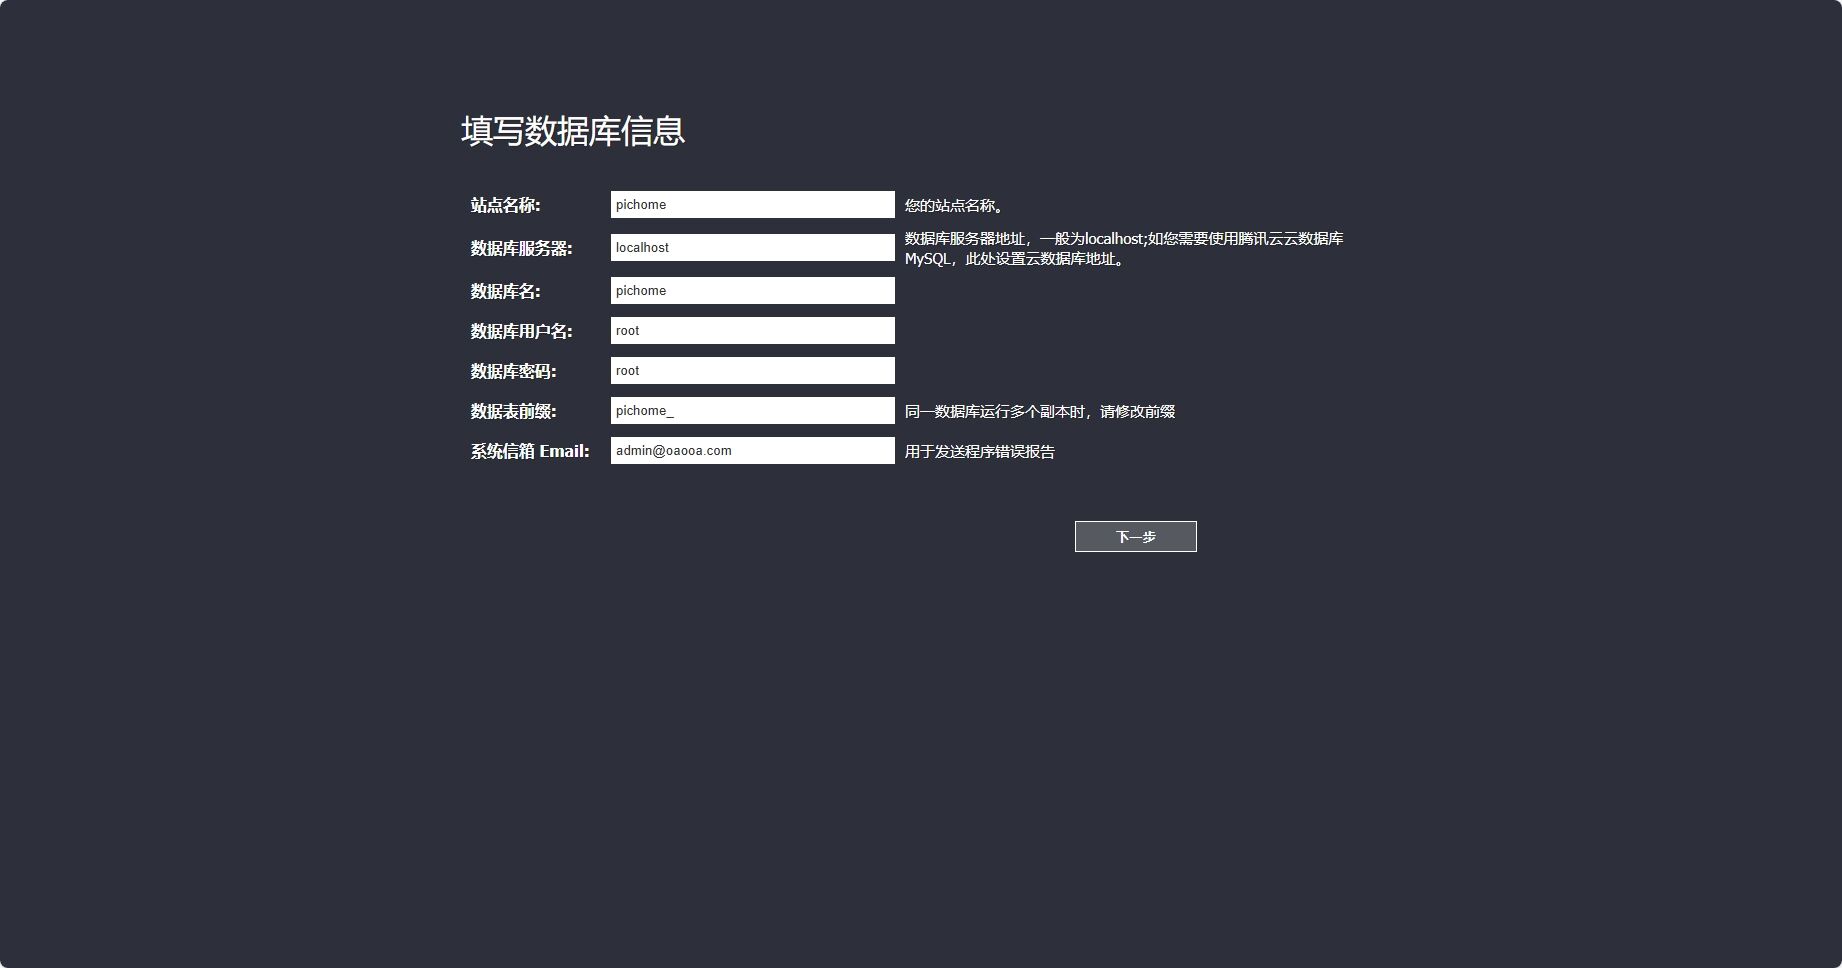
Installation 3
Installation 4
Fill in the setup fields like this:
- Site name: default
- Database server:
db— if you used my config above, this is the name afterlink - Database name: default
- Database user:
root - Database password: the password you set earlier
- Table prefix: default
- System email: set it yourself
Clicking next will ask you to reset the database, then you just wait for initialization to finish. After that, the installation is complete.
Adding your Eagle library
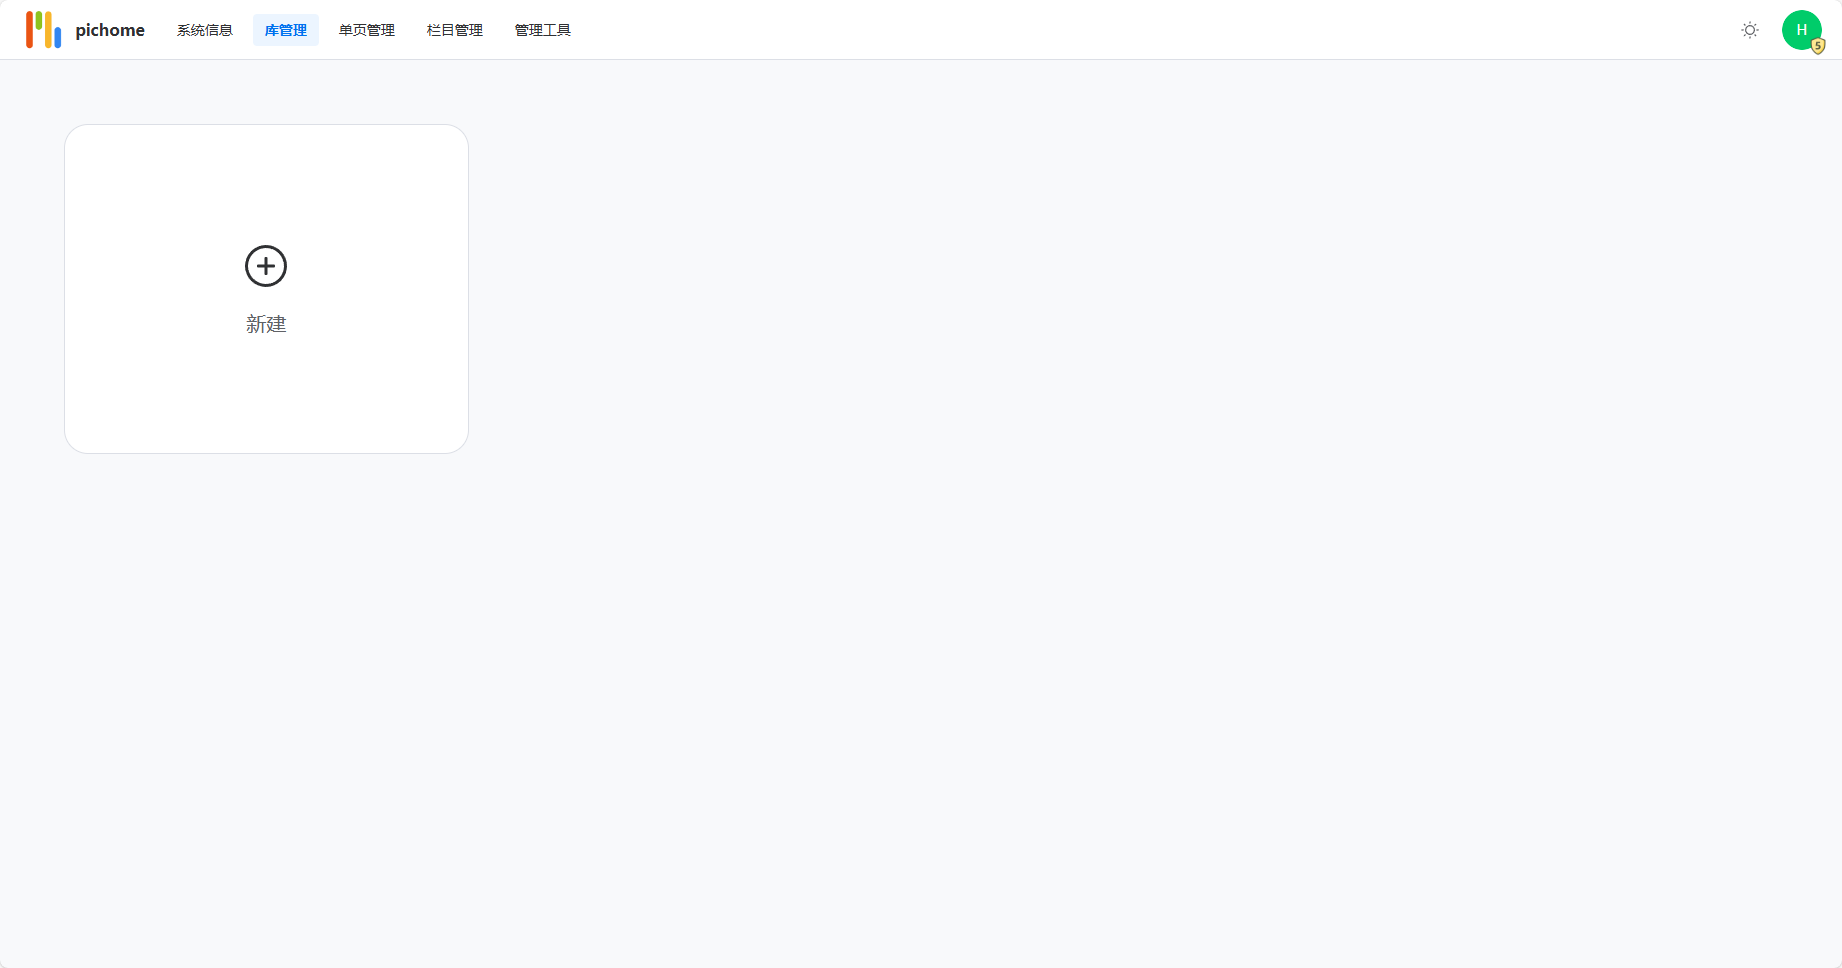
Open ip:port again and you’ll see that only the navigation bar is there. The next step is to add the Eagle library.
Click the avatar in the top-right corner, then go to System Management → Library Management.
Add library
Click New and select the directory you mounted during setup.
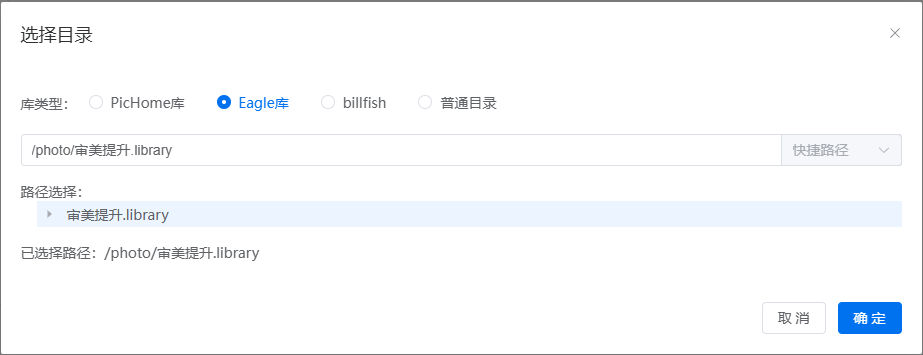
Mounted directory
After confirming, the library will be added. Then open the three-dot menu next to it and choose Update. If you go back to the homepage at this point, it may still look blank. That’s normal.
Now click the avatar again and enter System Management → Channel Management. You should see the library you just added; open the status switch at the end of the row. When you return to the home page, the Eagle images will appear, shown in a waterfall-style layout.
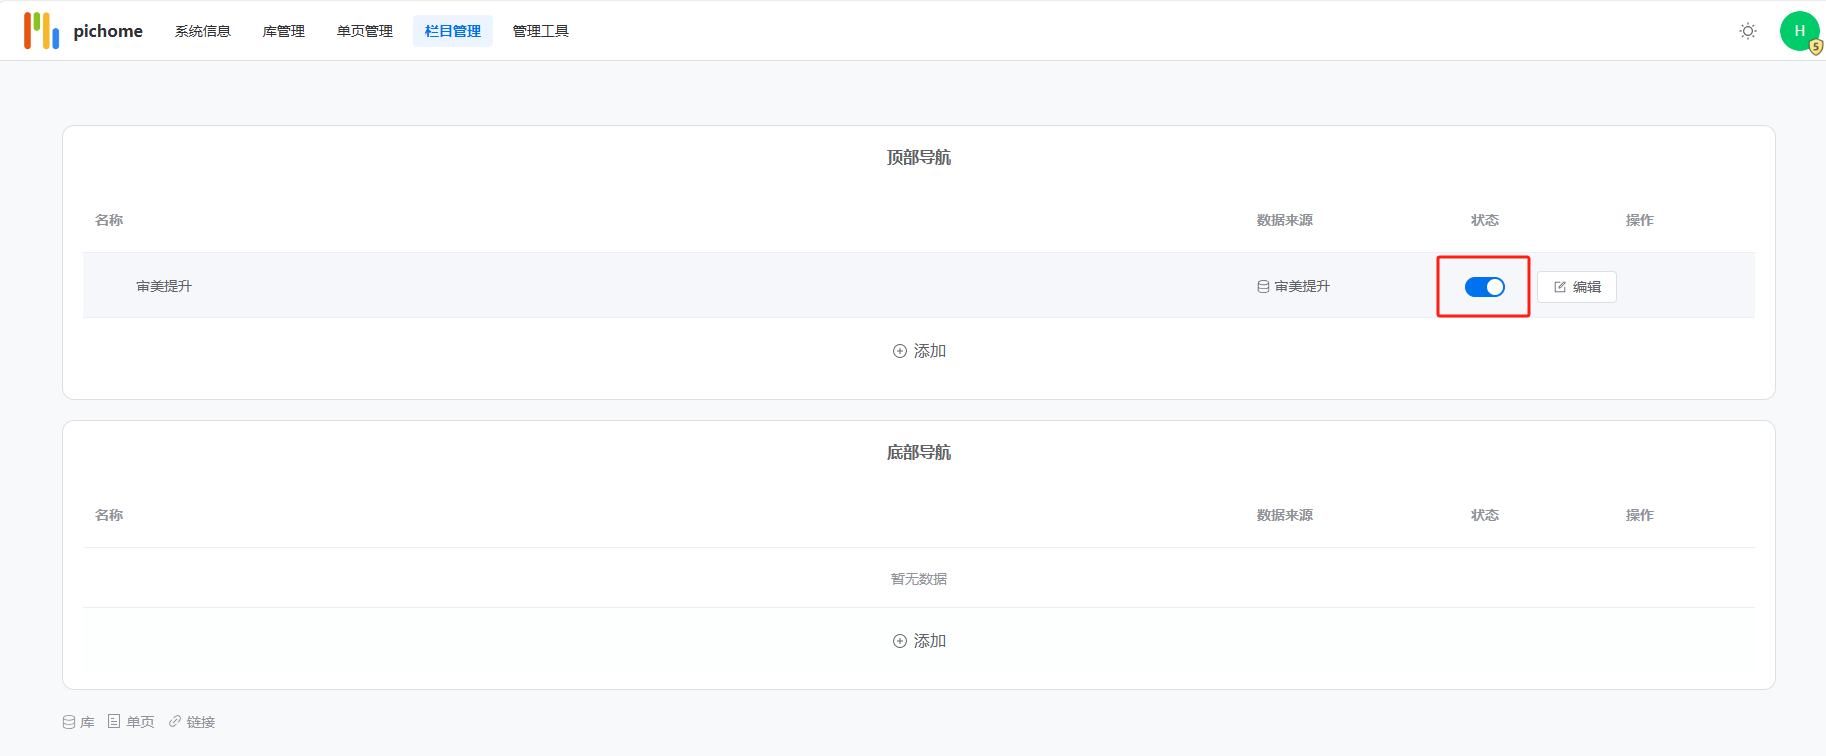
Channel management
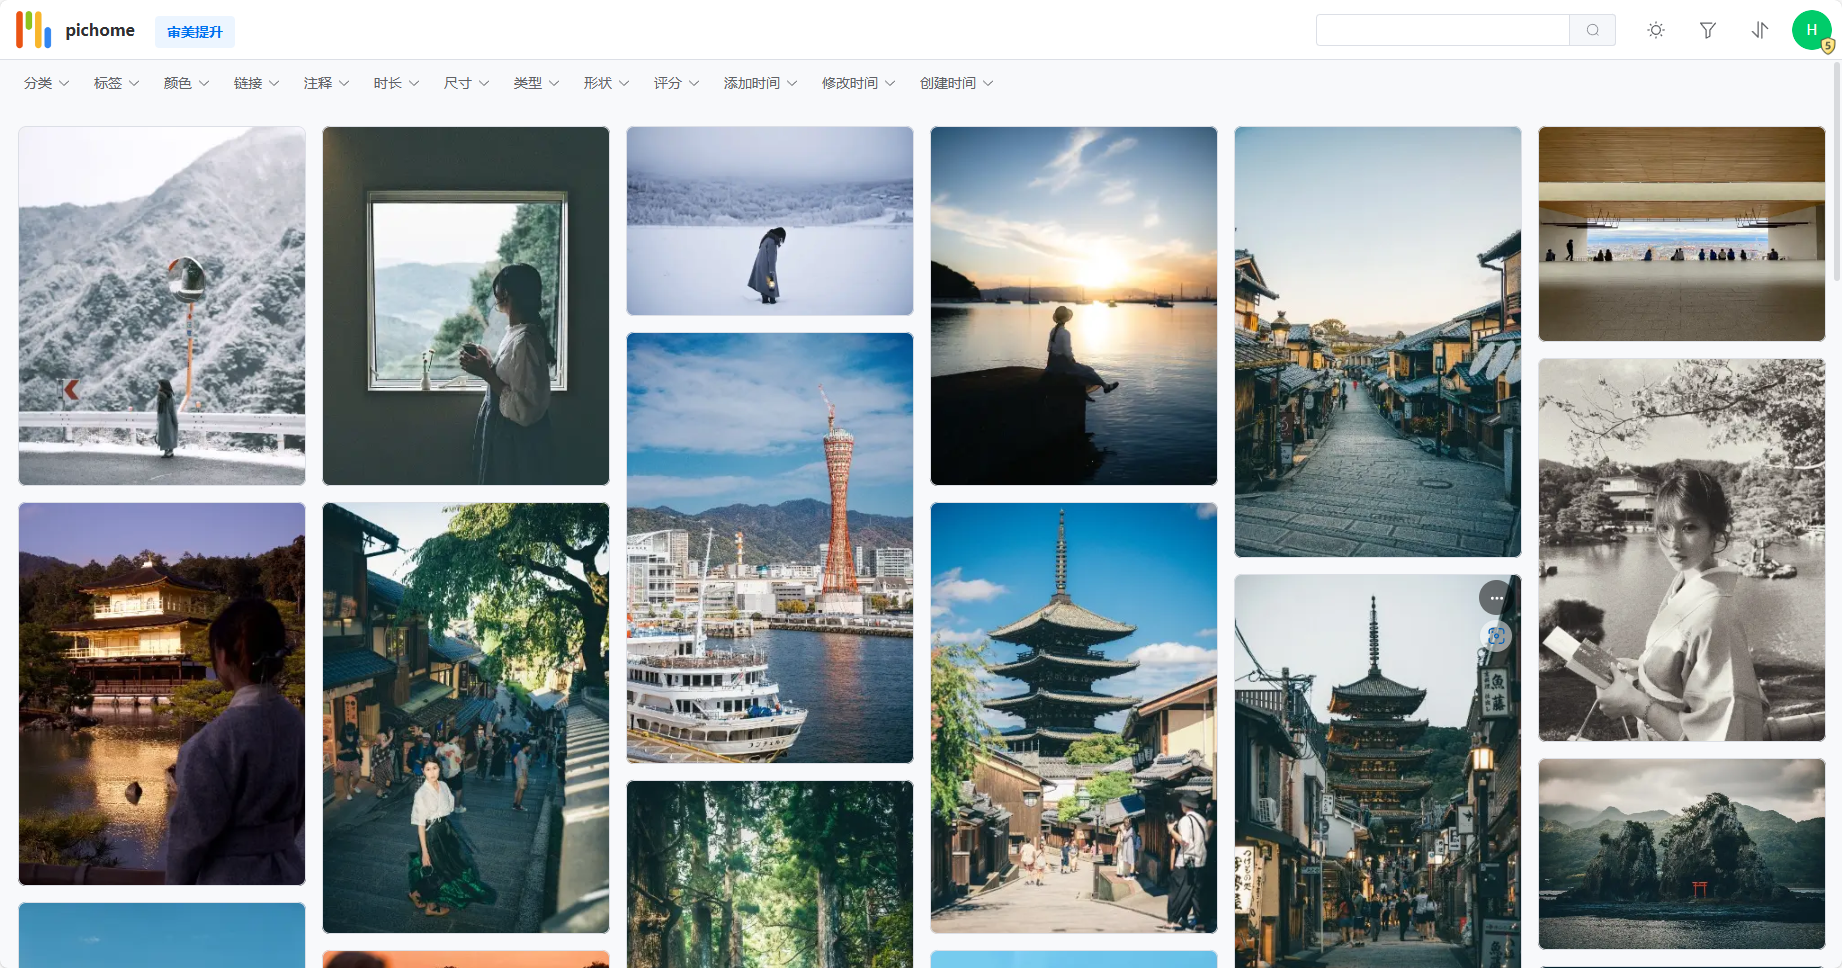
PC layout
iPad landscape
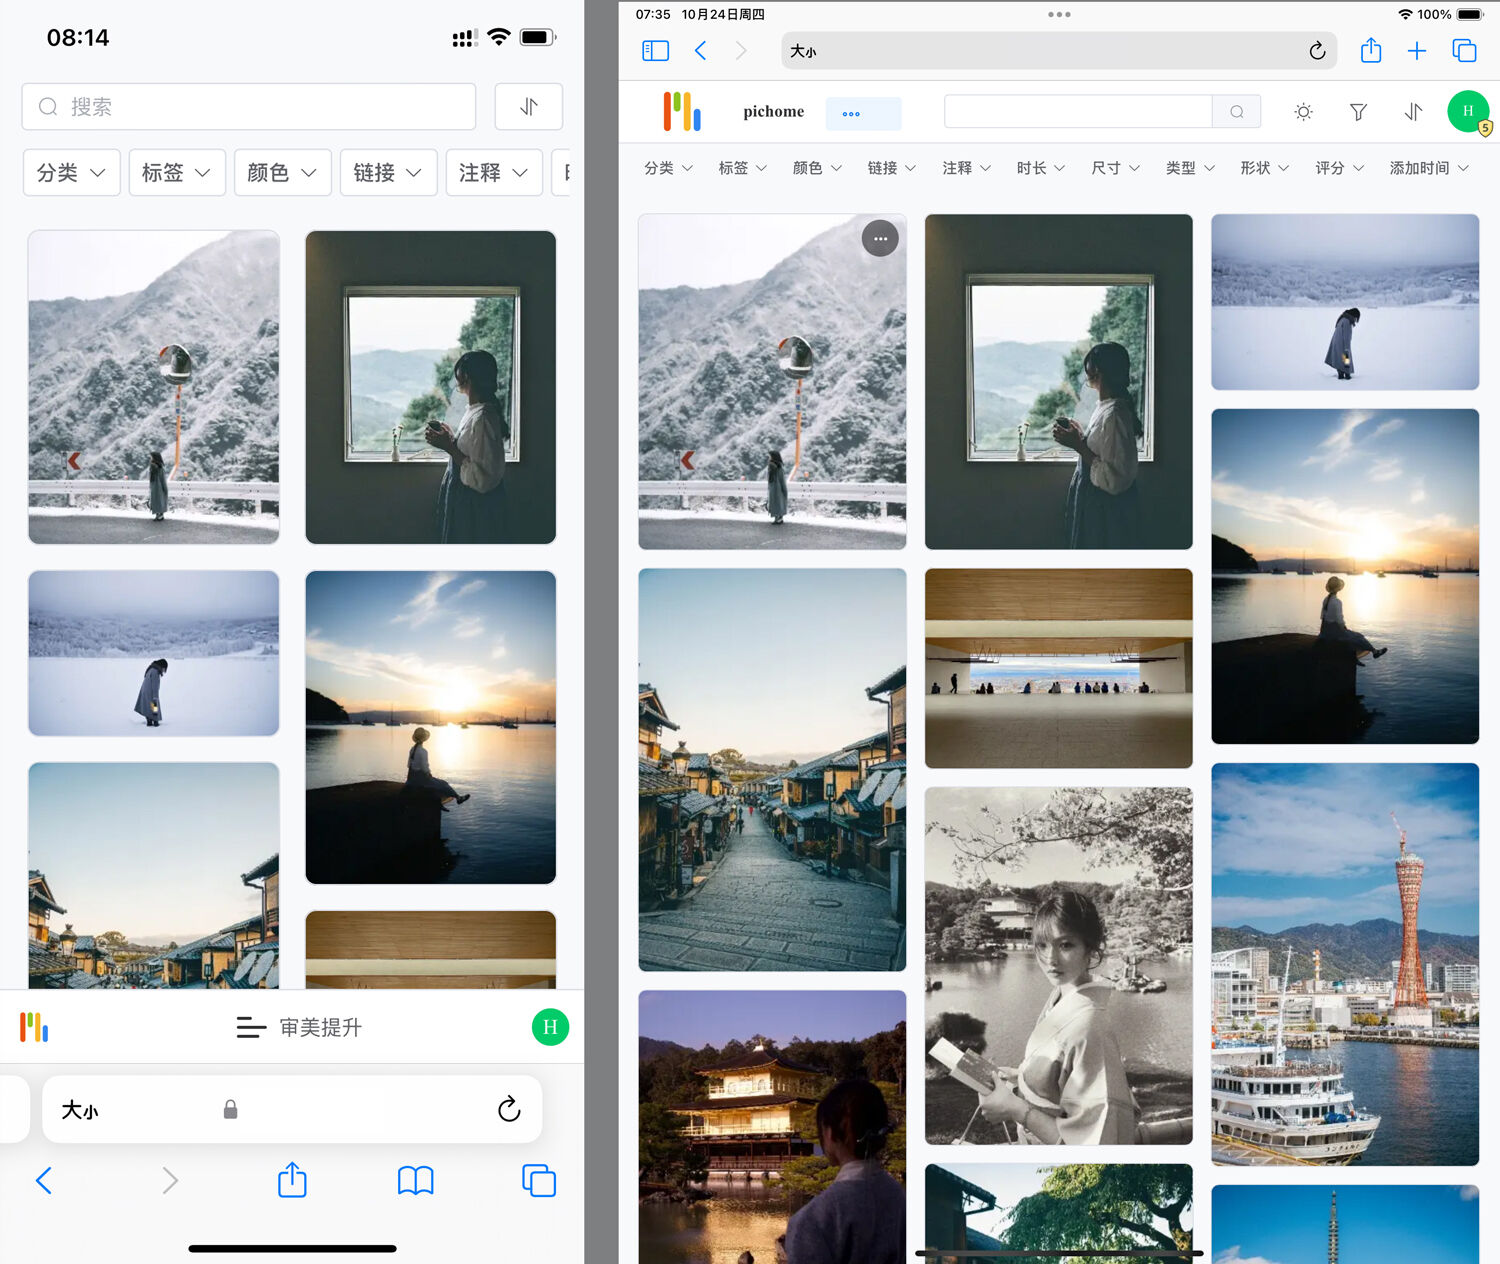
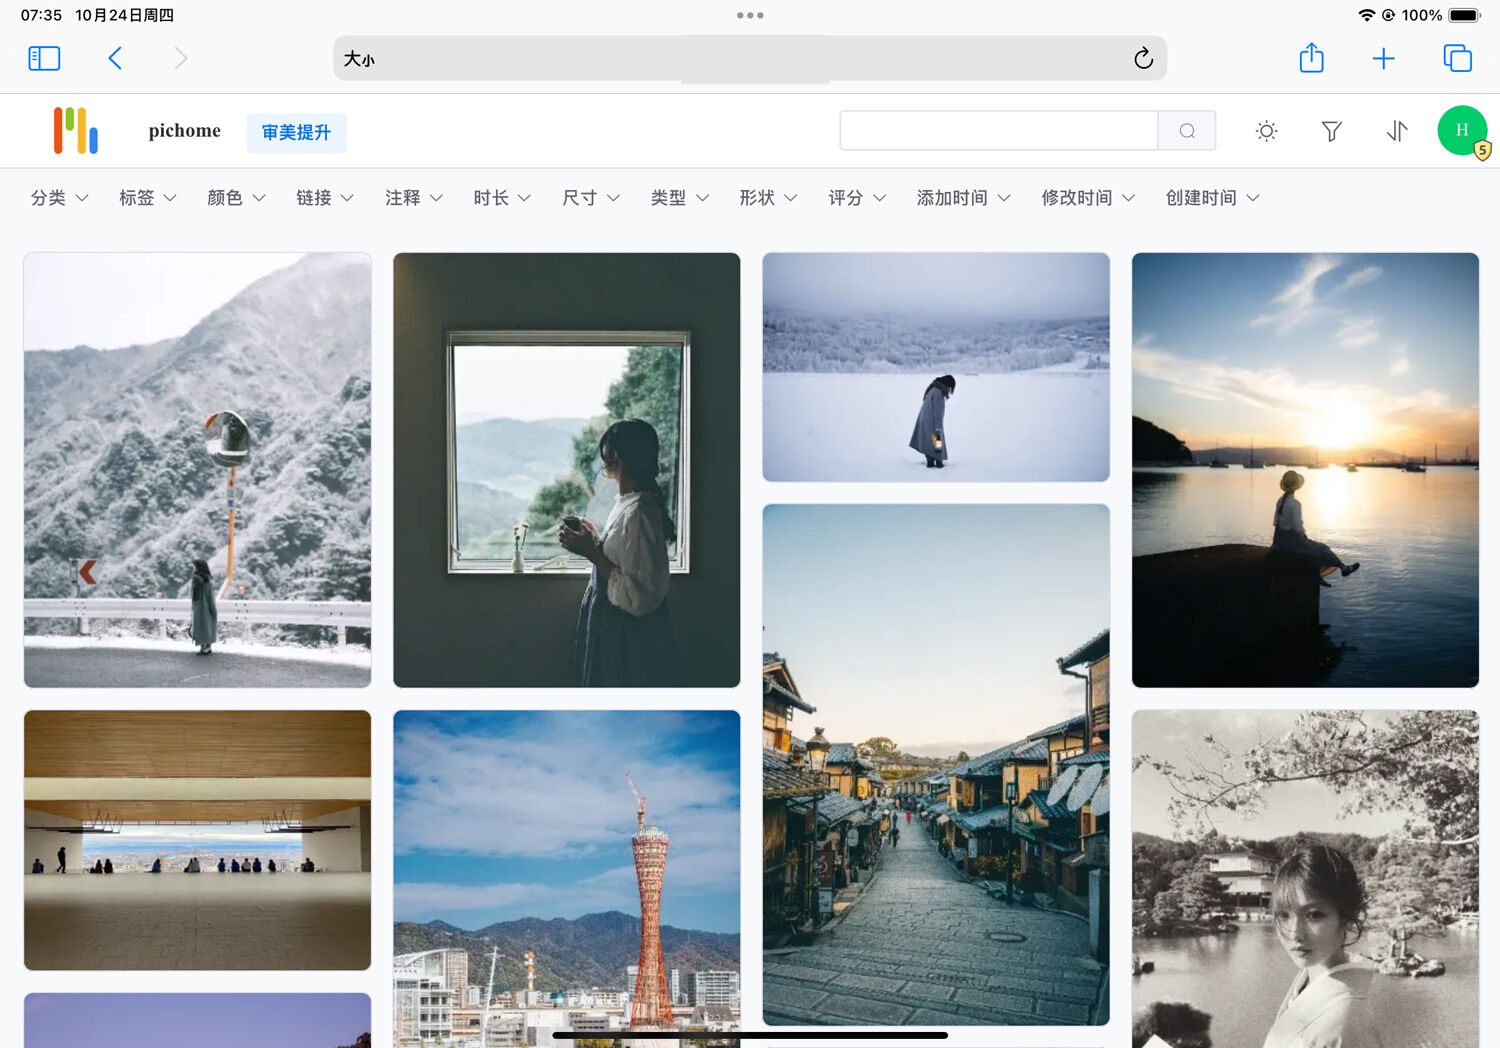
iPhone and iPad portrait
At this point the basic setup is done, and you can start using it. The workflow is similar to the Eagle usage I mentioned before:
- Categories correspond to Eagle folders
- Tags correspond to Eagle tags
- Colors correspond to Eagle color labels
A useful backup option
This setup works well as a fallback, or as a way to browse your library when you’re away from home. It doesn’t match Eagle’s native experience in terms of interface or features, but it makes up for one of Eagle’s biggest weaknesses and is a practical alternative worth keeping around.