After a year, the old upgrade method for my Ghost blog no longer worked. Since I couldn't find an updated Chinese guide, I decided to document my process for installing and upgrading to Ghost 5.30.
A word of caution before you proceed: Many Ghost users have reported issues with Mailgun, the email service Ghost integrates with. Problems include automatic upgrades from free to paid plans and unexpected limits on subscriber counts. Ghost is tightly coupled with Mailgun, and there aren't great alternatives for bulk email. If you decide to use Ghost, be prepared to communicate with Mailgun support, monitor your emails, and avoid linking a credit card that could be charged. If Ghost isn't essential for you, consider other blogging platforms.
Also, please note that this guide is provided as-is. I'm not responsible for any data loss or financial damage if you follow these steps. Back up your data before making changes.
Prerequisites
- Baota panel (version 7.6.0, clean edition)
- Ubuntu 20.04.4 LTS (kernel 5.4.0-124-generic x86_64)
- Nginx
- Docker
Docker installation is not covered here; refer to the official documentation for your OS.
Configuring the site in Baota
- In the Baota sidebar, go to "Websites" and click "Add site".
- Enter your domain name (make sure it resolves to your server's IP). The root directory will be created automatically, e.g.,
/www/wwwroot/yourdomain.com. You'll need this path later.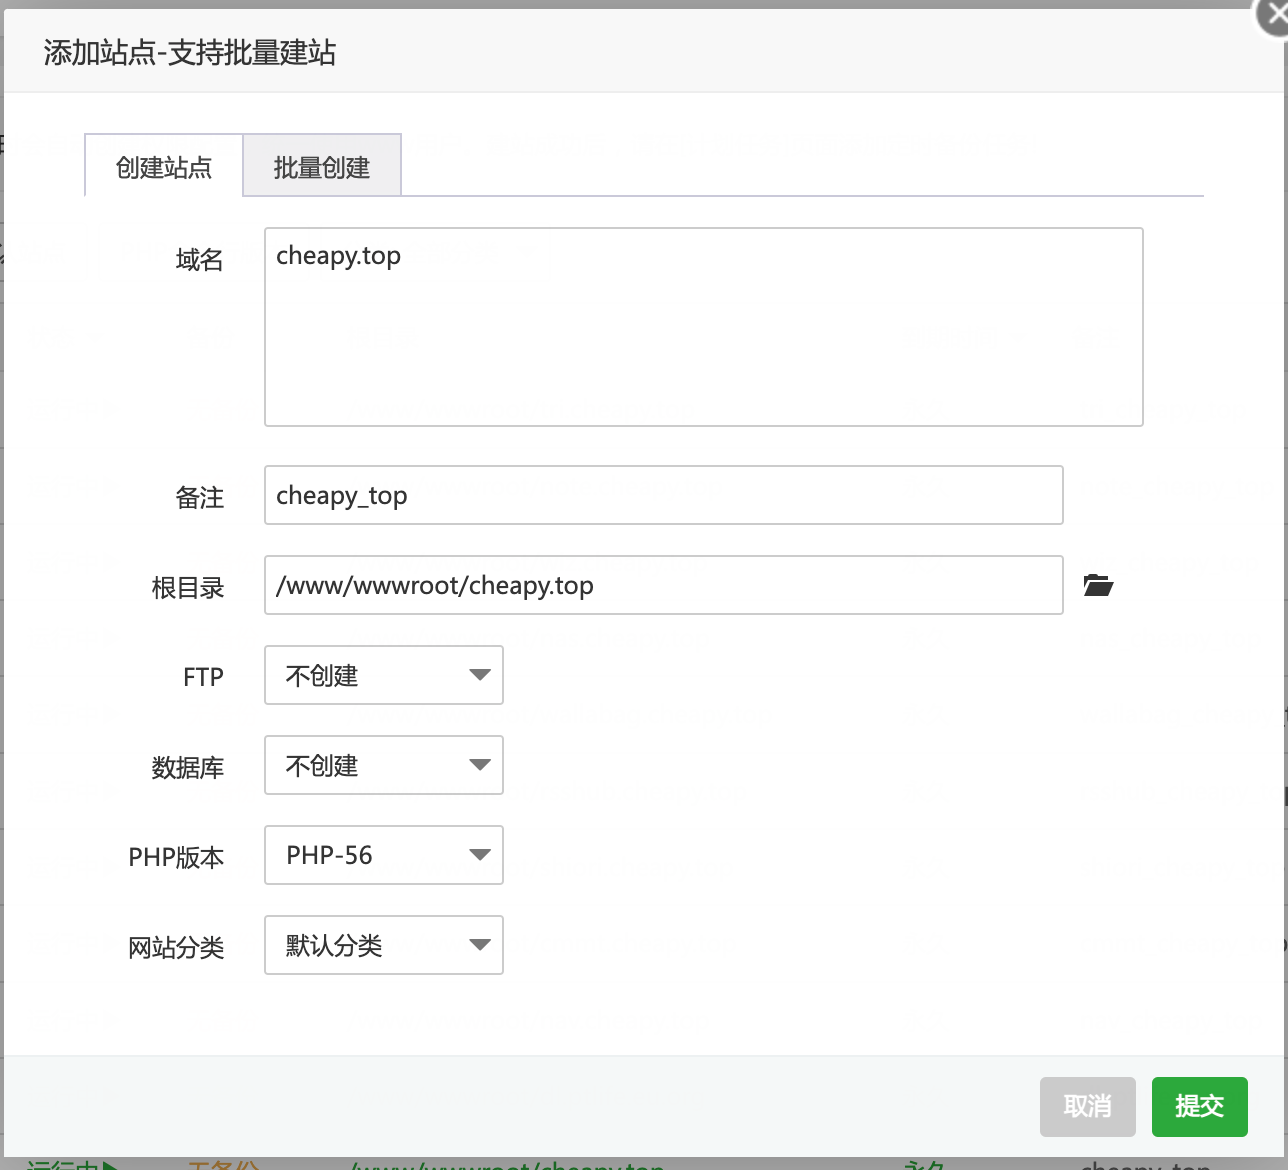
- Submit the form. Then click on the newly created site to open its settings.
- Under "SSL", choose "Let's Encrypt" and apply for a certificate.
- Go to "Reverse Proxy" and set the target URL to
http://127.0.0.1:8081. For Ghost 5.3 and later, also set the "Send Domain" field to your full site URL (e.g.,https://yourdomain.com).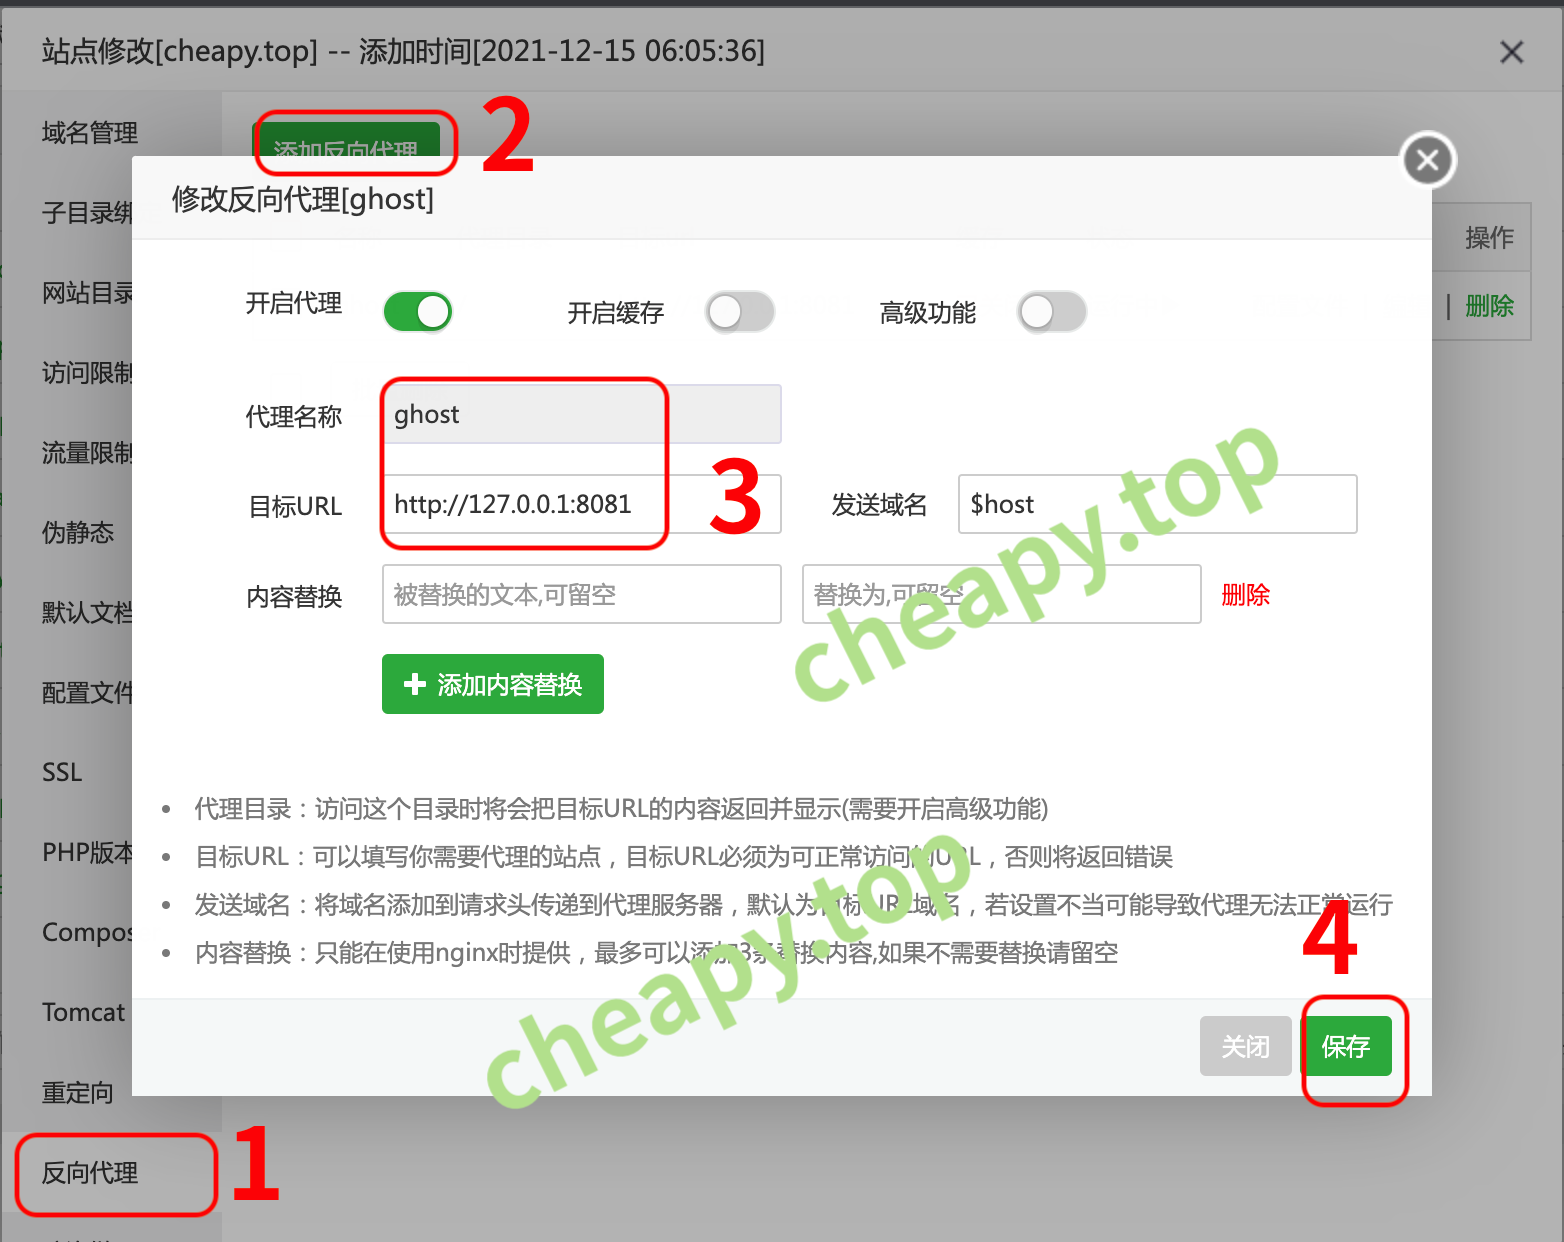
- Save the proxy settings, then open the configuration file that was generated.
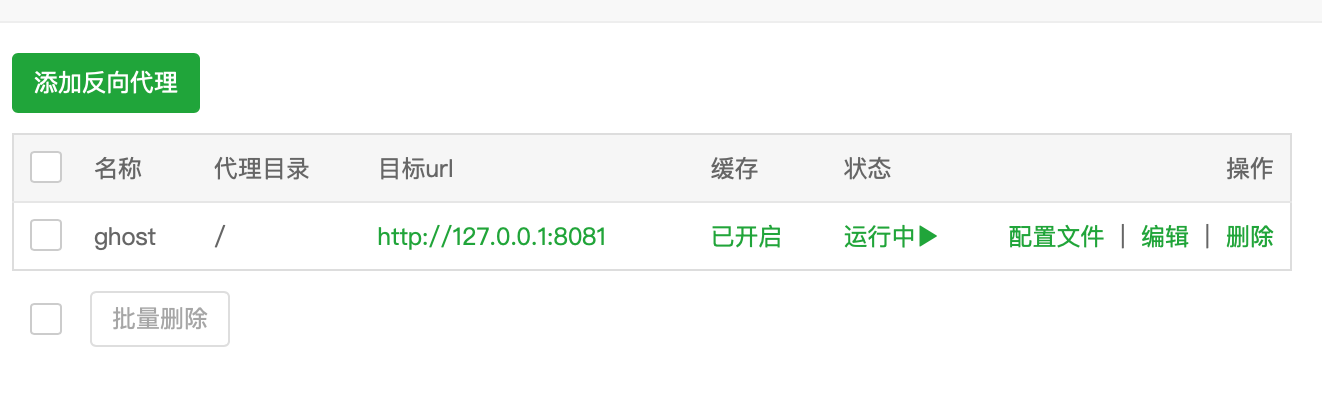
- Delete its contents and replace them with the following:
#PROXY-START/
location  ~* \.(php|jsp|cgi|asp|aspx)$
{
    proxy_buffering off;
    proxy_pass http://localhost:8081;
    proxy_set_header Host $http_host;
    proxy_set_header X-Real-IP $remote_addr;
    proxy_set_header X-Forwarded-For $proxy_add_x_forwarded_for;
    proxy_set_header X-Forwarded-Proto $scheme;
    proxy_set_header REMOTE-HOST $remote_addr;
}
location /
{
    proxy_pass http://localhost:8081;
    proxy_set_header Host $http_host;
    proxy_set_header X-Real-IP $remote_addr;
    proxy_set_header X-Forwarded-For $proxy_add_x_forwarded_for;
    proxy_set_header X-Forwarded-Proto $scheme;
    proxy_set_header REMOTE-HOST $remote_addr;
    client_max_body_size 200m;

    add_header X-Cache $upstream_cache_status;
    #Set Nginx Cache
    proxy_ignore_headers Set-Cookie Cache-Control expires;
    add_header Cache-Control no-cache;
    expires 12h;
}

#PROXY-END/
Save the file.
Installing Ghost
Create a folder to hold your Ghost configuration. You can use the site folder created by Baota, e.g., /www/wwwroot/yourdomain.com.
Inside that folder, create a file named stack.yml with the following content:
version: '3.1'

services:

  ghost:
    image: ghost:5.30
    volumes:
      - /www/wwwroot/yourdomain.com/volume:/var/lib/ghost/content
      # Note: replace the left side of the colon with the folder where you want to store your website files
    restart: always
    ports:
      - 8081:2368
    environment:
      # see https://ghost.org/docs/config/#configuration-options
      database__client: mysql
      database__connection__host: db
      database__connection__user: root
      database__connection__password: yourpassword
      database__connection__database: ghost
      url: https://yourdomain.com
      # Write your final website URL here
      #NODE_ENV: development

db:
    image: mysql:8.0
    restart: always
    environment:
      MYSQL_ROOT_PASSWORD: yourpassword
      # The password here must match the one above
Connect to your server via SSH, then run:
cd /www/wwwroot/yourdomain.com
docker-compose -f stack.yml up
Wait for the containers to start. If the logs show no errors, open your domain in a browser. If the Ghost homepage appears, you can stop the process with Ctrl+C and start it in the background:
docker-compose -f stack.yml up -d
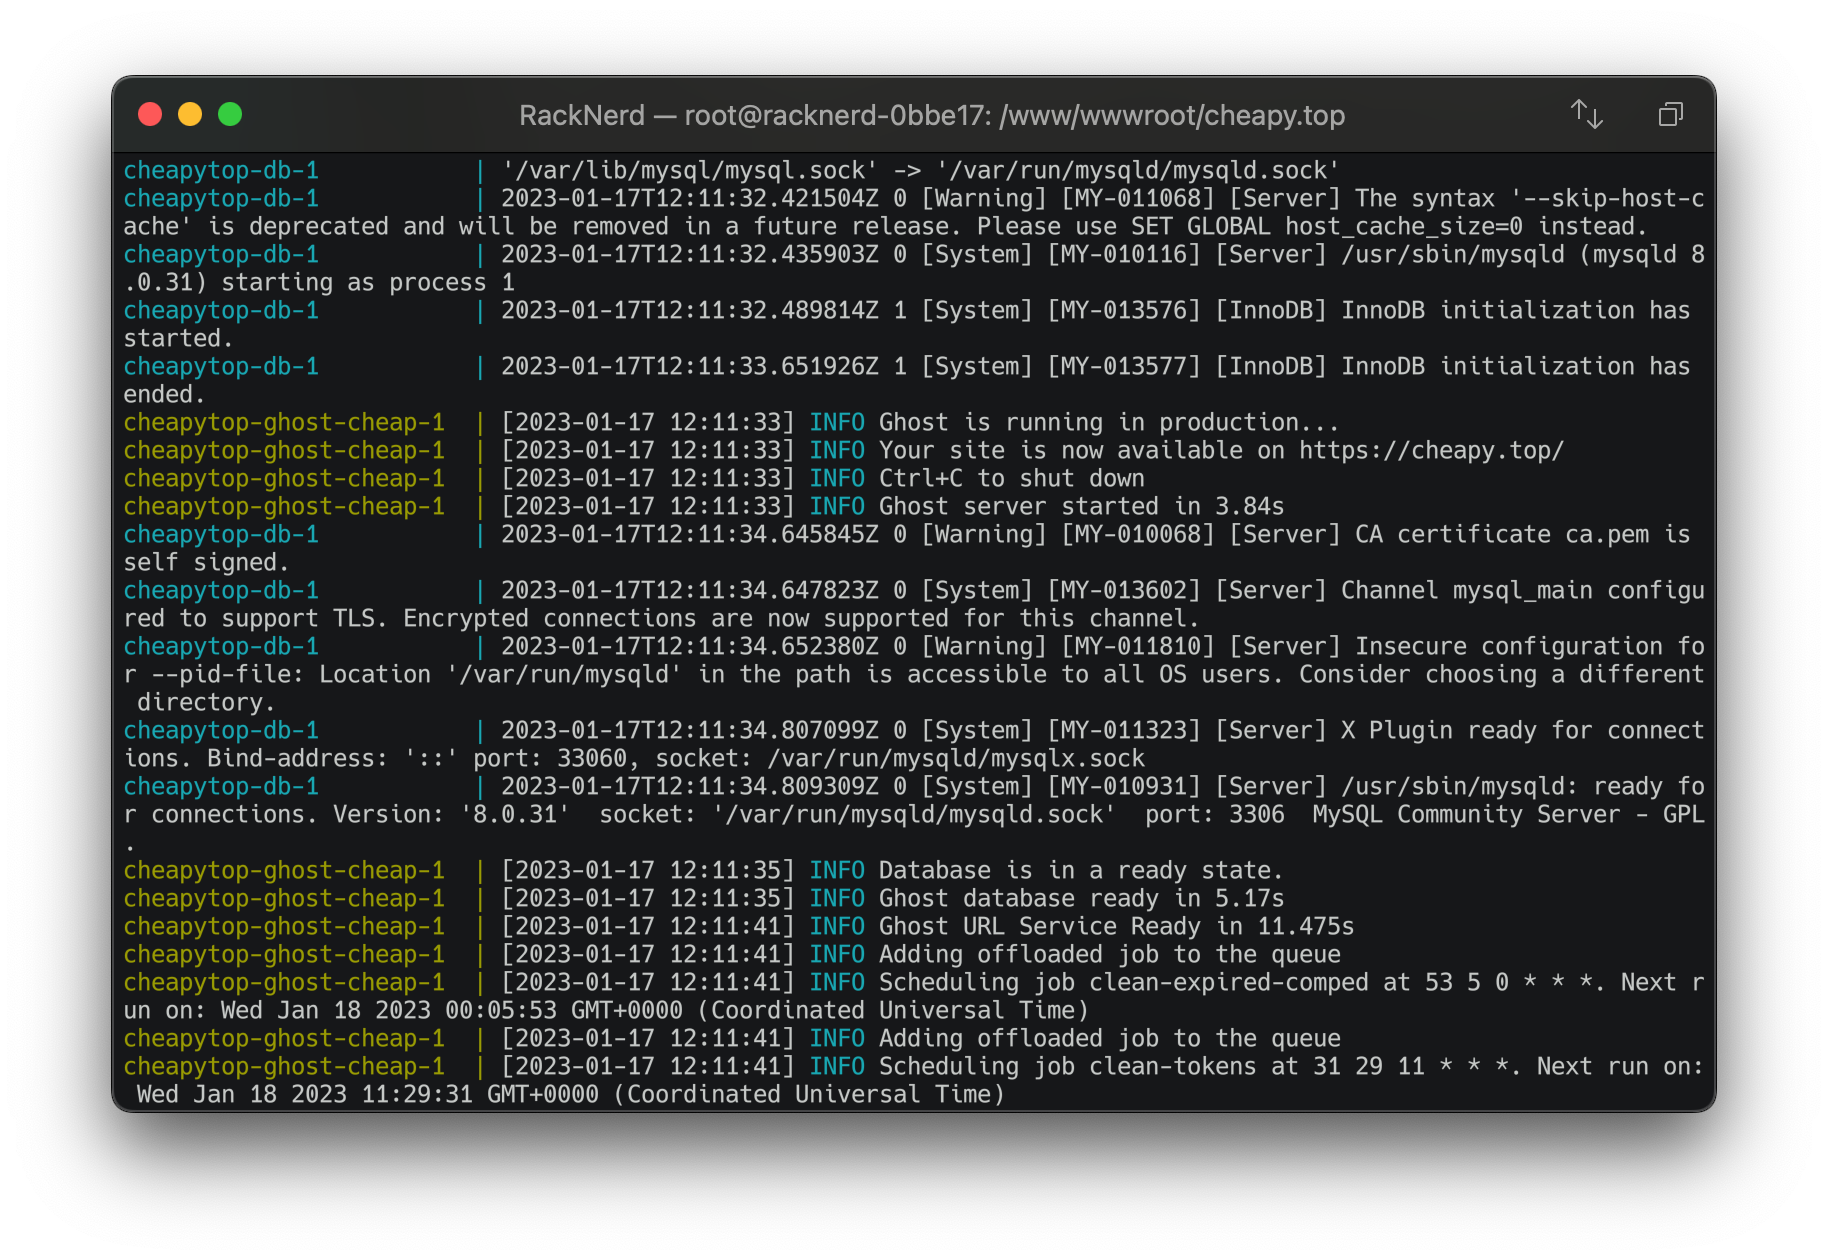
Now visit https://yourdomain.com/ghost to complete the setup.
Upgrading from older versions
Ghost has changed significantly. Only versions 3.x and 4.x that use MySQL can be upgraded directly. Other versions require a fresh installation.
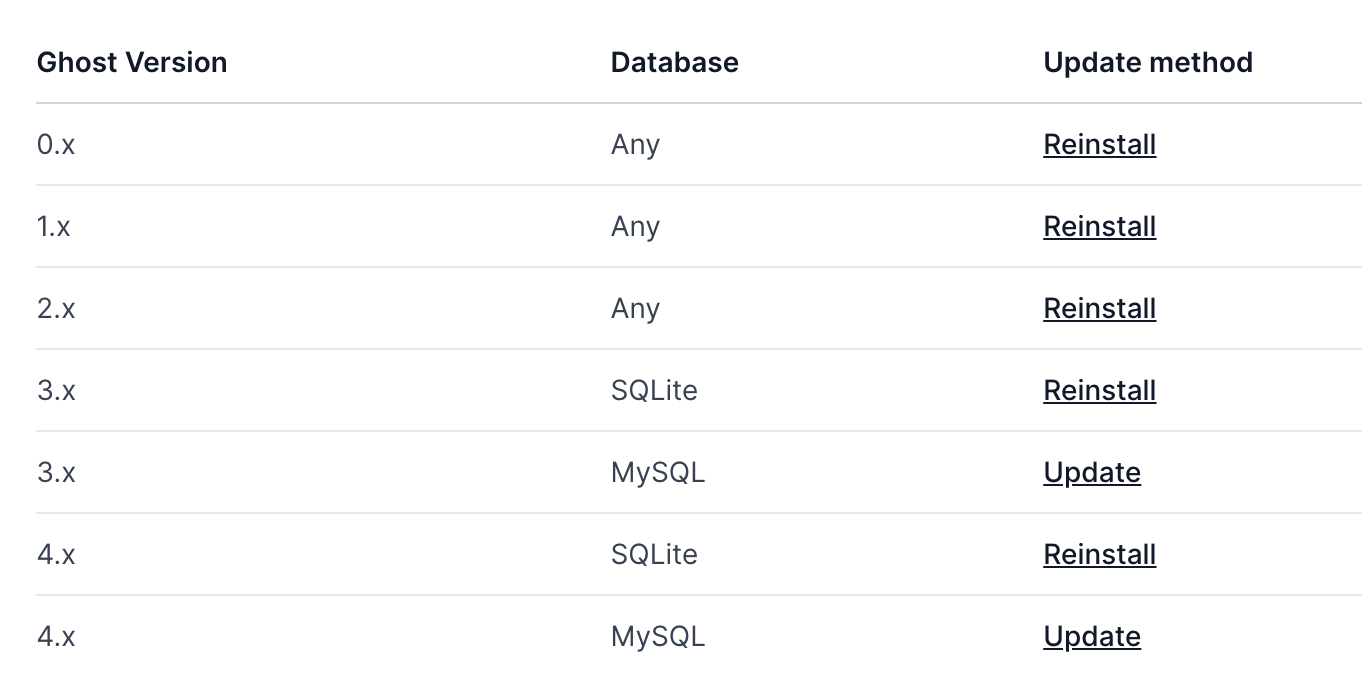
If you're on 3.x/4.x with MySQL, you might be able to upgrade by pulling the latest image and restarting. I haven't tested this, so back up your data first.
Upgrading by reinstalling (export/import)
This method involves exporting data from the old installation and importing it into a new one. It preserves:
- Theme files
- Uploaded images
- Published posts and pages
- Subscriber list
It only works if your old Ghost was installed with Docker and the content folder was mounted to the host.
Export data from the old version
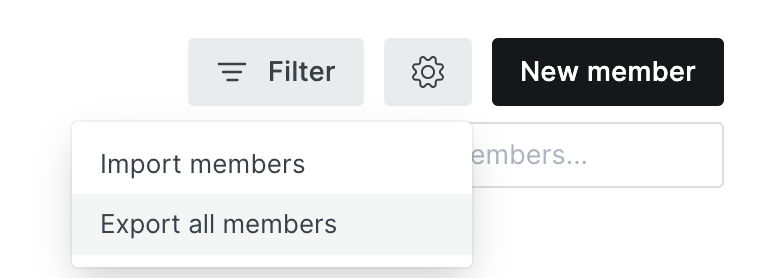
- Log in to Ghost admin, go to "Members", click the gear icon, and choose "Export all members".
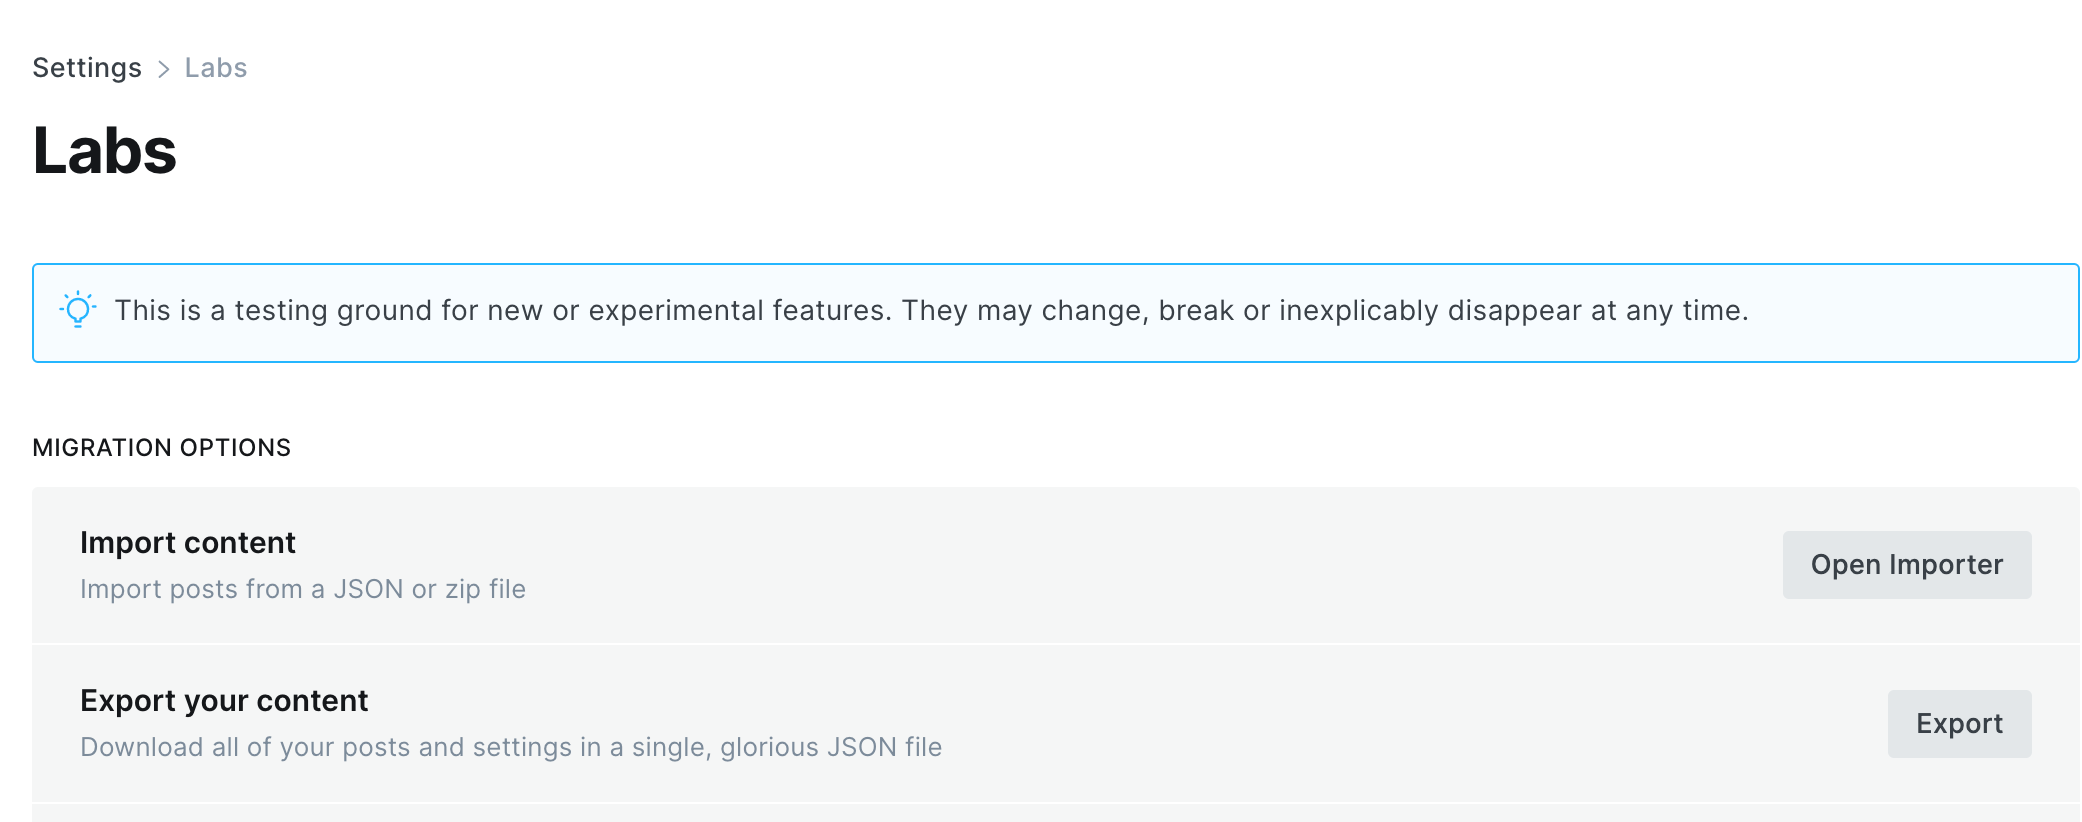
- Go to "Labs" (under the gear icon) and click "Export" next to "Export your content". This downloads your posts and pages but not uploaded files.
- In SSH, stop the Ghost container:
docker stop [container_name]. Then copy the mounted content folder for backup. - Install the new Ghost version using the steps above, making sure to mount the same host folder as before.
- Log in to the new Ghost admin and import the members and content files.
Email configuration
At this point, most of your Ghost site should be working. However, email is not configured yet. Ghost's native comments require visitors to sign up via email, so setting up email is important. That's beyond the scope of this guide, but you'll need to configure Mailgun or another SMTP service to use all features.