The goal was modest: give a collection of old documents, a static blog, and a small pile of compressed PDFs a durable home, with Disqus or Cusdis for comments. The reference point was those old game sites that kept odd corners of the web alive. AI help made the build feel achievable, so the plan was to get the site running first and move the content later.
Choosing the VPS
Avoiding ICP registration and extra paperwork pointed toward an overseas server. The cheap end of that market is narrow; Cloudcone and Racknerd were the obvious candidates, and neither had a strong promotion at the time. The load would be static documents, a static blog, a few compressed PDFs, and a comment layer. There was also a vague wish to try n8n on the same box, so the cheapest basic plan made sense: 2vCPU/2GB KVM/40GB, with the expectation that heavier tasks would struggle.
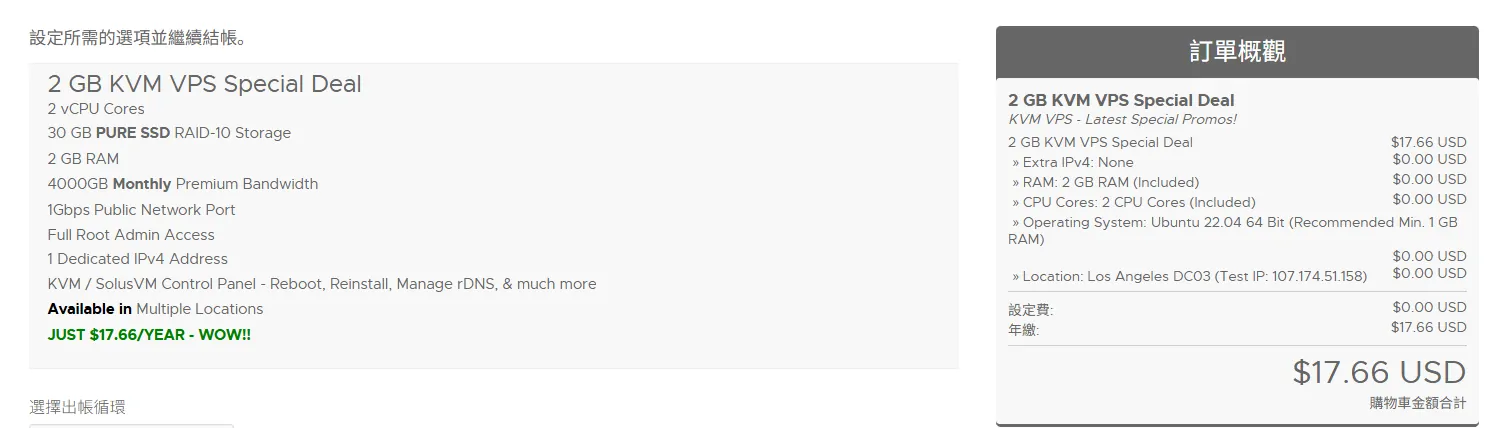
Before buying, test network speed. Comments suggested Los Angeles DC02 was fast, while DC03 was less clear. Test in advance because payments are non-refundable. Alipay was accepted, and VPS details arrived within 15 minutes of payment.
Verifying the data center
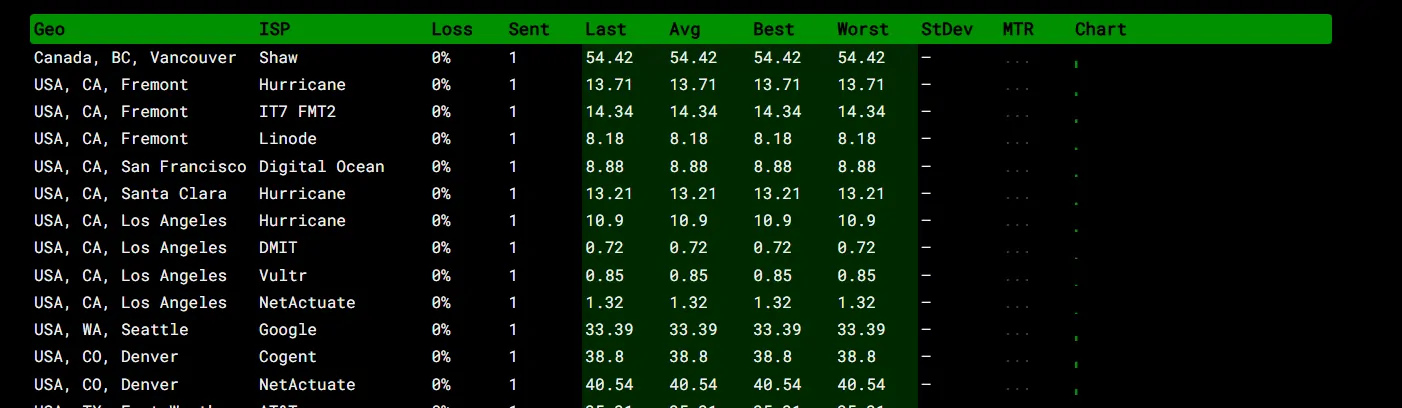
Machines sold into the Chinese market deserve an extra check: confirm the assigned data center is not blocked in mainland China. Use ping.pe or a Chinese webmaster tool. If mainland China cannot reach it but other regions can, request a replacement quickly; after the window, a swap costs 3 USD. If neither side can reach it, the VPS may not be booted yet.
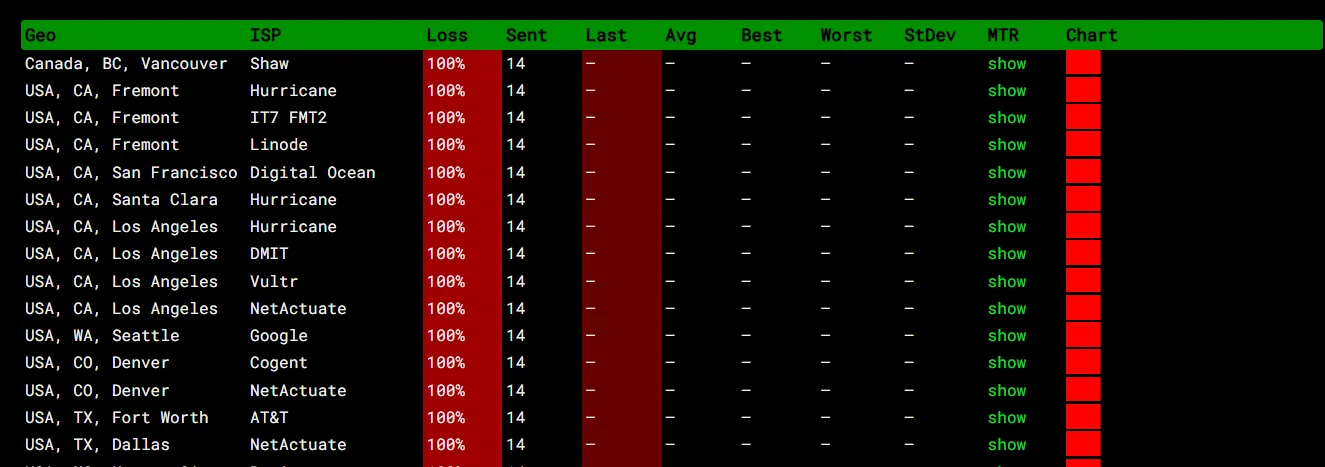
The first machine hit a snag. After an hour, it was unreachable from both mainland China and overseas. SSH failed. The provider VNC console could open the server, but the server itself could not ping the outside world. A support ticket led to a quick replacement, and the new machine worked normally.
Setting up the server
Ubuntu 20 was installed during purchase. After SSH login, the basics: update the system, create a user, and install curl, wget, git, zip, unzip, htop, and similar tools.
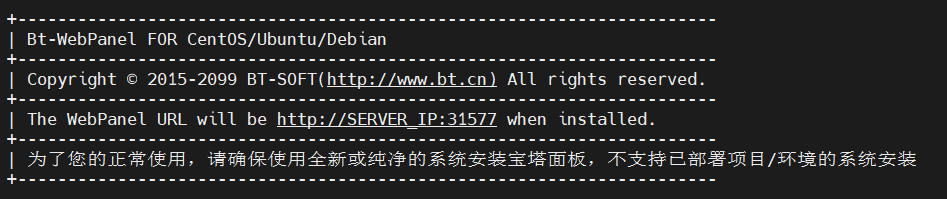
For someone without a deep technical background, a panel such as Baota or 1Panel is the practical way to manage the environment. Racknerd's own site has a Chinese guide for installing Baota, which says something about who buys these cheap servers. Copy the command from Baota's site and run it over SSH or VNC.
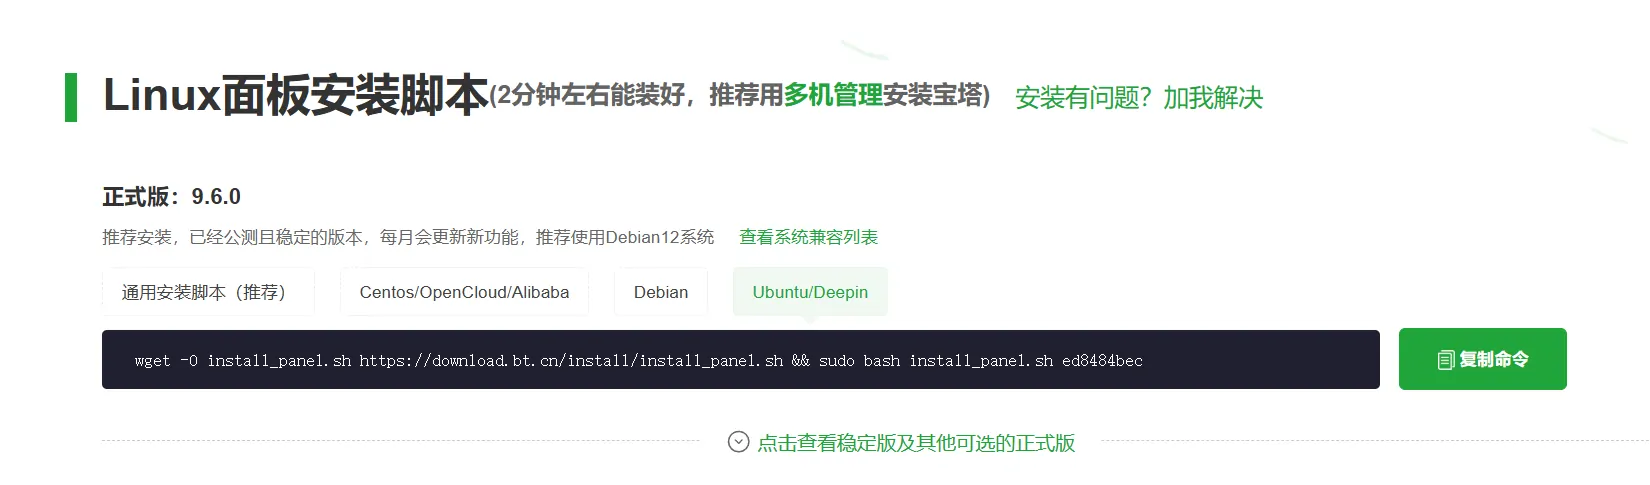
Once the panel is up, log in through the browser. A GUI is a relief when command-line flags refuse to stick. The panel can install a recommended stack in one click, or you can tailor it to the server and use case. Gemini suggested a lightweight database instead of MySQL.
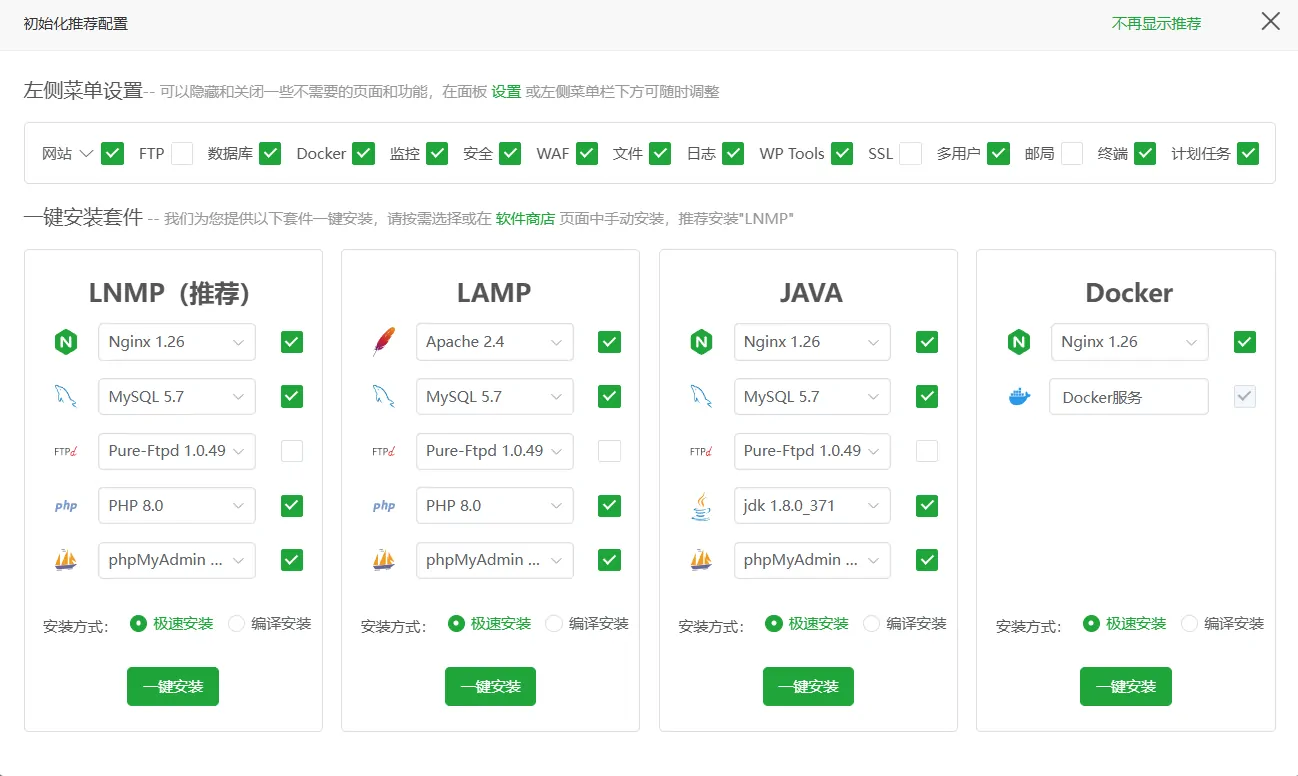
With the base stack installed, the remaining software depends on the job. The panel makes installation straightforward. Docker came first, since most future services would be managed as containers.
Buying a domain
A domain was the next piece. Spaceship was the cheapest option in the comparison. Since this was meant to be a low-stakes project, a six-digit .xyz domain fit: ten years for 6.70 USD, about 48.1 RMB at the time. Roughly the price of a coffee in Shanghai.

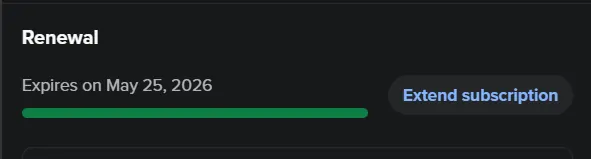
The buying process is simple. For a ten-year term, buy one year first, then renew from the domain details page; the maximum renewal is nine years. Alipay support was a welcome detail.
Moving DNS to Cloudflare
Most site services already ran through Cloudflare, so putting this domain there too made sense. Cloudflare also adds CDN and reverse-proxy options.
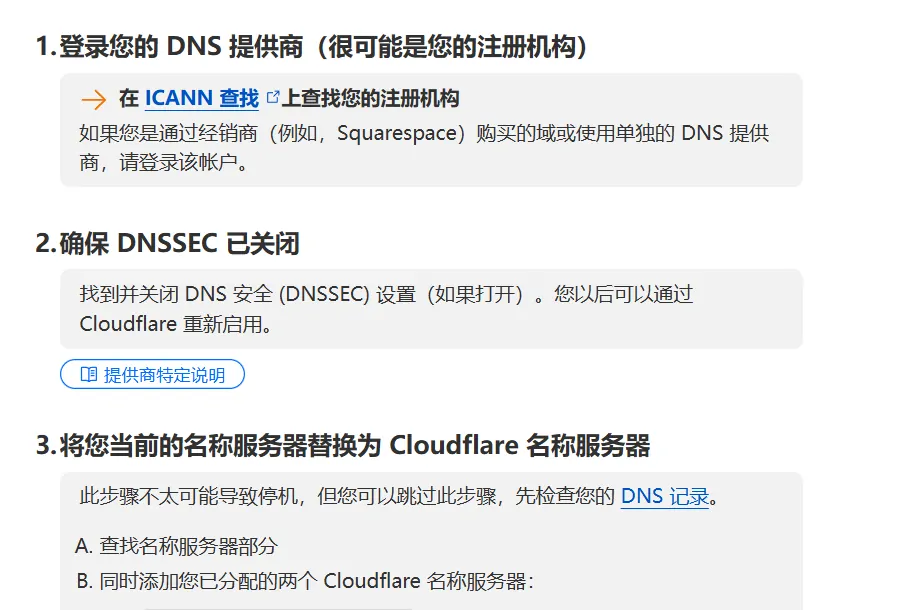
In Cloudflare, add the domain on the free plan and follow the instructions. The main step is replacing the two nameservers with Cloudflare's. Once the domain is bought for ten years and the nameservers are changed, Spaceship is no longer needed. Before activation, the domain sits in a pending state; that is normal. After activation, SSL/TLS, DDoS protection, caching, and automatic optimizations become available.
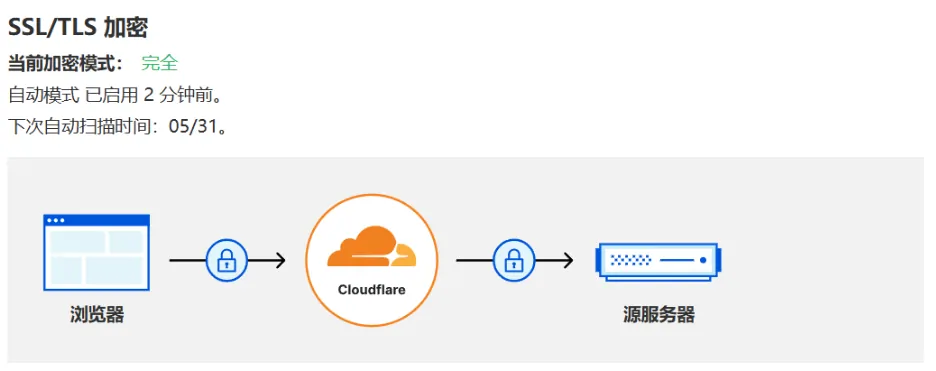
Check the SSL/TLS encryption mode. Cloudflare sets it to Full automatically, and it can be changed to Flexible. Cloudflare's certificate is free and does not need renewal every three months. An origin-server certificate can also be requested if needed.
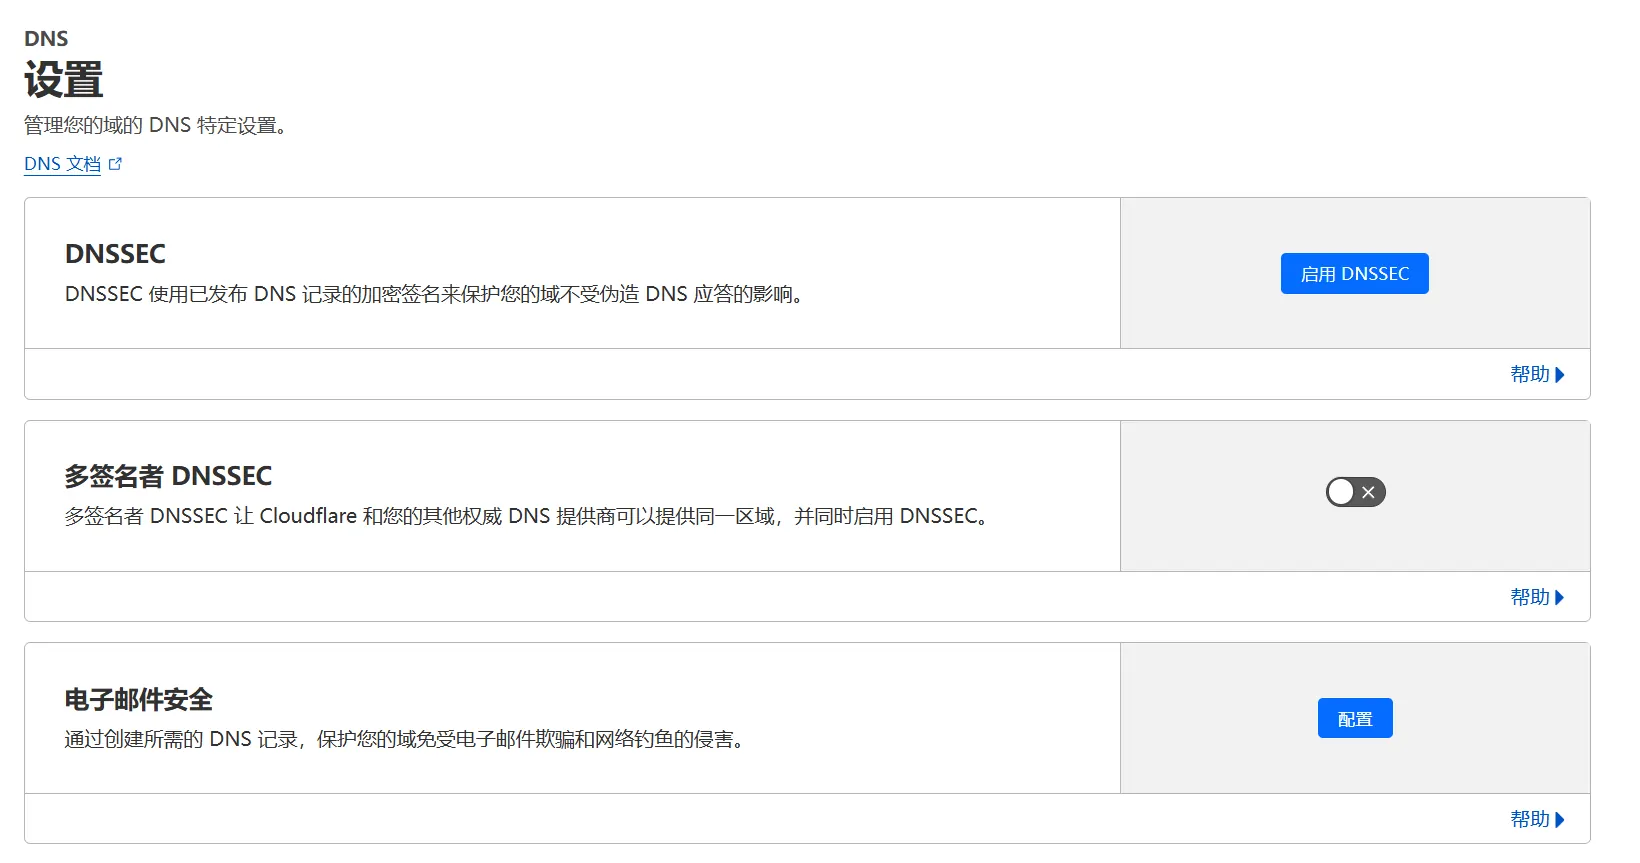
Under DNS settings, enable DNSSEC.
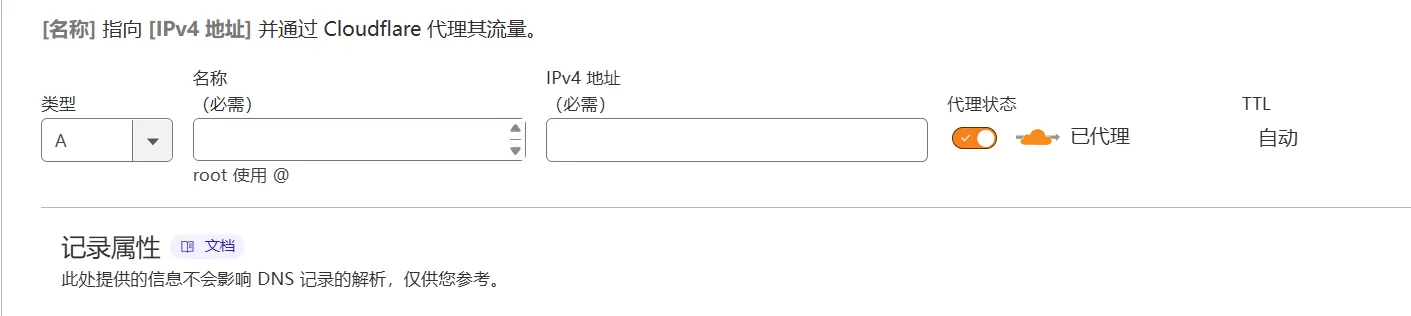
For DNS records, create an A record with the name @ and the VPS IPv4 address. Create a CNAME record with the name www and the domain as the target. Wait for resolution to take effect. Subdomains can use CNAME records in the same way. At that point the site is reachable through the domain.
With the site running, the less glamorous part remains: moving the old material in.