Everything here can be done from a browser. You do not need to install Hugo locally, configure Git, or connect GitHub on your machine. The flow stays in the web UI, from repository import to Pages setup and publishing.
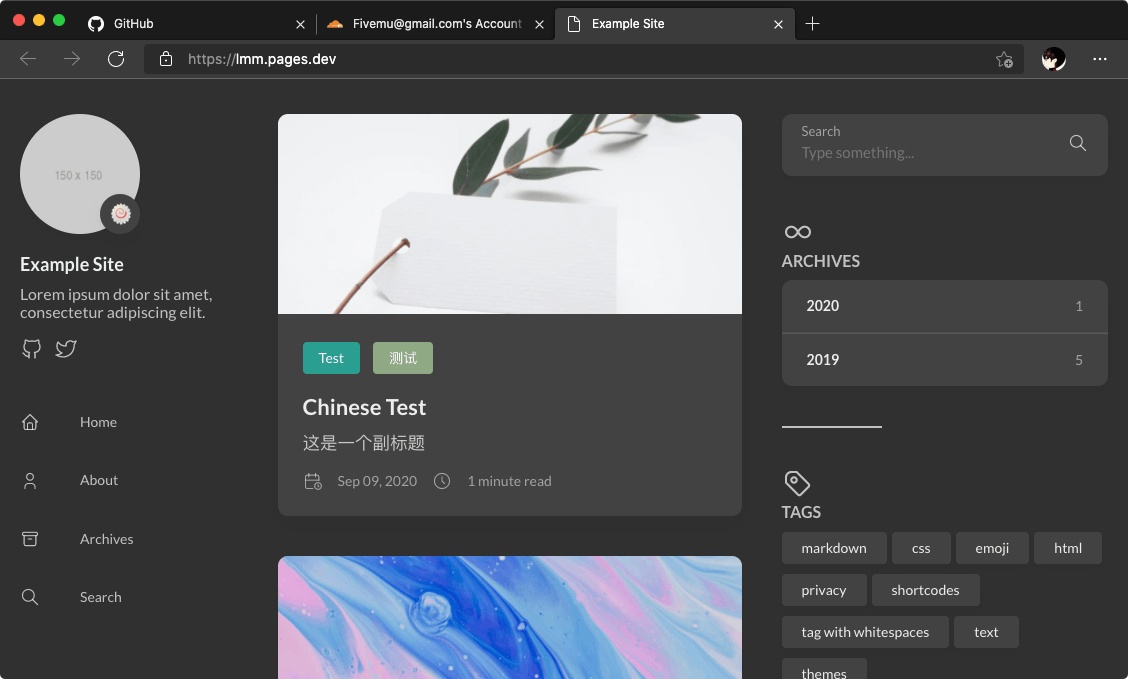
A live example is available at https://lmm.pages.dev.
Import the repository into GitHub
Start at GitHub’s import page: https://github.com/new/import.
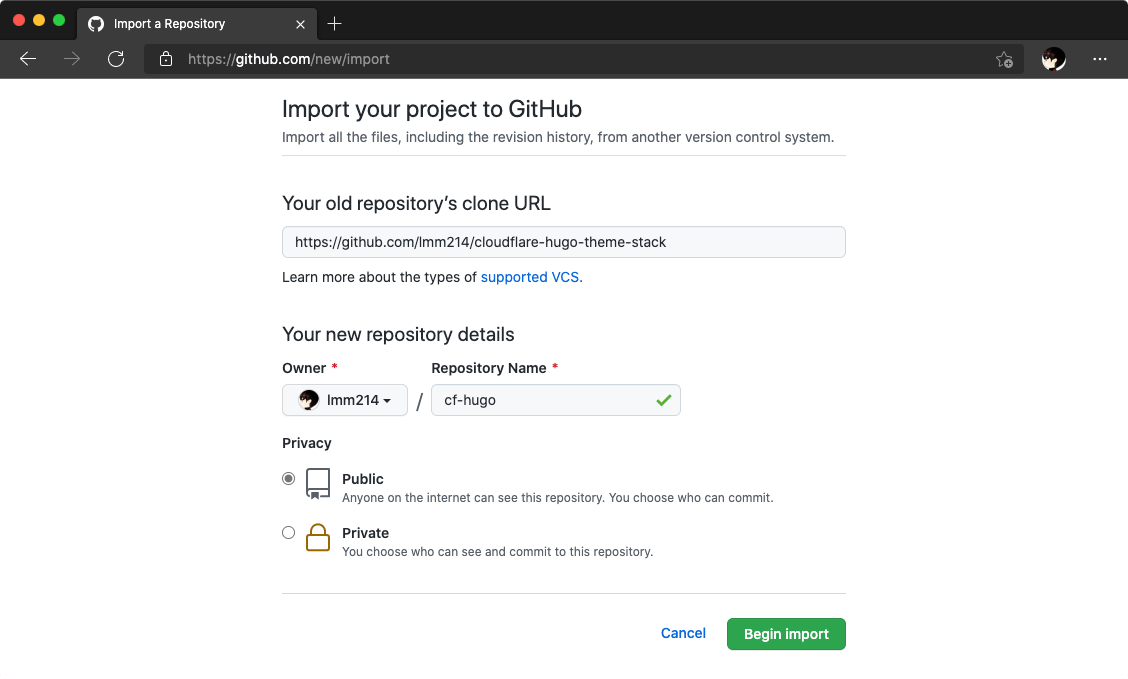
Use this repository as the source:
https://github.com/lmm214/cloudflare-hugo-theme-stack
It already has the hugo-theme-stack theme configured. Give the imported copy your own repository name; it can be public or private.
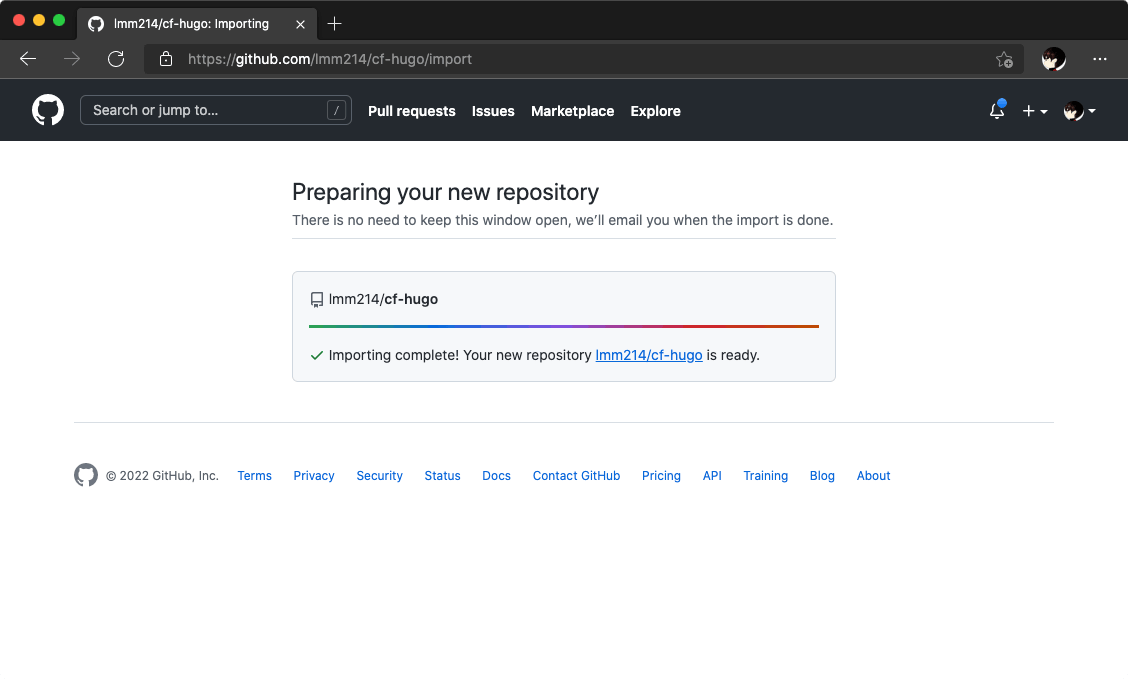
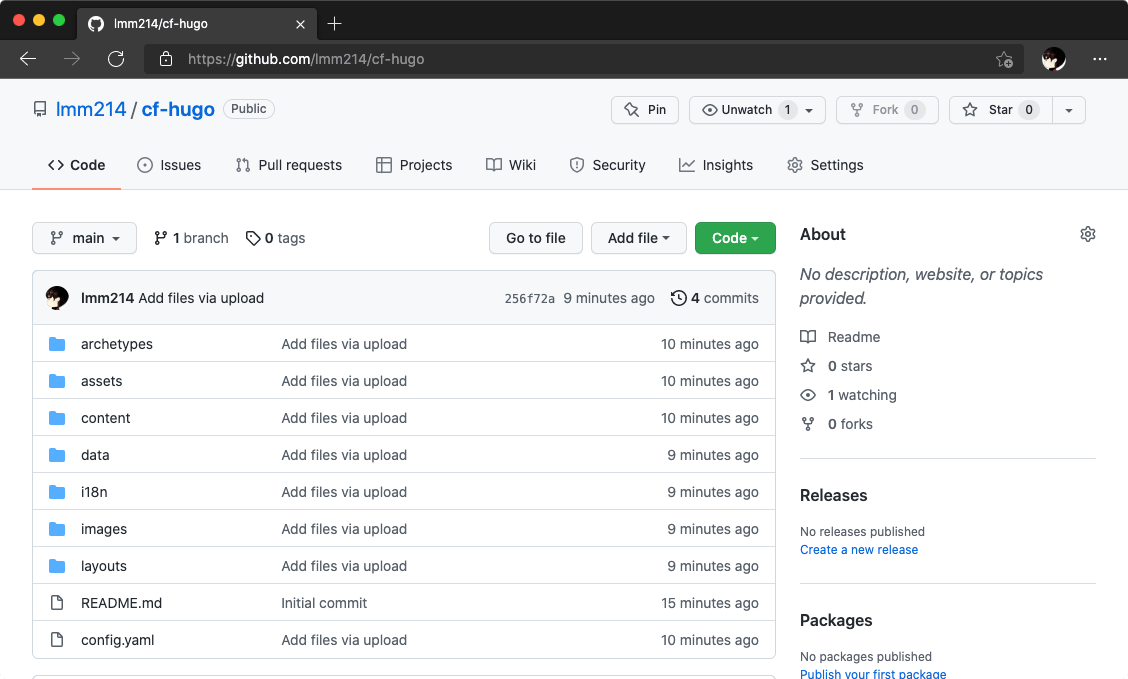
Once the import finishes, the repository is ready.
Create the Cloudflare Pages project
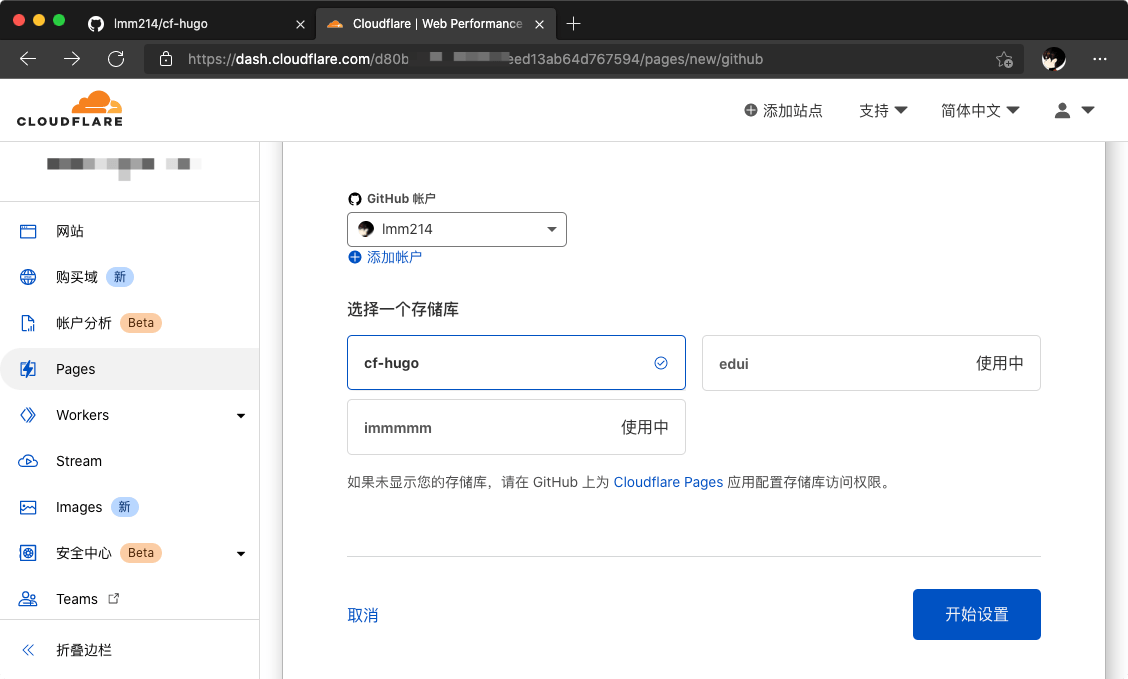
Open the Cloudflare dashboard at https://dash.cloudflare.com/, choose Pages in the navigation, then click Create a project. Authorize the GitHub repository you just created.
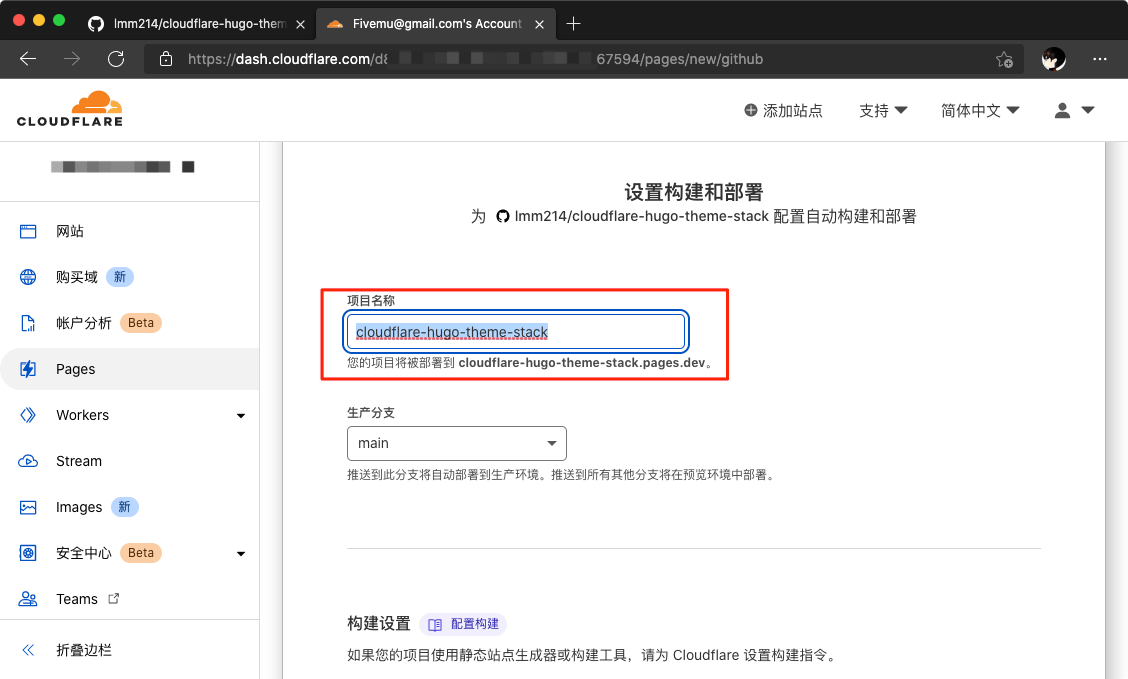
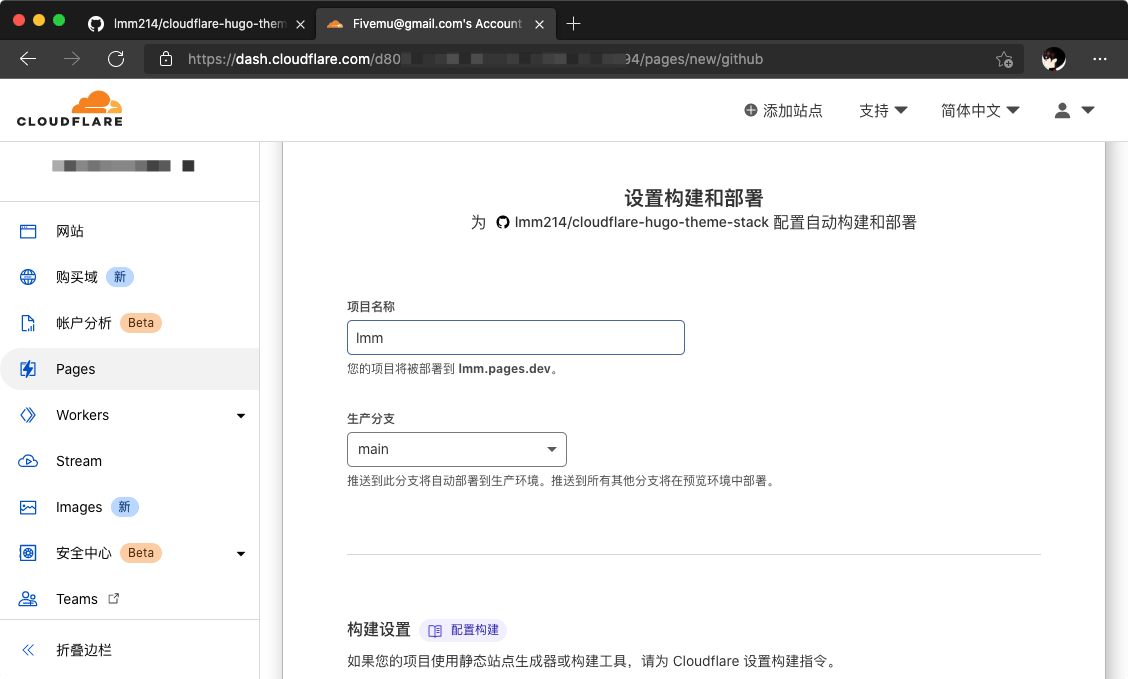
Set the project name. It can be anything; in the example it becomes lmm, and Cloudflare will assign a matching subdomain for access. Keep the production branch as main.
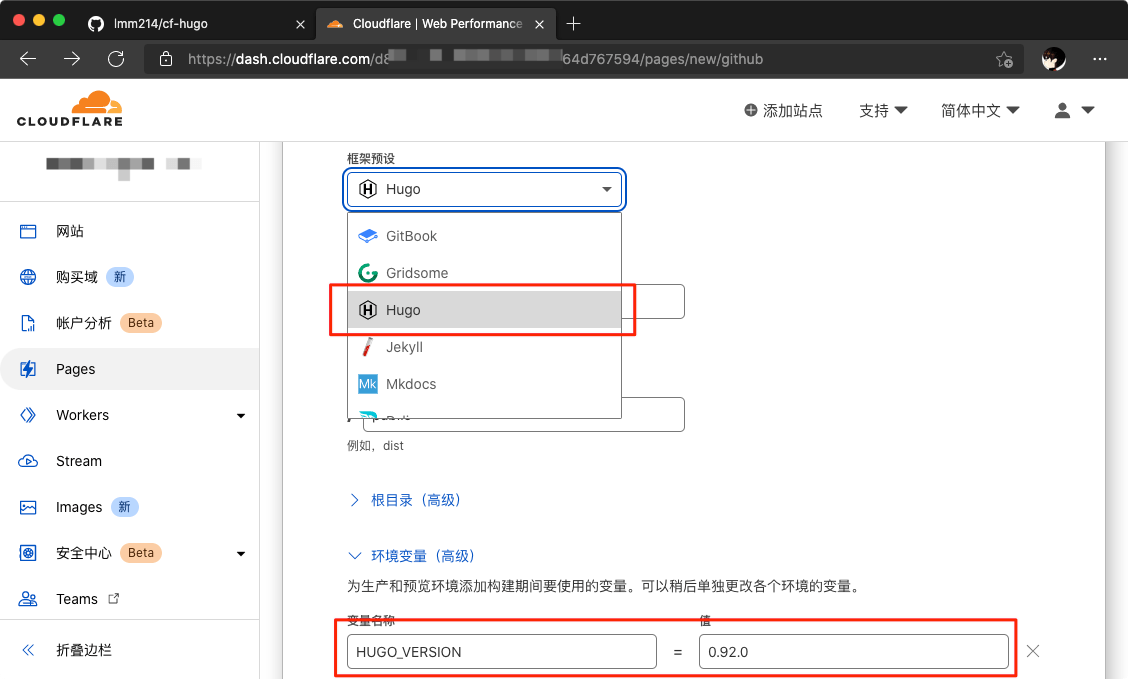
For the framework preset, choose Hugo. Add an environment variable and set HUGO_VERSION to 0.92.0 so the build uses a newer Hugo release.
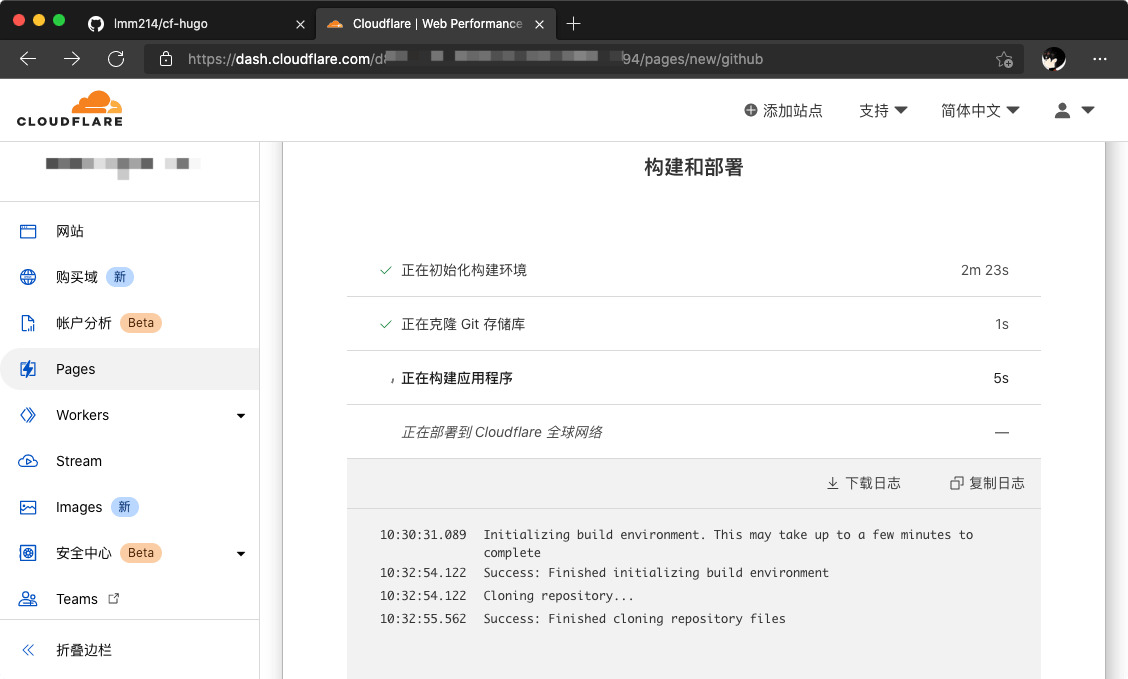
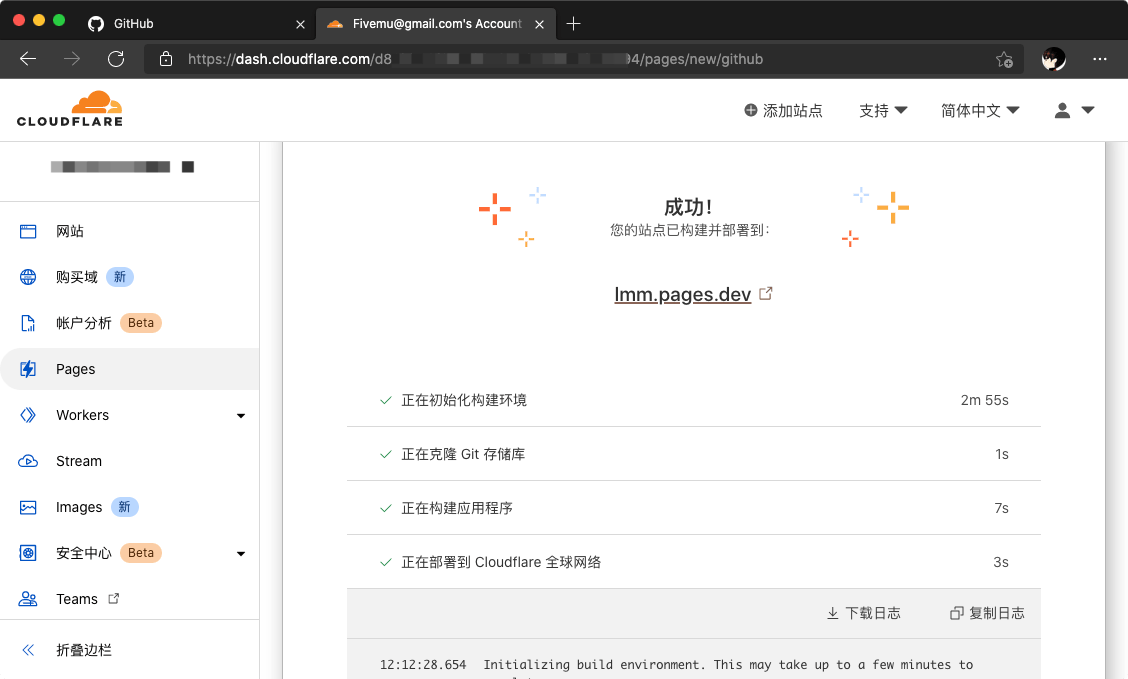
The Pages project is now created. 🎉
After deployment
Read the theme configuration docs at https://docs.stack.jimmycai.com/zh/configuration/ and update the site information. For regular publishing, add a new Markdown file under content/post.
From there, the usual Hugo workflow applies: adjust the configuration, add Markdown posts under content/post, and let Pages rebuild from the repository.