Cryptomator is a very comfortable choice for some kinds of encrypted storage. One of its advantages is that local files also require a password before they can be accessed. After encryption, the vault can be placed inside a sync drive such as Jianguoyun or Dropbox, and every added or modified file is uploaded to the cloud almost immediately.
For data that does not need frequent editing—mostly incremental files where the usual operations are adding new resources or replacing old ones—Cryptomator is still worth trying. It works especially well for electronic scans, images, spreadsheets, and similar documents.
The experience is less pleasant on macOS when the content is an Obsidian vault or another knowledge base that is edited often. Editing decrypted plain-text files inside Cryptomator can be awkward. To avoid unexpected issues, the safer workflow becomes copying the text file out, editing it elsewhere, and then replacing the original file. That extra step gets annoying quickly.
Restic fits this use case better: encrypted backups for an Obsidian vault or similar note directory, with the encrypted repository stored locally, on a sync drive, on S3-compatible storage, or on other cloud backends.
Quick Start
Install Restic
macOS
$ brew install restic
Restic supports mainstream operating systems. Installation details are available here: https://restic.readthedocs.io/en/latest/020_installation.html
Initialize a local repository
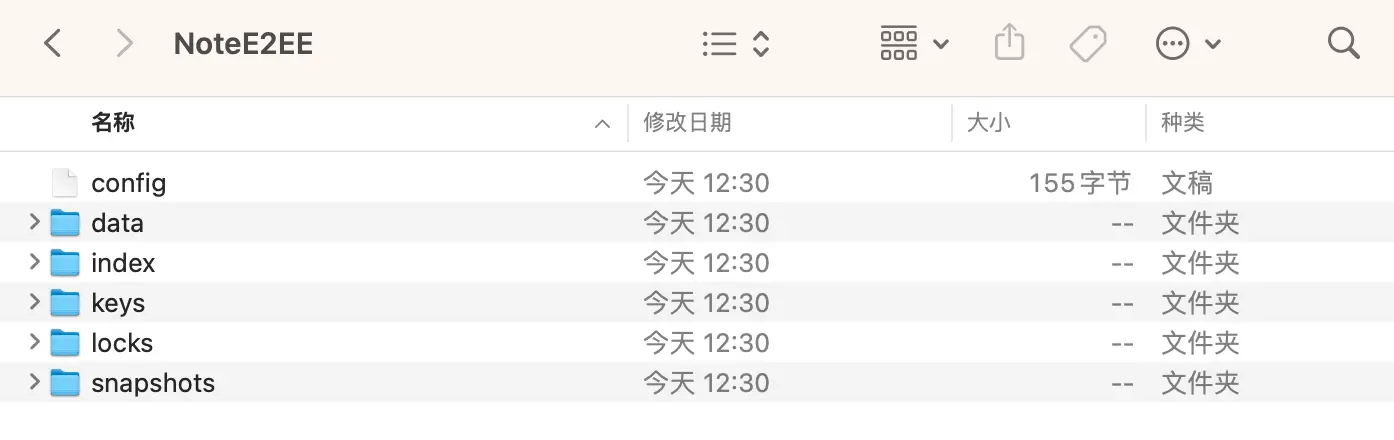
A repository is, in simple terms, a folder used to store encrypted backup data. During initialization, Restic also creates the metadata it needs.
$ restic init --repo ~/Documents/NoteE2EE
enter password for new repository:
enter password again:
created restic repository 0a40262533 at /Users/xxxxx/Documents/NoteE2EE

Please note that knowledge of your password is required to access
the repository. Losing your password means that your data is
irrecoverably lost.
Keep the password safe. If it is lost, there is no way to decrypt the backed-up data.
Back up data
The following command backs up the ~/Documents/Note folder into the ~/Documents/NoteE2EE repository:
$ restic -r ~/Documents/NoteE2EE backup ~/Documents/Note
On the first run, Restic shows the number of files and directories it backed up, along with the ID of the created snapshot.
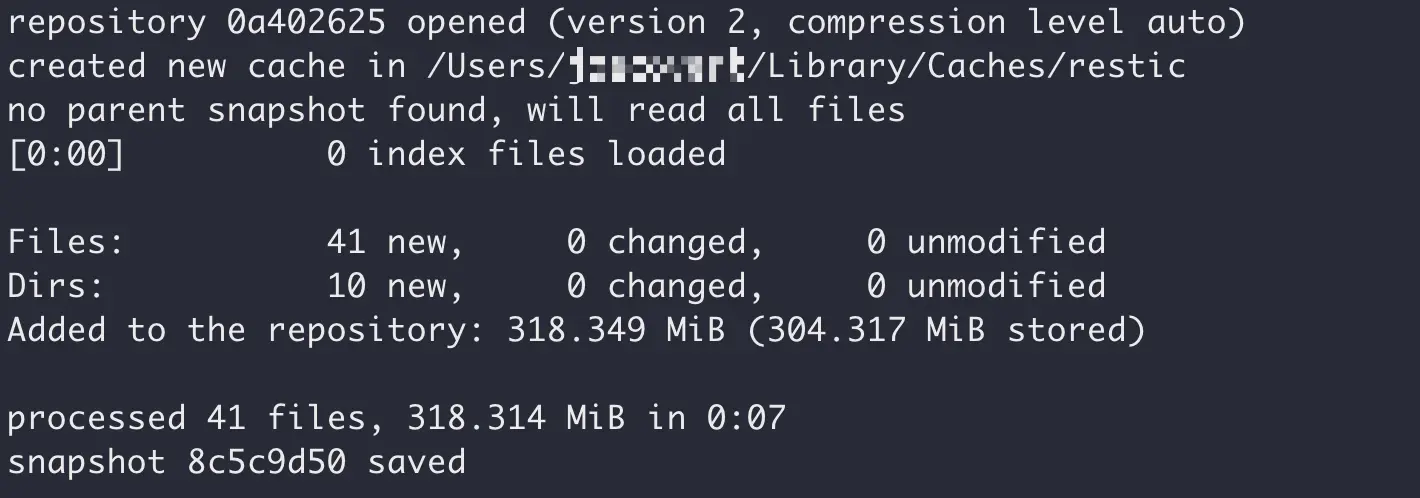
The command can be run repeatedly. Each run creates a new snapshot.
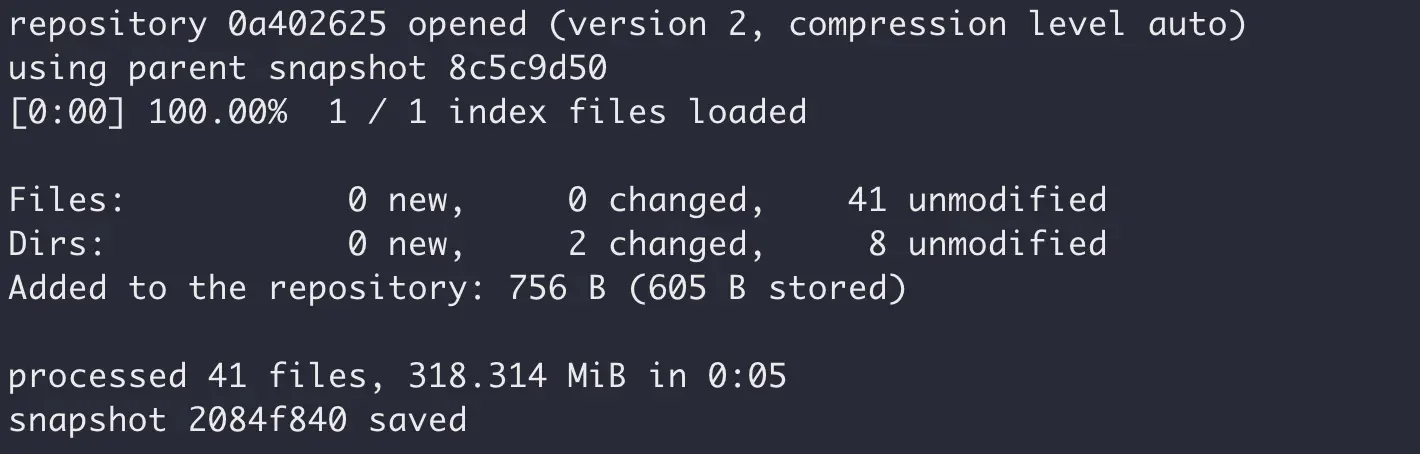
Because snapshots are created incrementally, there is no need to worry that every snapshot will consume the full size of the original folder.
Use this command to list snapshots in the repository:
$ restic -r ~/Documents/NoteE2EE snapshots
The NoteE2EE repository folder contains encrypted data. Following the 3-2-1 backup principle, it can be safely stored on a local disk, an external drive, or a cloud drive without exposing the original files.
Tuning the backup command
$ restic -r ~/Documents/NoteE2EE backup ~/Documents/Note \
    --pack-size 32 \
    --exclude="*.tmp" \
    --iexclude="*.LOG" \
    --limit-upload 1024 \
    --json
The --pack-size option is useful for controlling the number of files generated in the target repository. It helps avoid splitting large files into too many small pieces. Existing historical data is not affected; the option only applies to the current incremental backup.
There is also a --limit-download option corresponding to --limit-upload, used to limit download speed.
If you are building a small utility around Restic, the --json option is especially useful.
{"message_type":"status","percent_done":0,"total_files":29,"total_bytes":204482794}
{"message_type":"status","percent_done":0,"total_files":41,"total_bytes":333776710}
{"message_type":"status","percent_done":0,"total_files":41,"total_bytes":333776710}
{"message_type":"status","percent_done":0,"total_files":41,"total_bytes":333776710}
{"message_type":"status","percent_done":0,"total_files":41,"total_bytes":333776710}
{"message_type":"status","percent_done":0,"total_files":41,"total_bytes":333776710}
{"message_type":"status","percent_done":0,"total_files":41,"total_bytes":333776710}
{"message_type":"status","percent_done":0.2808864315308279,"total_files":41,"files_done":13,"total_bytes":333776710,"bytes_done":93753349}
{"message_type":"status","percent_done":1,"total_files":41,"files_done":41,"total_bytes":333776710,"bytes_done":333776710}
{"message_type":"summary","files_new":0,"files_changed":0,"files_unmodified":41,"dirs_new":0,"dirs_changed":2,"dirs_unmodified":8,"data_blobs":0,"tree_blobs":2,"data_added":756,"data_added_packed":608,"total_files_processed":41,"total_bytes_processed":333776710,"total_duration":5.552792709,"backup_start":"2025-04-02T18:30:04.949151+08:00","backup_end":"2025-04-02T18:30:10.501995+08:00","snapshot_id":"74e465ed71f7fb5b7abb562d4cb9d067f20d89a1a9f3ed4ed32a0bc73e8abab1"}
With this output, it is straightforward to build a progress bar or display the amount of data processed during backup.
More backend storage types
The command restic init --repo ~/Documents/NoteE2EE creates a local repository.
Here is an example using S3-compatible storage:
# 设置环境变量
$ export AWS_ACCESS_KEY_ID=id7O9M0H****tXJ2romrN
$ export AWS_SECRET_ACCESS_KEY=bFA0dL0u********ndnxVcrwPh31u
$ export AWS_DEFAULT_REGION=cn-east-1

# 初始化存储库并备份
$ restic -r s3:https://s3.bitiful.net/note-e2ee init
$ restic -r s3:https://s3.bitiful.net/note-e2ee --verbose backup ~/Documents/NoteE2EE
Note that if AWS_DEFAULT_REGION is not set, the default value is us-east-1.
Other platforms and storage providers, including Amazon S3, Backblaze B2, and Google Cloud, are covered in the documentation: https://restic.readthedocs.io/en/latest/030_preparing_a_new_repo.html
Snapshot management
Keep only the latest snapshots
When backup is run on a schedule or at regular intervals, the number of snapshots can grow quickly. The following command keeps only the latest 7 snapshots:
$ restic -r [仓库路径] forget --keep-last 7 --prune
Snapshot tags
Multiple tags can be specified when creating a backup, for example --tag "v1.0" --tag "daily".
$ restic -r ~/Documents/NoteE2EE backup --tag "v1.0" ~/Documents/Note
Tags can also be modified on existing snapshots.
# 追加标签
$ restic -r ~/Documents/NoteE2EE tag --add "important" 8c5c9d50

# 移除标签
$ restic -r ~/Documents/NoteE2EE tag --remove "important" 43547193

# 设置多个标签
$ restic -r ~/Documents/NoteE2EE tag --set "important,project2" a1ff1a78
One detail worth noting: after a snapshot’s tags are changed, its snapshot ID also changes.
Checking backup integrity
A backup stored on a cloud drive cannot be assumed to be 100% immune to file loss or corruption. Restic’s check command can verify the repository.
$ restic -r ~/Documents/NoteE2EE check
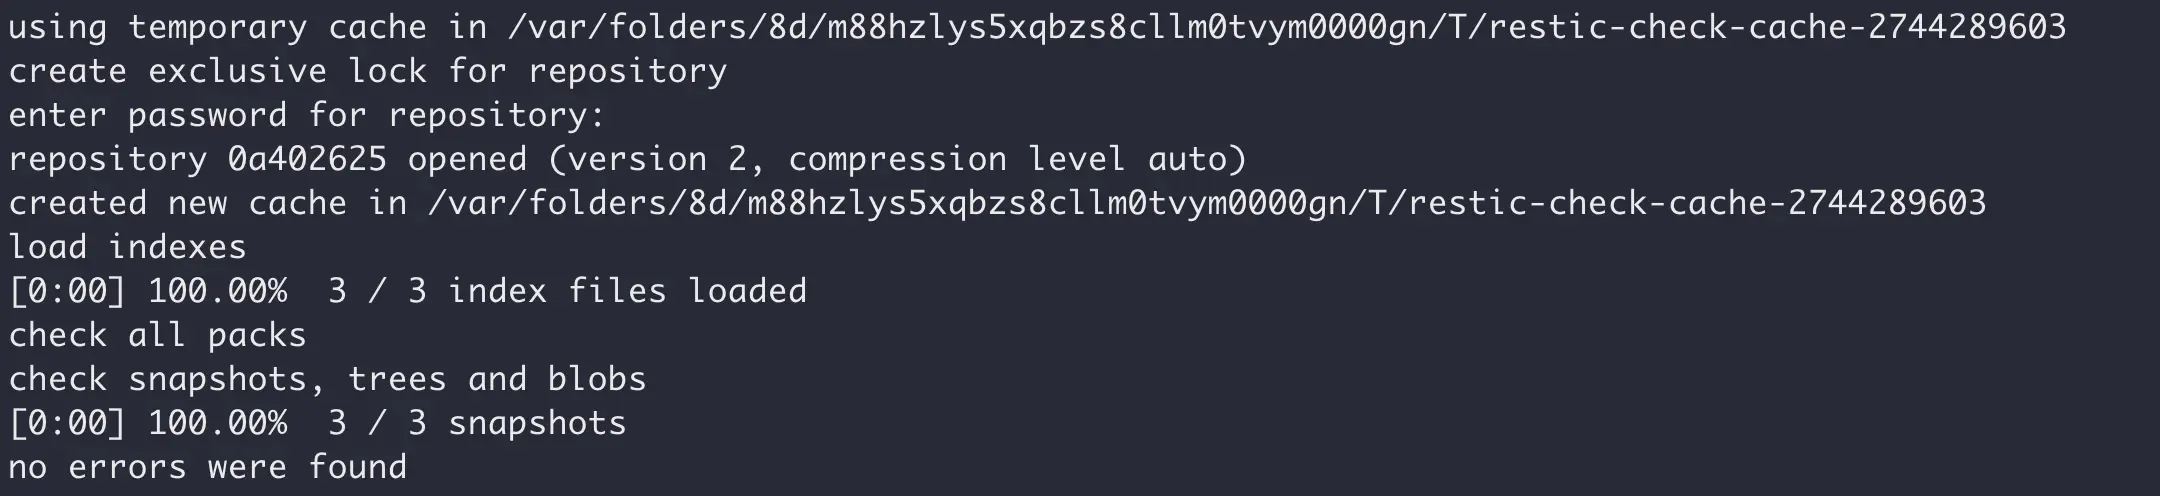
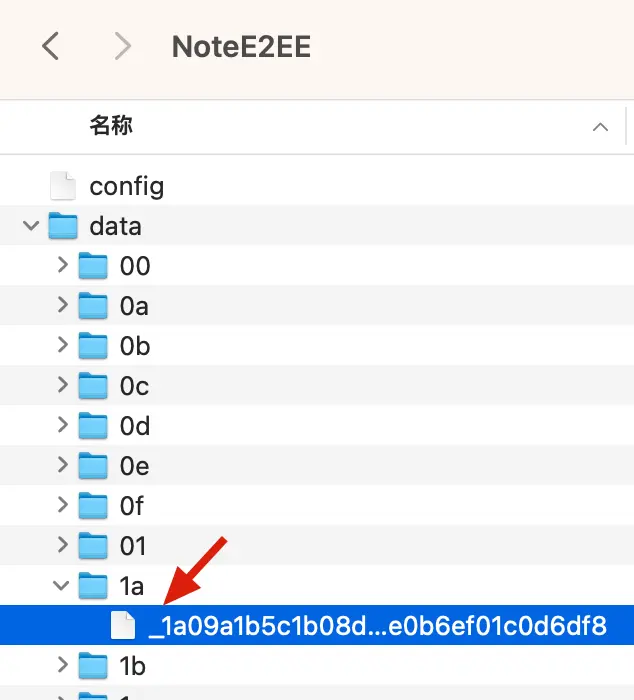
To simulate damage, rename a file inside the data directory of NoteE2EE, for example by adding an underscore at the beginning of the filename. This mimics a missing or corrupted repository file.
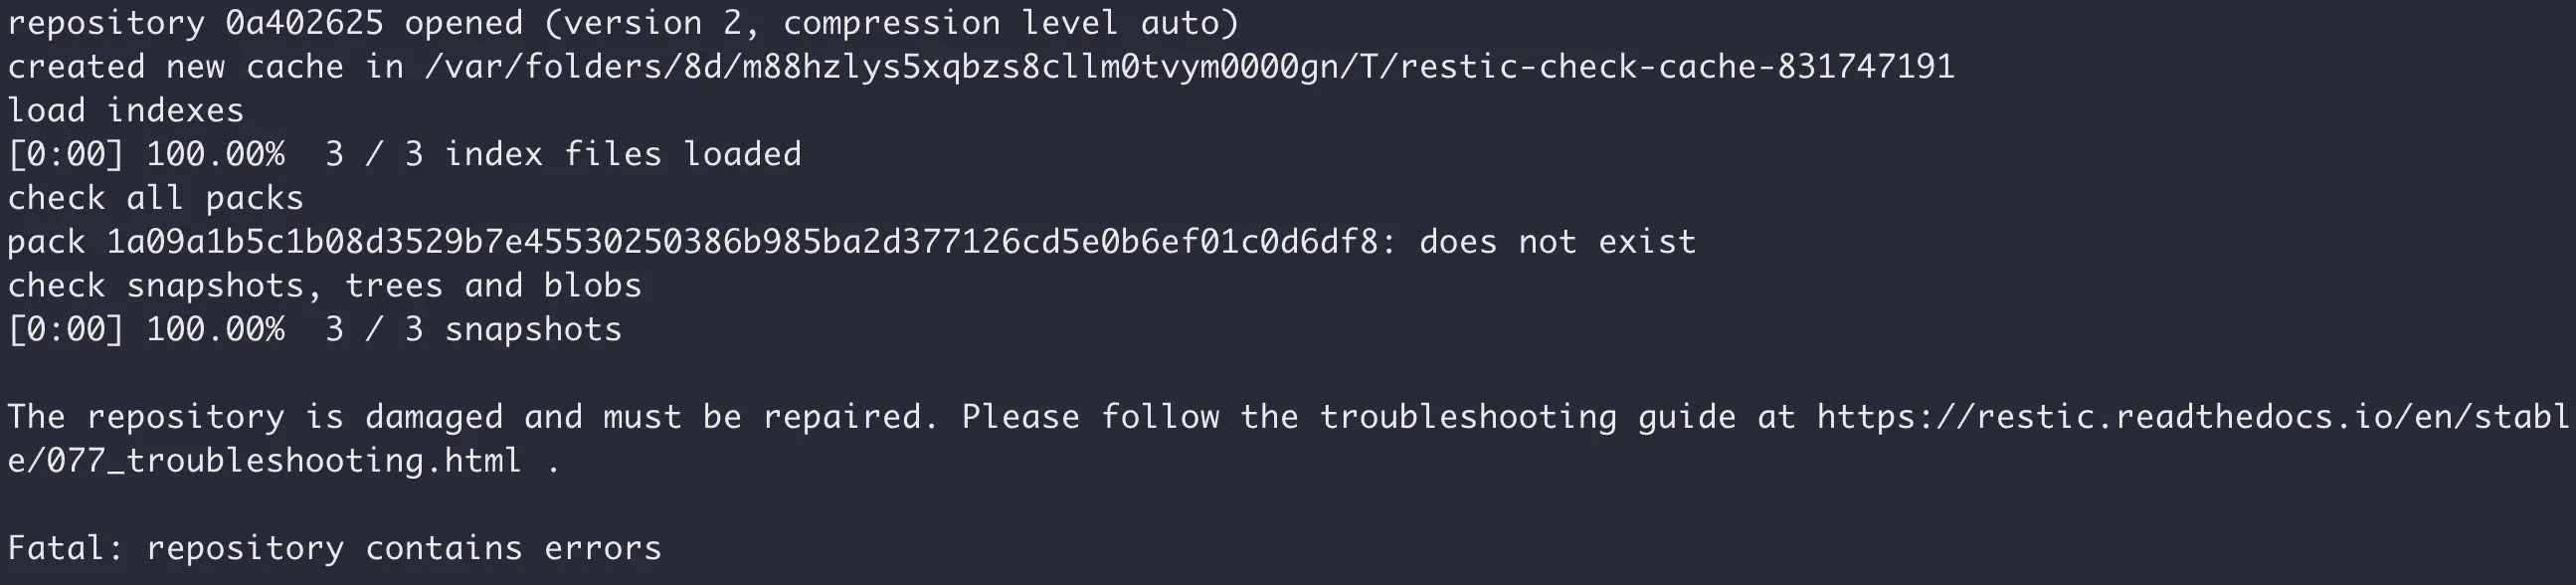
Run check again, and Restic reports that the repository has problems and needs repair, which is the expected result.
Restore a snapshot to a specific directory
List existing snapshots first:
$ restic -r ~/Documents/NoteE2EE snapshots
Restore a specific snapshot:
$ restic -r ~/Documents/NoteE2EE restore 5fcd966f --target ~/Downloads/NoteRestore/
5fcd966f is the snapshot ID, which can be found with the snapshots command. If the NoteRestore directory does not exist, Restic creates it automatically.
When the repository is large and only part of the files or directories need to be restored, use:
$ restic -r ~/Documents/NoteE2EE restore 5fcd966f --target ~/Downloads/NoteRestore/ --include Epub电子书
Here, --include Epub电子书 refers to a folder under the repository root.
Use copy instead of repeated backup in this situation
If there is only one encrypted repository, running backup each time is enough. But when following the 3-2-1 principle, there may be multiple encrypted repositories. In that case, repeatedly running backup against different repositories is not ideal.
This is where copy should be used. It preserves strict data consistency between repositories and performs well.
$ restic init --repo ~/Documents/NoteE2EE-copy

$ restic -r ~/Documents/NoteE2EE-copy copy --from-repo ~/Documents/NoteE2EE
For synchronizing data between multiple Restic repositories, copy is the preferred tool. It works like a repository-to-repository data mover, while backup is the collector that reads from the original source files.
Restic Browser is worth trying
For anyone who does not particularly enjoy command-line operations, the open-source tool emuell/restic-browser can make browsing repositories easier.
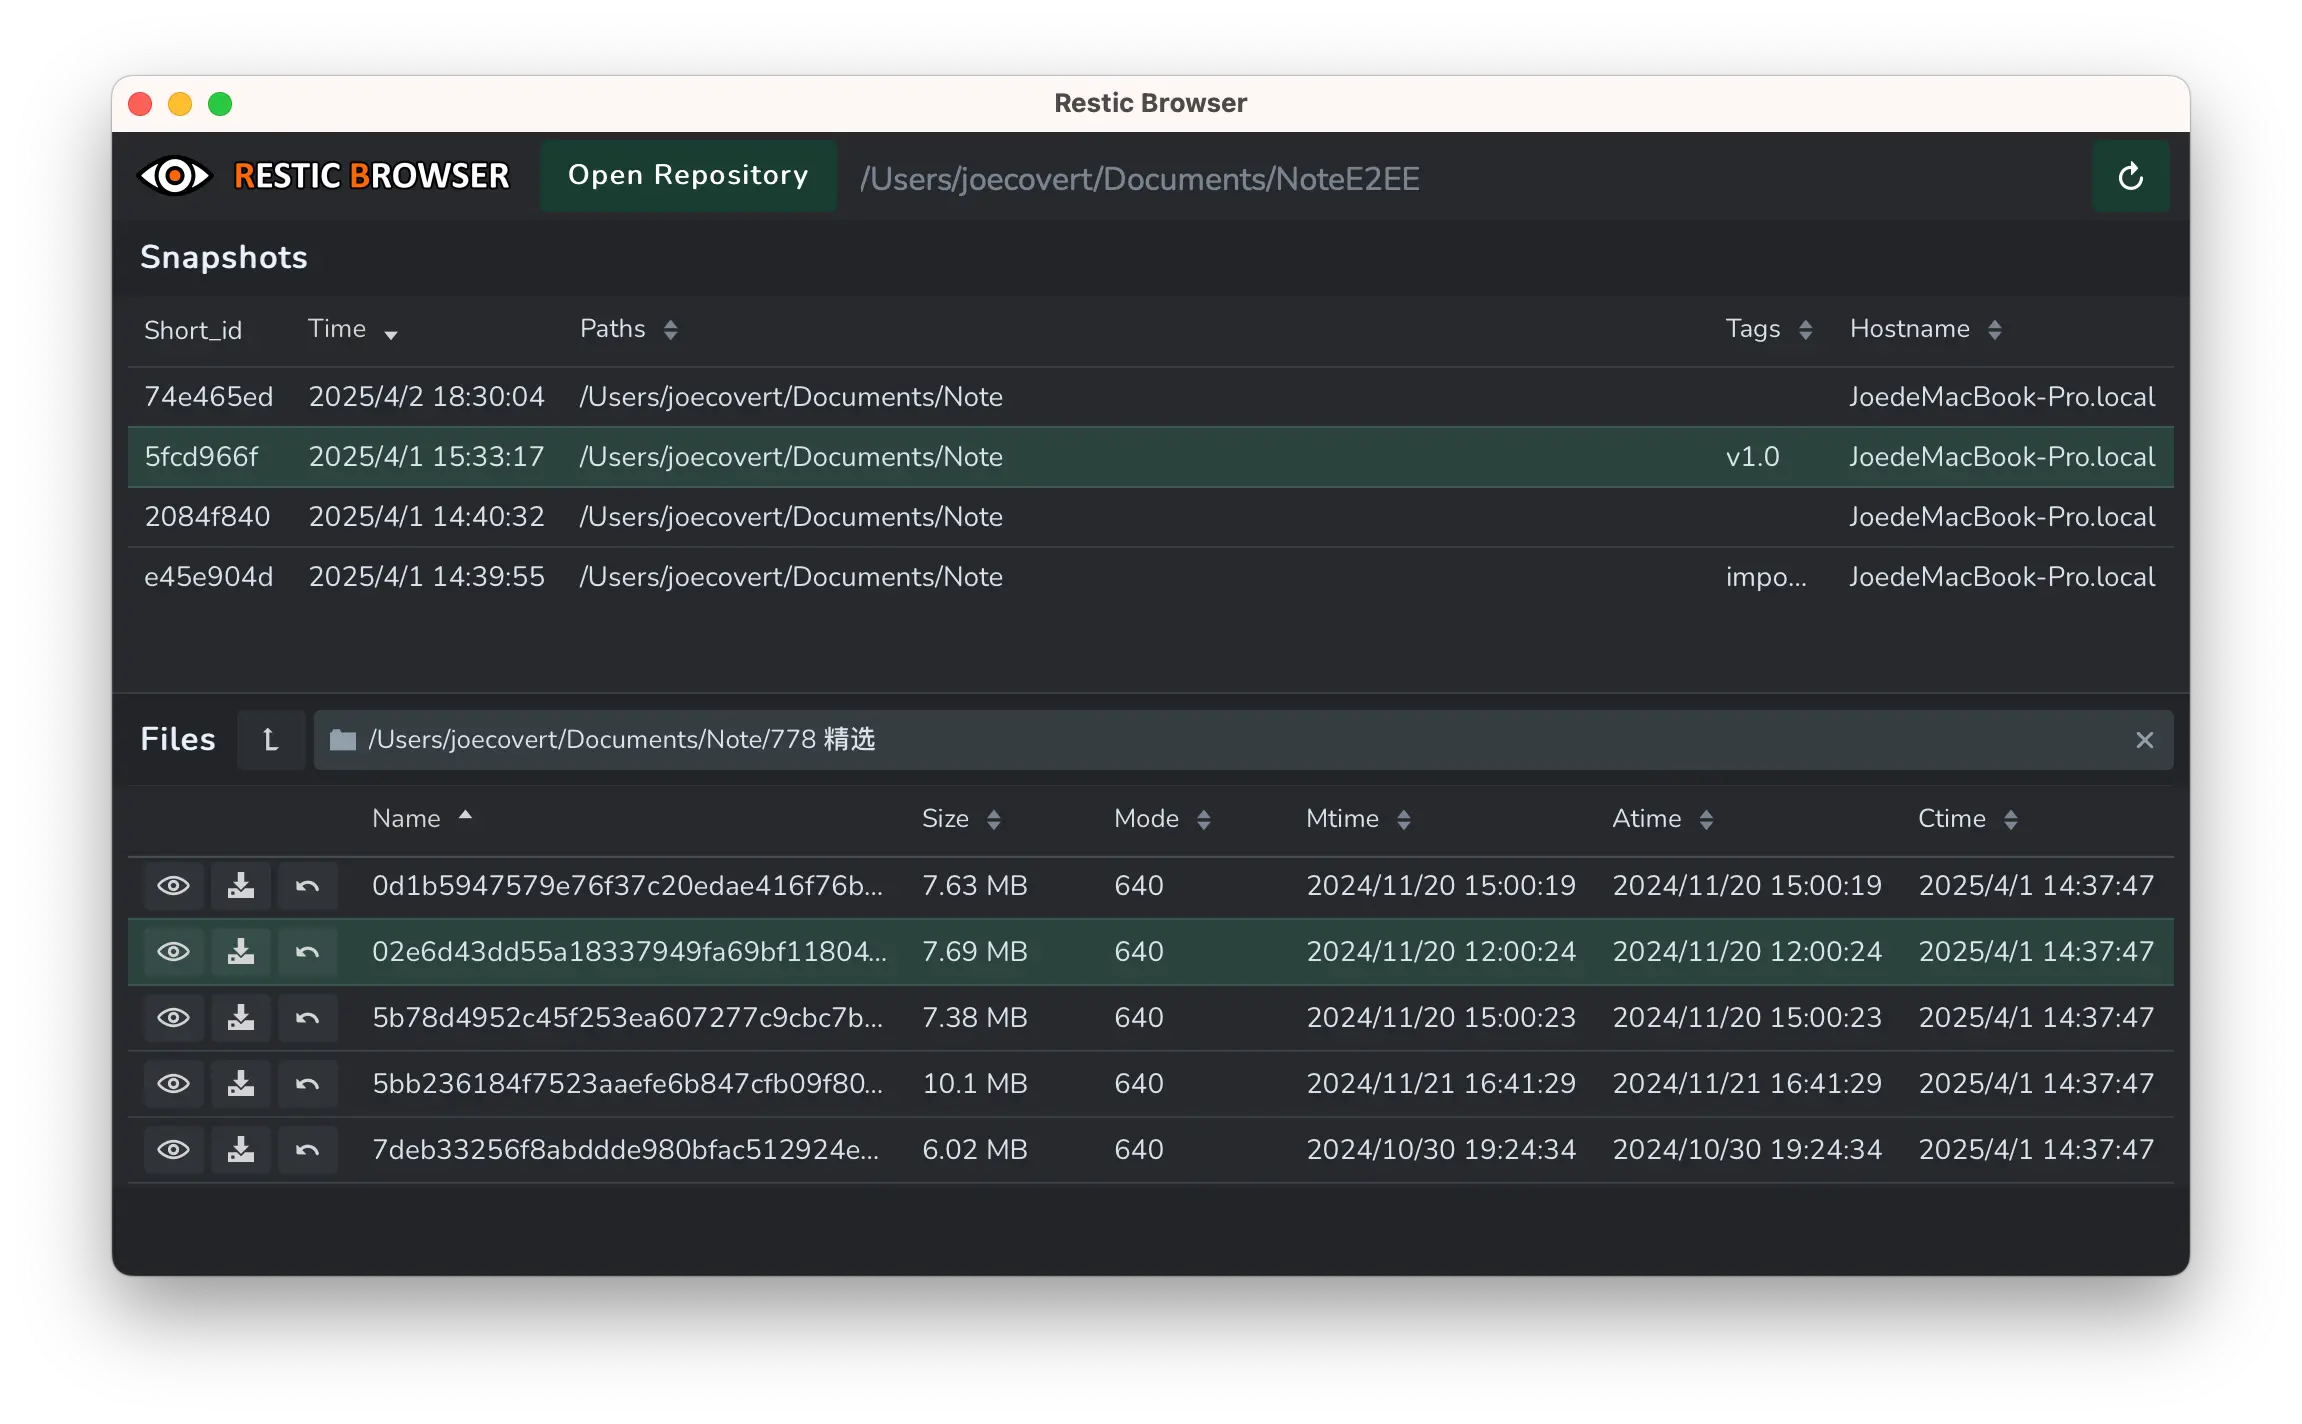
It is developed with Rust and TypeScript, is only a few megabytes in size, and provides read-only access. As its name suggests, it is mainly for browsing encrypted repositories. It is convenient when you need to look through snapshots and find specific files.
Autorestic may also be useful
Documentation: Autorestic Quick Start
Autorestic is a wrapper around the amazing restic. While being amazing the restic cli can be a bit overwhelming and difficult to manage if you have many different location that you want to backup to multiple locations. This utility is aimed at making this easier 🙂
Autorestic 是基于卓越的 restic 工具开发的封装器。尽管 restic 命令行工具本身非常出色,但当您需要将多个不同位置的备份数据同步至多个存储目标时,其操作可能会显得复杂且难以管理。本工具旨在简化这一流程,让多目标备份管理变得更加轻松便捷。
Install
$ brew install autorestic
Configuration file
Create a configuration file with the following content:
version: 2
backends:
  note_primary:
    type: local
    path: "~/Documents/NoteE2EE"
    env:
      RESTIC_PASSWORD: "your-restic-vault-passowrd"
  note_backup:
    type: local
    path: "~/Documents/NoteE2EE-copy"
    env:
      RESTIC_PASSWORD: "your-restic-vault-passowrd"

locations:
  notes:
    from: "~/Documents/Note"
    to:
      - note_primary
      - note_backup
    options:
      forget:
        keep-last: 7
It is recommended to restrict the configuration file permissions:
$ chmod 600 ~/.autorestic.yml
In Autorestic, a Location describes what to back up and where it should go through from and to. A Backend defines the backup destination.
Validate the configuration
$ autorestic check

Everything is fine.
Run a backup manually
Back up everything:
$ autorestic backup -a
Back up a specific Location:
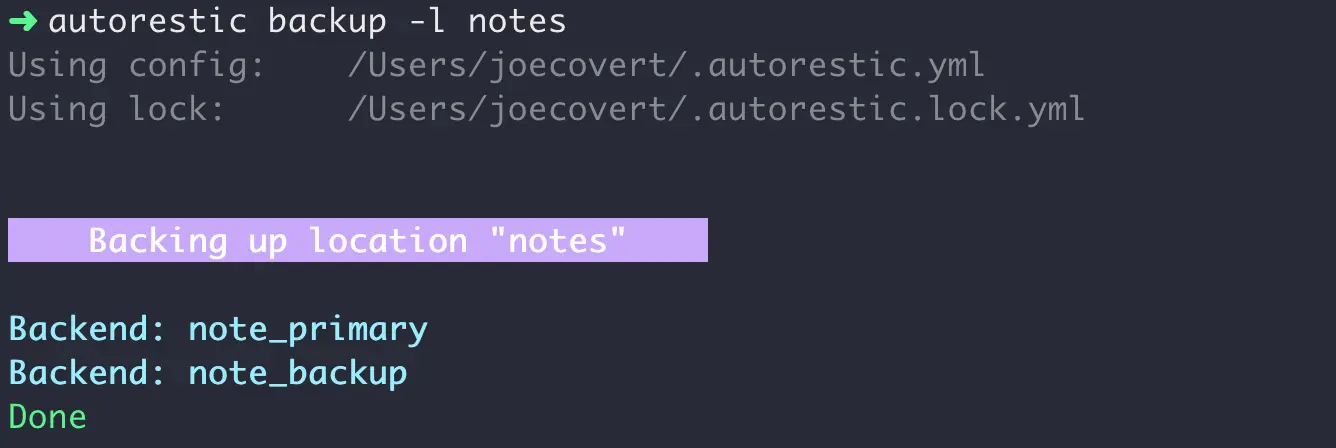
$ autorestic backup -l notes
Output:
This combination of Restic and Autorestic is simple enough to operate while still covering encrypted local repositories, multiple backup targets, snapshot retention, and repository-to-repository copying.